Updated June 26, 2025 04:39AM
Your Step-By-Step Guide to Triathlon Transitions
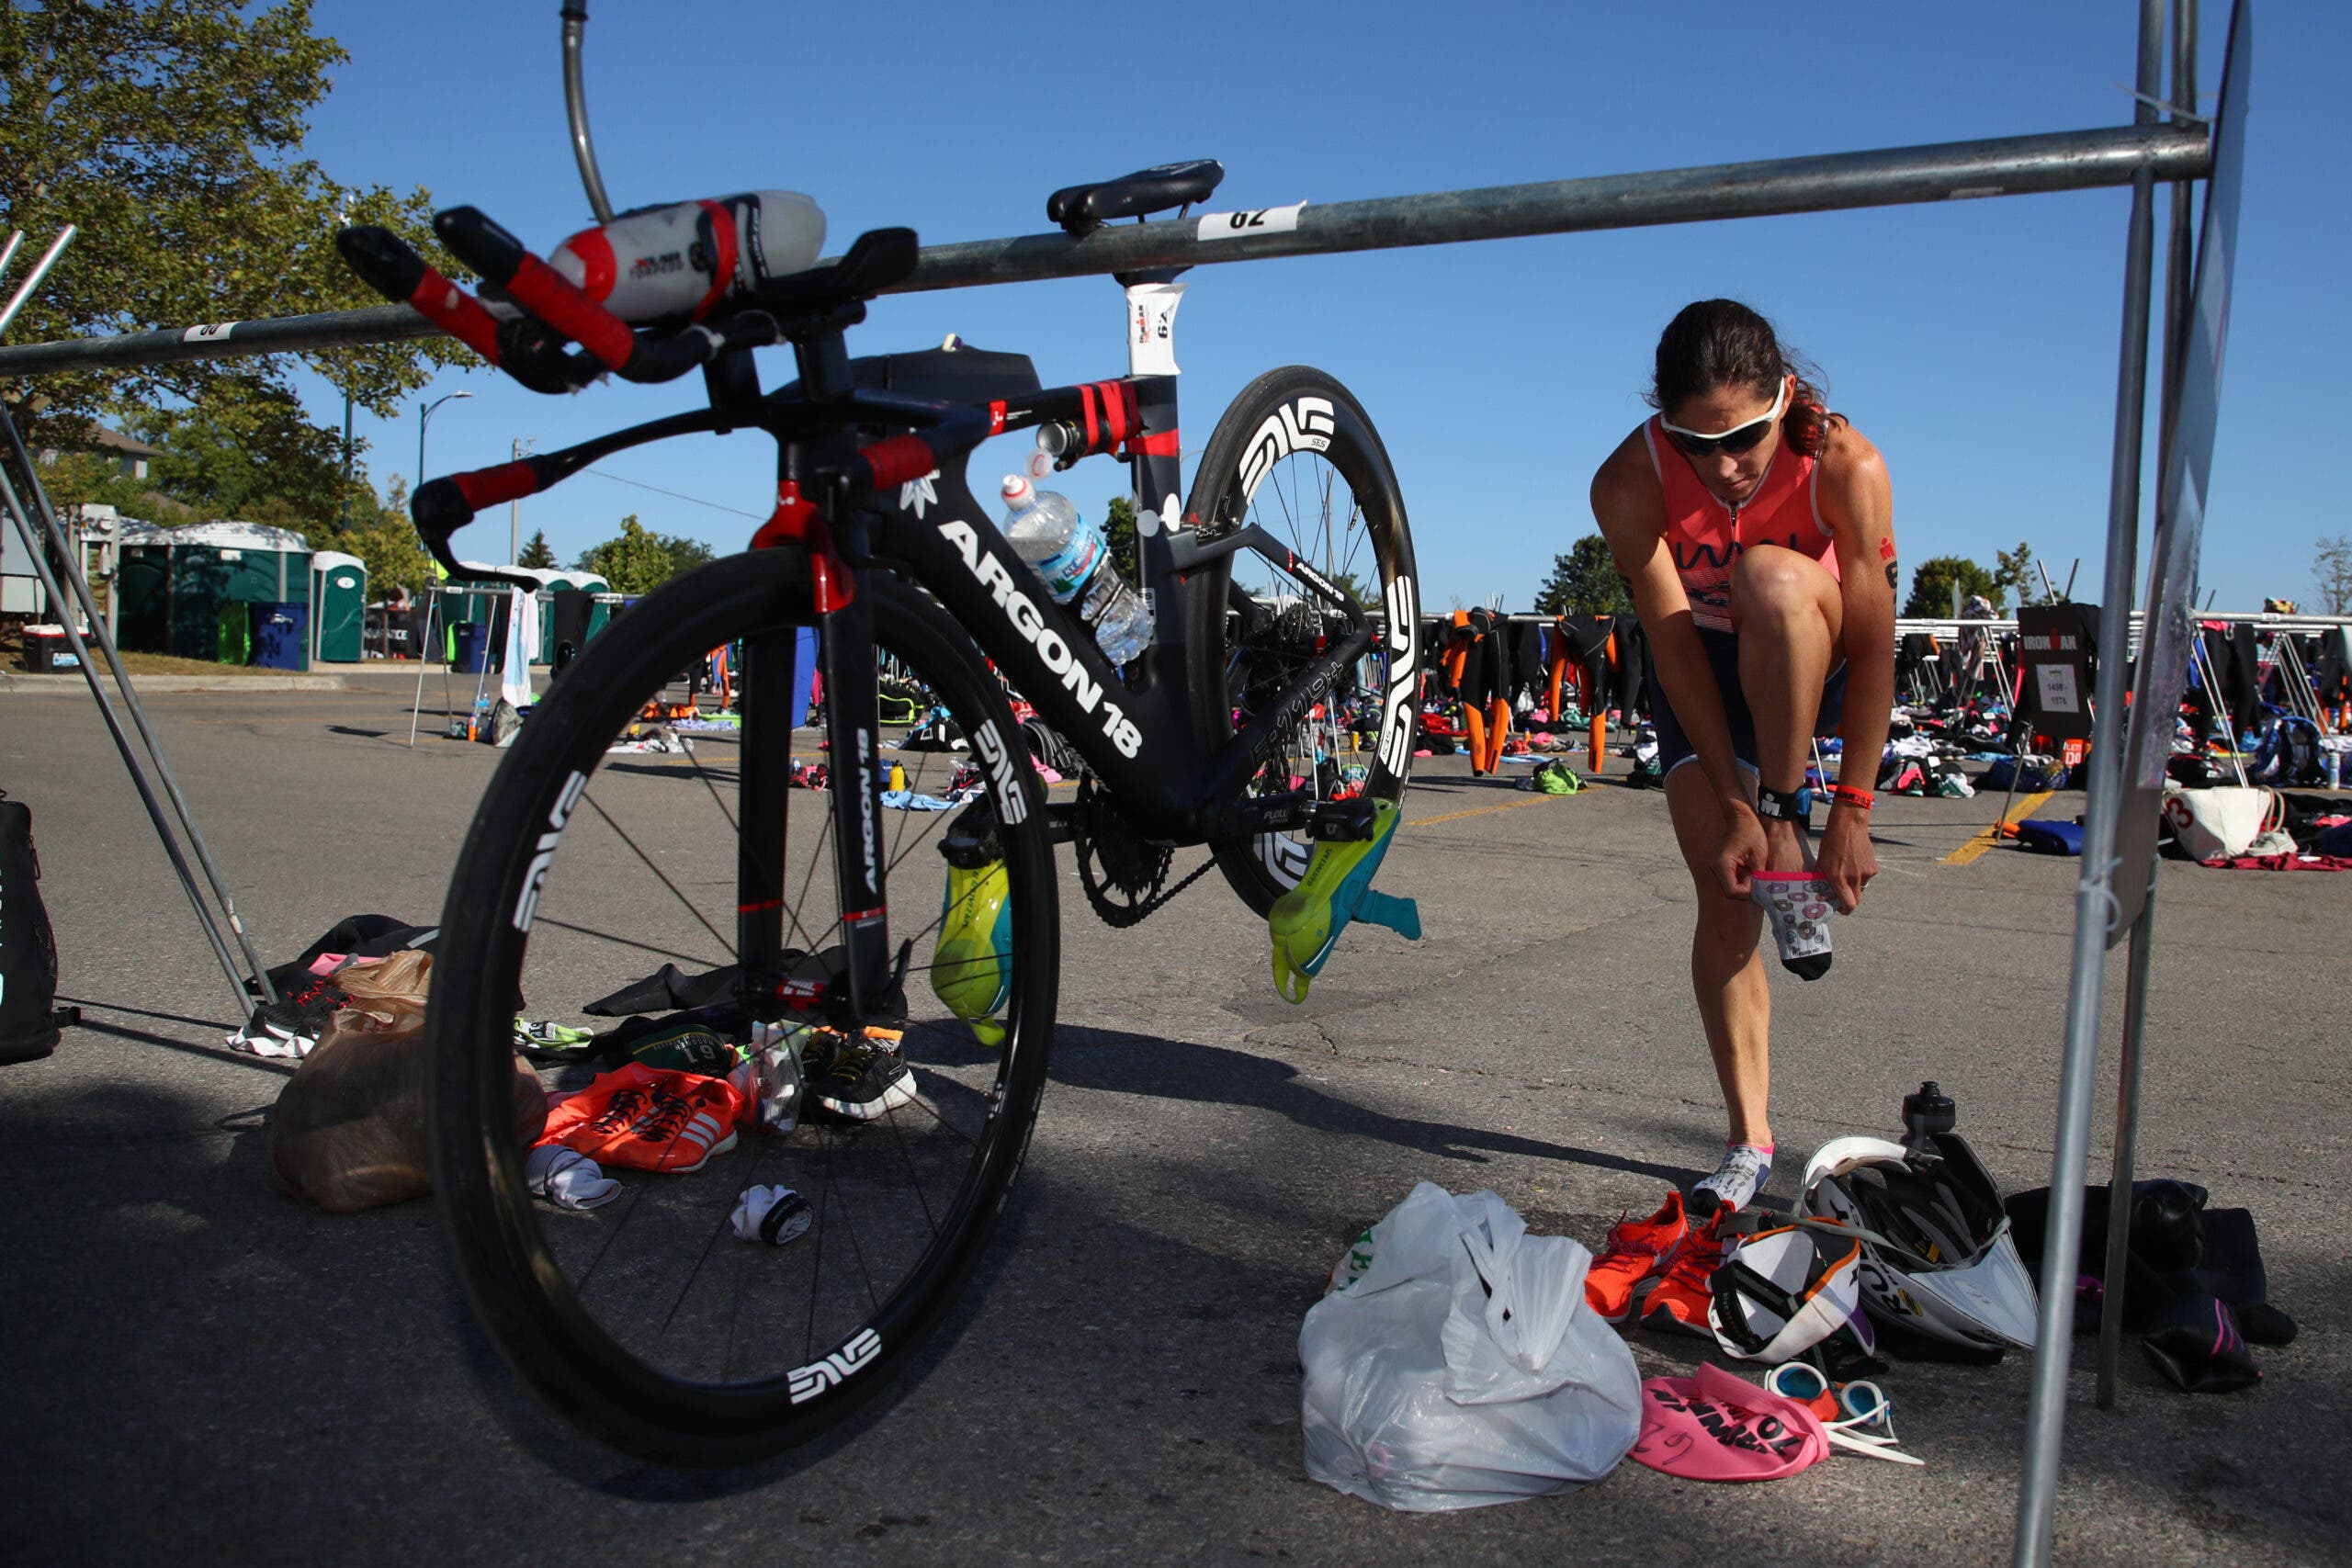
There's nothing worse than losing valuable seconds (or minutes!) in that in-between world from swim to bike and bike to run. This video and step-by-step guide to triathlon transitions will help you speed through like a pro.

(Photo: Patrick McDermott/Getty Images)
Table of Contents
In a triathlon race, every second counts – including the seconds spent swapping out your gear from swim to bike and bike to run. These in-between phases, known as triathlon “transitions,” are often overlooked by triathletes, who tend to focus on swim, bike, and run training. But preparing for and practicing your triathlon transitions is just as important, because a well-organized transition is not only speedy, but a major confidence boost. If you’re going to get flustered during your race, it’s most likely going to happen in transition, when nerves get the best of you and you suddenly can’t find where you stashed your bike, or when you realize that tying your shoes is a lot more complicated than you remember (it happens – a lot) with shaky hands.
But fear not! With a little preparation and a few practice sessions, you can nail your triathlon transitions and get on your way as quickly as possible.
Looking for more tips on how to get through your transition quickly and efficiently? Check out The Illustrated Guide to Racing A Triathlon.
Triathlon transition basics
In a triathlon, the word “transition” pulls double duty: It is both the act of swapping out your gear from swim to bike and bike to run as well as the place where this swap happens.
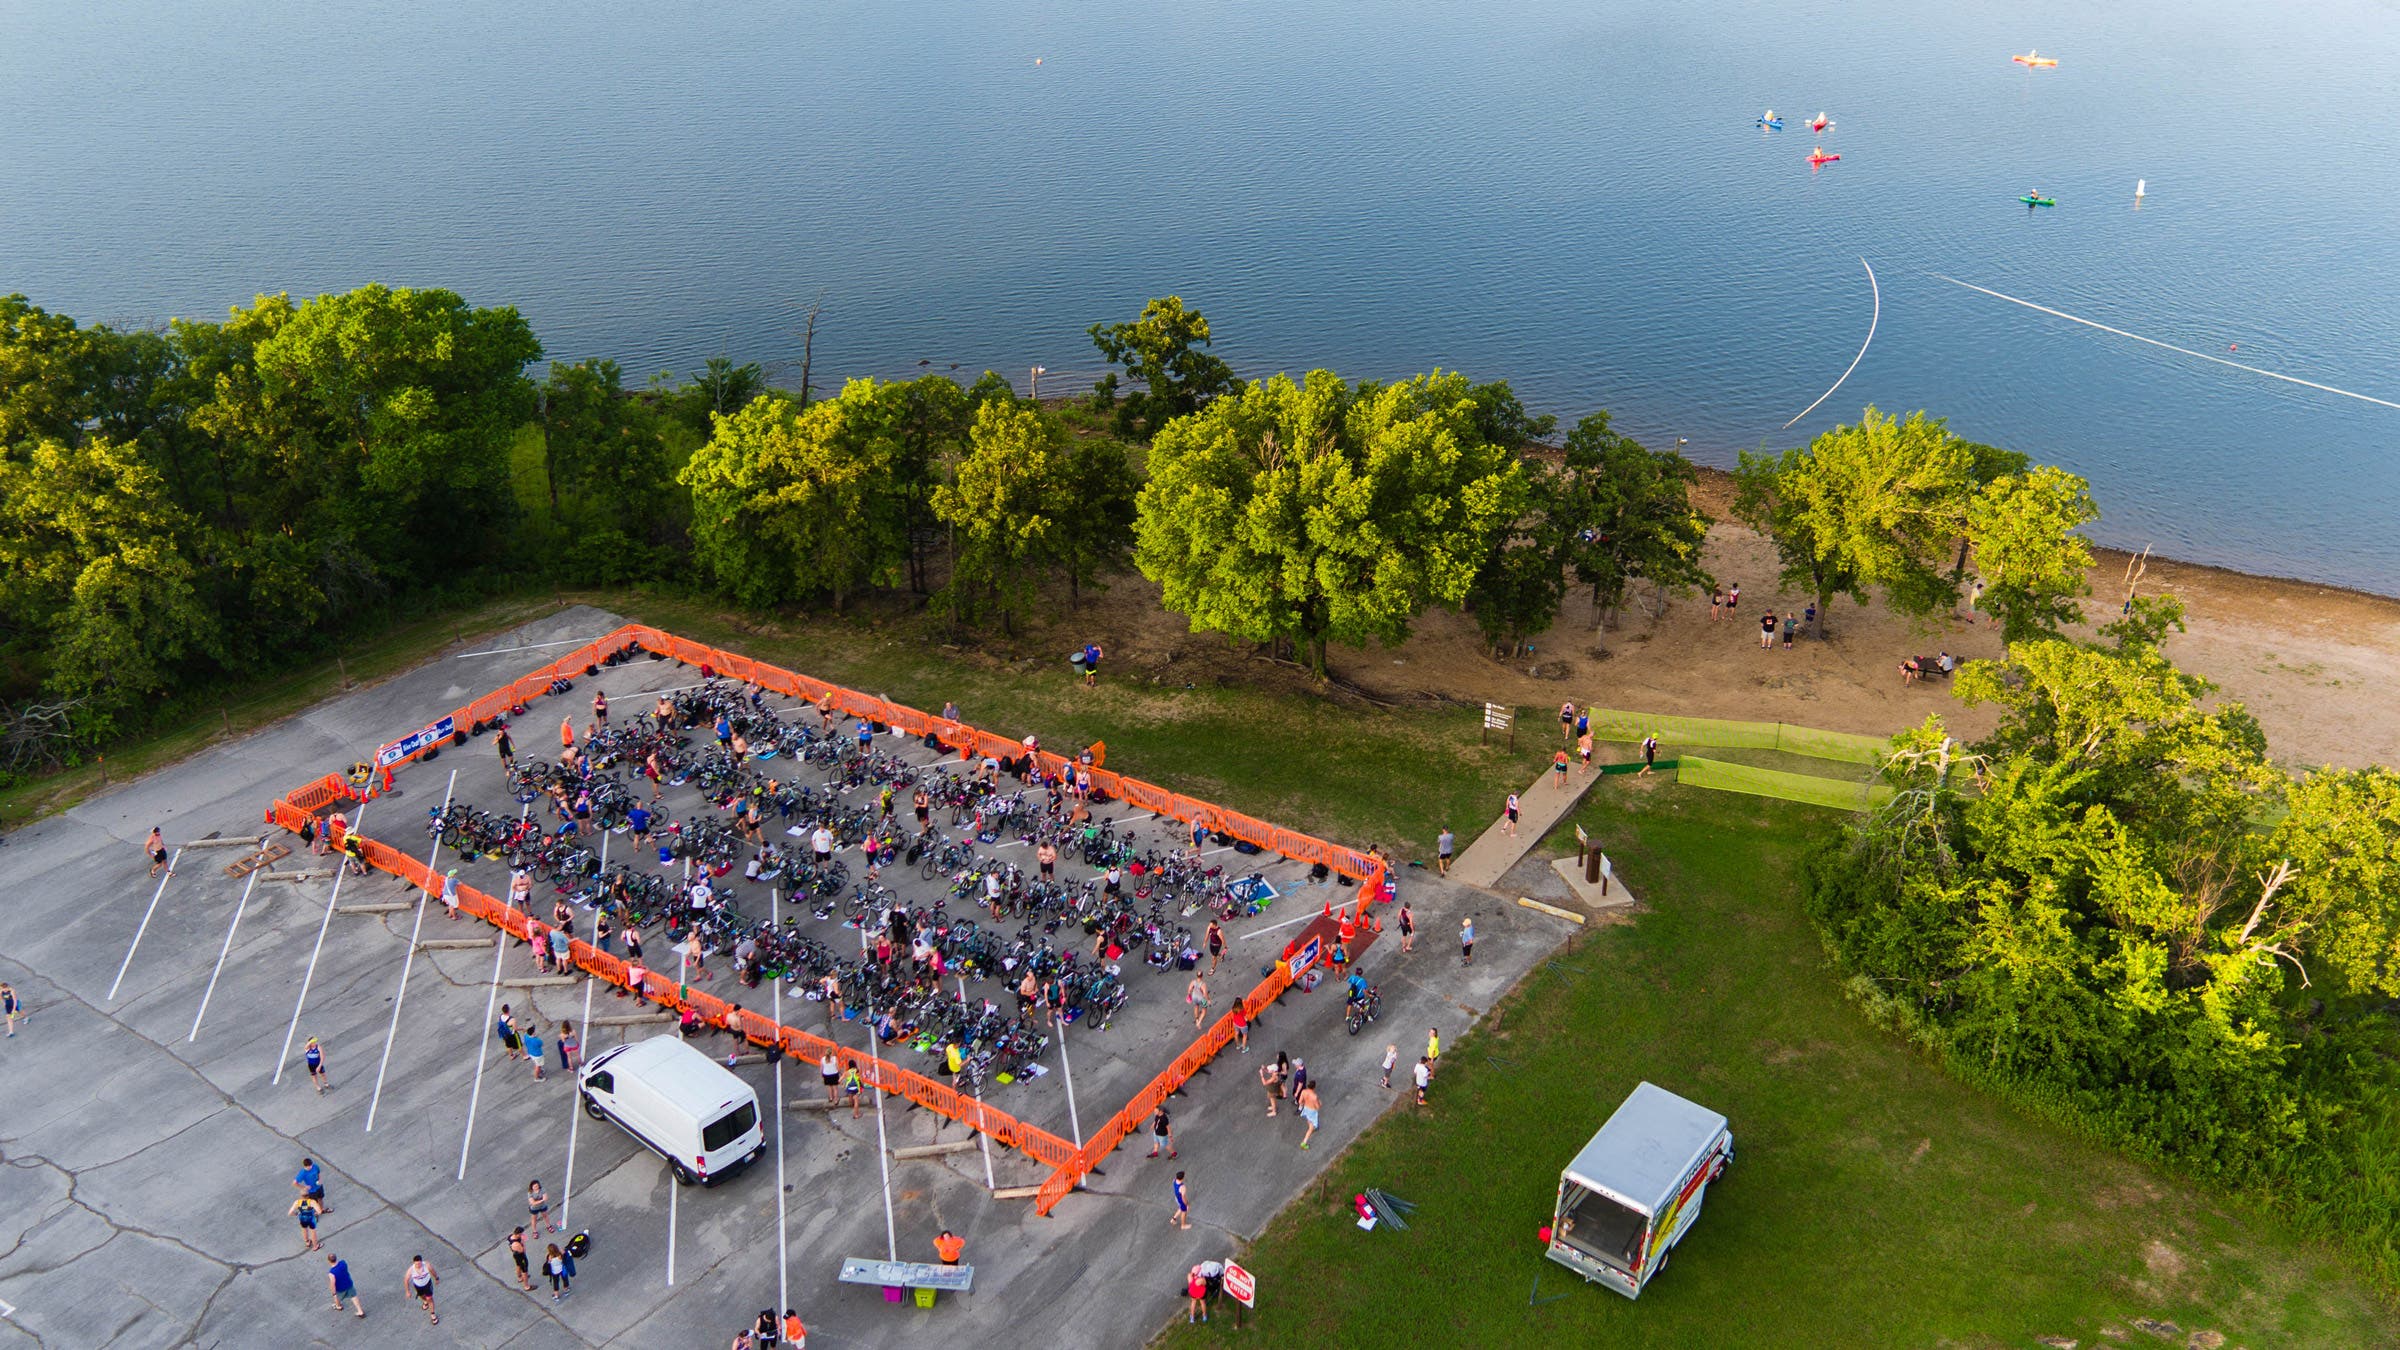
The transition zone is a designated area for triathletes to stash their gear, usually located next to the start and finish lines. This brings some method to the madness of transition – as you can imagine, dozens/hundreds/thousands of triathletes and their gear could potentially make quite a mess! A structured transition area with specific rules creates an environment where athletes can get to their gear without the hazard of tripping over wetsuits strewn about on the ground, or bikes stacked up just outside the dismount line.
ADVERTISEMENT
Within the transition zone, athletes are given a small piece of real estate that belongs only to them. When we say “small,” we mean small – your transition area is usually confined to a spot on a metal pole (where you’ll hang your bike by its seat) and the space next to or underneath your bike (where you’ll arrange your gear). This area is also where you’ll sit down to take off your wetsuit or change your shoes. If it sounds a bit tight, that’s because it is – but don’t worry, if you’re organized and intentional, this is plenty of space for what you need to accomplish in transition.
Sprint, Olympic, and 70.3 triathlon transition areas
Why are individual triathlon transition areas so small? In sprint, Olympic, and 70.3 races, you will not change your clothes, so you do not need a lot of space (or privacy). Instead, you’ll wear one outfit (known as a “triathlon kit”) from start to finish, changing out only the accessories, like your bike helmet or running shoes. For more on this, check out What Do I Wear to My First Triathlon?
Iron-distance triathlon transition areas
In some larger and longer races – specifically, iron-distance races with thousands of participants – the transition area looks a little different. You will be given the option to change your clothes in designated changing tents, and you will not store your gear under your bike; instead, you’ll be given bags for T1 and T2, which will hold your clothes and gear for the bike or run. You’ll grab these on your way to the changing tent. We cover iron-distance transitions in these guides:
ADVERTISEMENT
Point-to-point (or “split”) triathlon transition areas
Though most triathlon races use the same transition areas for T1 and T2, some events are “point-to-point” races, meaning they start in one location and finish in another. In these events, you may have two different transition areas. Before the race, you will be asked to put your gear for T1 in one spot and T2 in another. This can be a little more complicated logistically, but with a bit of organization, split transitions can be a breeze. For more on how to handle this circumstance, check out Point-to-Point Triathlons: Manage Split Transitions Like a Pro.
How to set up your triathlon transition area
Step 1: Get the lay of the land
Most races assign each athlete a spot in transition based on their race number. There will usually be a sign at the end of every row to identify which race numbers rack their bikes in that particular row; find your row first, then walk down your row to look for your specific number on a sticker on the bike rack. That is your individual triathlon transition area. Before you set up your gear, take a moment to draw your mental map of the transition area. Where will you run in from the swim, out on the bike and out on the run? Walk through the transition area from these points, counting the number of rows from these entry and exit points so that you can easily (and quickly) find your spot between swim to bike and bike to run. If you walk this route a few times, it will be more likely you will remember this during the race. Some people also like to draw a map of transition on their forearm with a Sharpie, though this is not recommended as a substitution for physically walking through transition as a rehearsal.
Step 2: Arrange your gear
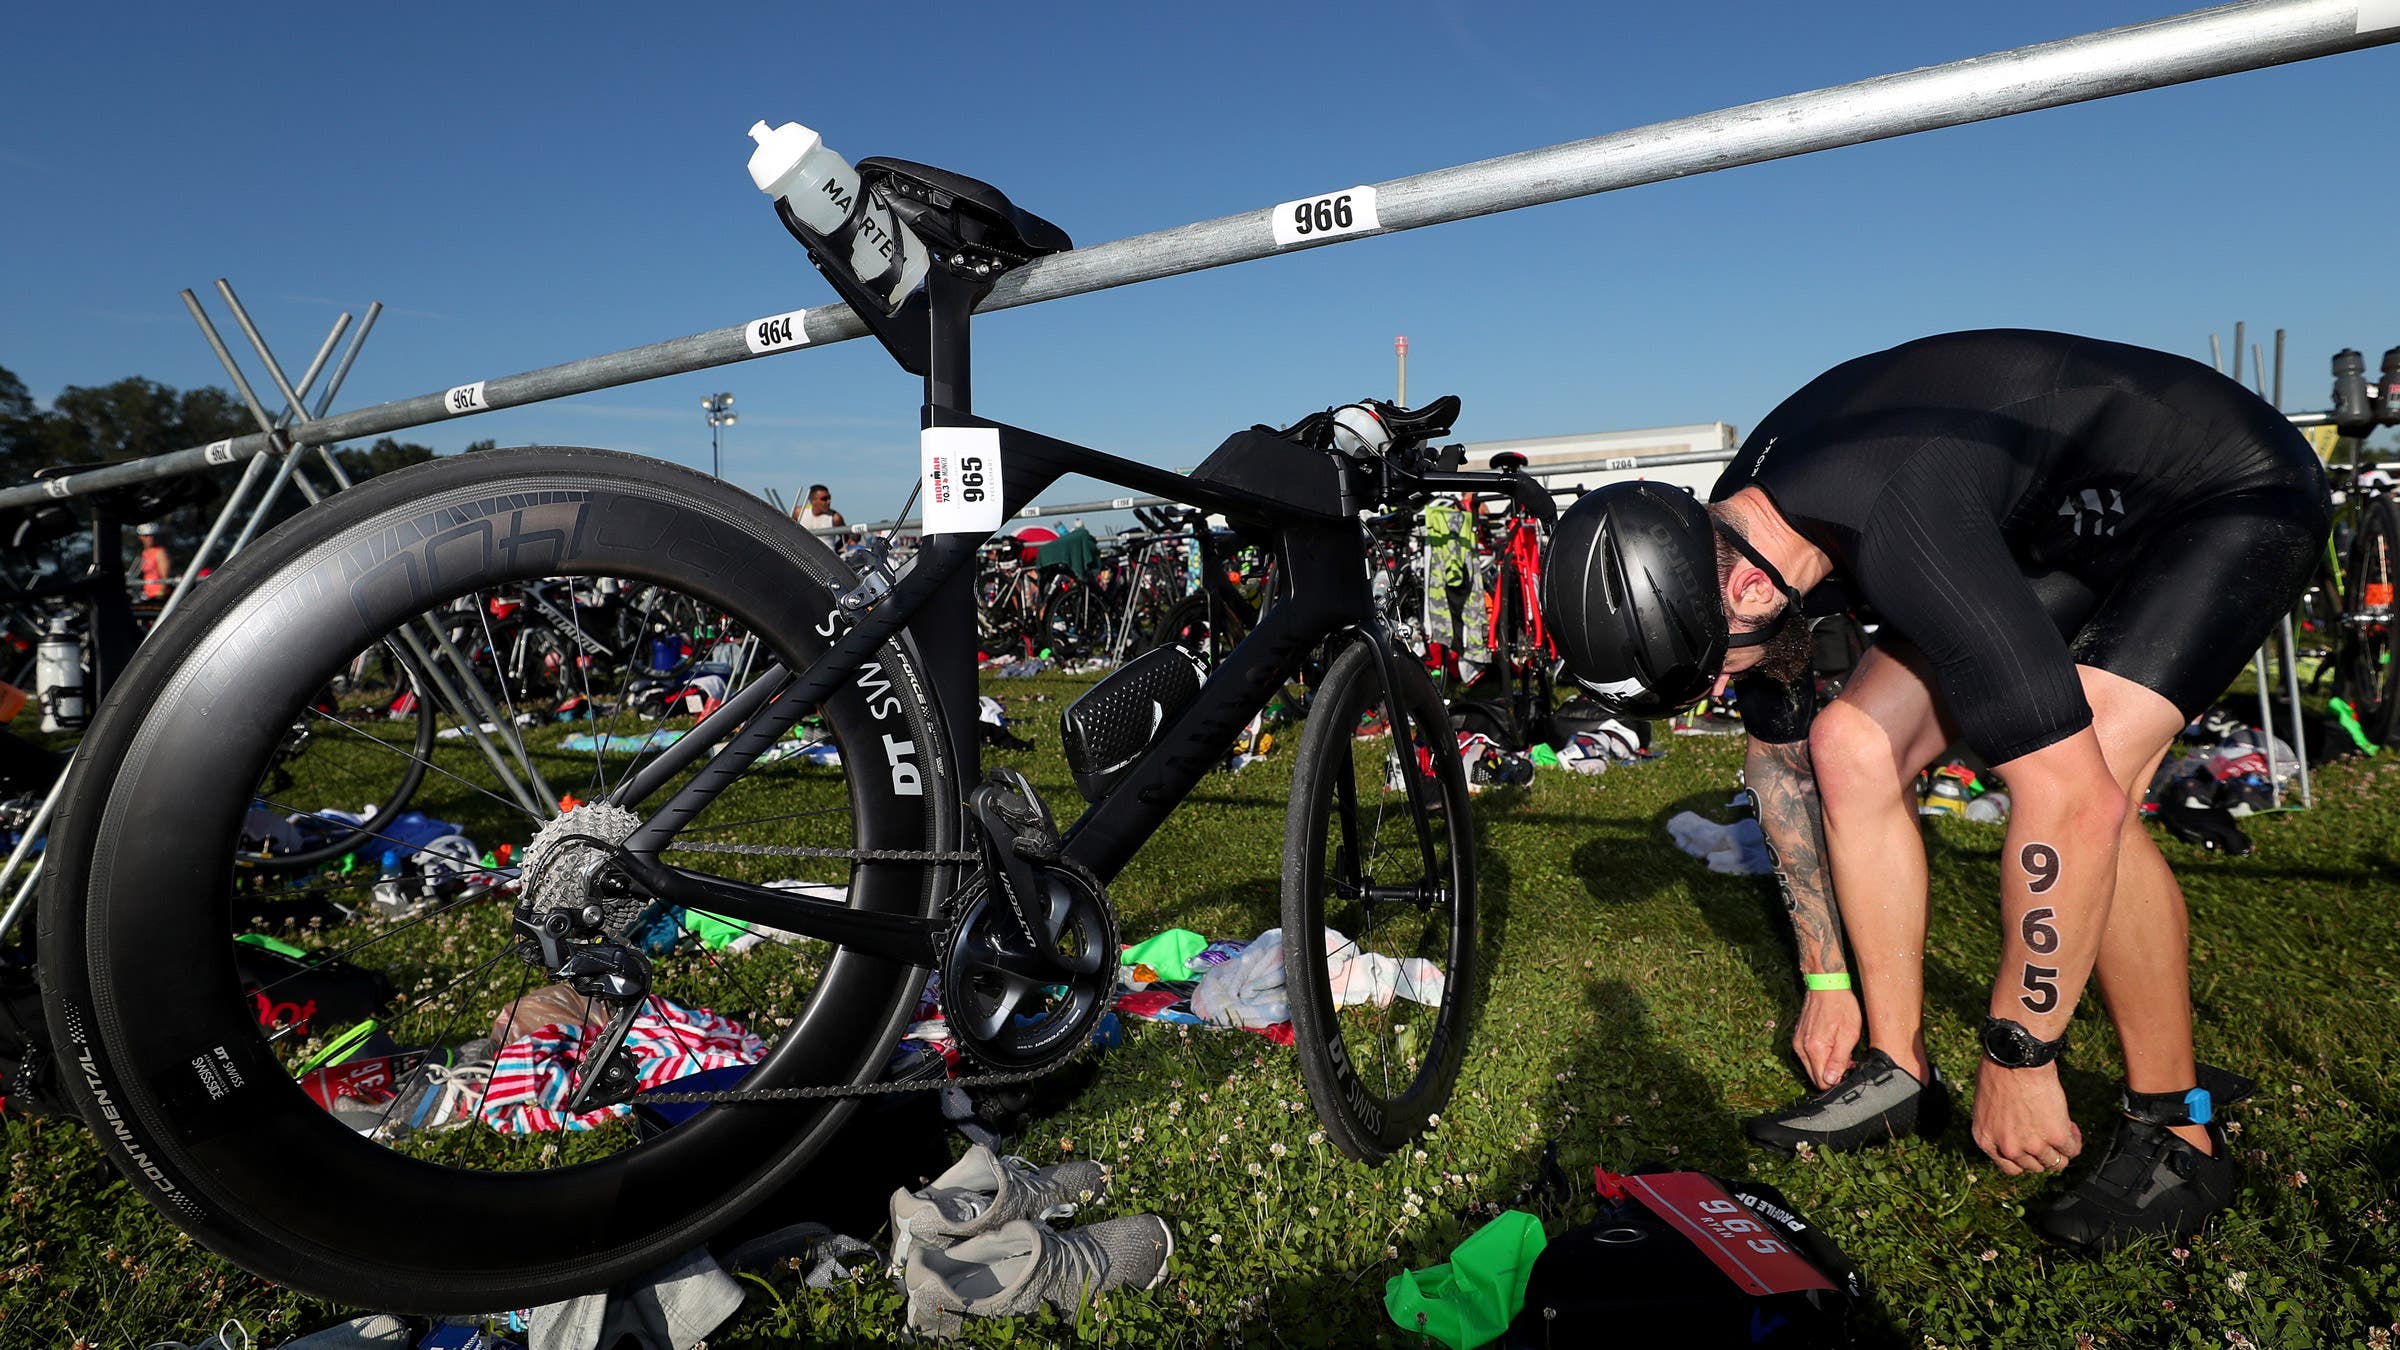
To maximize space, most races require triathletes to alternate directions of the bike; in other words, your bike’s front tire should face the opposite direction of the front tires on the bike next to you. This allows triathletes to alternate which side of the bike rack is used (and therefore keeps people from bumping into each other in transition). To rack your bike, tilt your seat to the side while rolling your bike under the metal pole. When the seat has cleared the pole, return your bike to an upright position and hang your bike from the pole by the seat. Your front wheel should be touching the ground.
The rest of your gear should be placed next to and/or underneath your front wheel—or actually on your bike. Some people like to place a small towel down to “mark” their real estate and keep things from getting dirty. Though this is not necessary, it can be helpful, especially when it comes to providing a stark, clean backdrop to make things easier to see (and thus less likely to be forgotten). It may also help to use your bike’s tire as a dividing line: bike gear on one side and run gear on the other.

ADVERTISEMENT
What gear do I need in my triathlon transition area?
At the very minimum, you should have the following items in your triathlon transition area:
- Swim goggles
- Swim cap
- Bike helmet
- Bike shoes
- Run shoes (and socks, if desired)
- Race number (and a way to wear that number, such as a race belt)
- Nutrition and hydration
Some optional, but nice-to-have items for your race:
- Wetsuit or swimskin
- A small towel to dry off after the swim
- Hat or visor
- Sunglasses for the bike and/or run
- Sunscreen
You may feel like you need way more gear than this short list, but resist the urge to bring everything and the kitchen sink to your race. This includes your post-race recovery clothes (leave them in the car), or a bucket to carry your gear and/or sit on (it is more likely to be in the way more than it is to help you), or sidewalk chalk/a balloon to mark your spot in transition. That last one is particularly important – in addition to being banned by some races, marking up the transition area is generally considered rude and confusing for other racers. Remember – it’s their transition area, too. Be considerate.
ADVERTISEMENT
RELATED: 10 Things Not to Bring to Your First Triathlon Transition
Step 3: Check your gear
To hit the ground running after the swim, check your bike to make sure it’s ready. Your pre-race bike checklist:
- Do you have your hydration bottles filled and placed in your bike’s bottle cages?
- Are the tires inflated to your preferred PSI?
- Is your bike chain fully on and lubricated?
- Do your brakes work when you squeeze them? (For rim brakes, are they adjusted so they do not rub against the wheel?)
- Is your bike in a gear that will not be too easy or too hard when you start pedaling?
- If you are keeping your shoes clipped in to the pedals, are they secured with a rubber band? (Note: This is an advanced move – don’t attempt until you’ve successfully pulled off clipped-in mounts many times in practice!)
Step 4: Warm up, put on your swim gear, and head to the start line
It’s go time! After doing your pre-race warm-up routine, it’s time to apply sunscreen and chamois cream (it will stay on through the swim), put on your wetsuit (here’s how) and walk to the swim start.
RELATED: 5 Top Pros Share Their Go-To Race Day Warm-Up Routines
T1: Swim to bike
Step 1: Exit the swim
Your swim exit begins long before you actually hit the ground. As you approach the exit, look for the most direct route to your exit. Stroke as far as you can until your hands begin to hit the ground, then push up and begin running to the exit.
Step 2: Remove your wetsuit
Once you begin running out of the swim exit to the transition area, place your goggles on your head, atop your swim cap, to keep your hands free while you unzip your wetsuit or swimskin. As you make your way to your spot in transition, remove your arms from your wetsuit or swimskin and let it hang at the waist while you run to your transition area. When you get to your spot, bend over, peel your wetsuit down to your ankles, and step out. Alternatively, if your race has volunteers to help with wetsuit removal, sit down in front of the volunteer with your wetsuit around your waist. Lift your legs into the air, and push your rear end up while the volunteer pulls the wetsuit off your legs. (Don’t forget to thank the volunteer before moving on to the next step!)
ADVERTISEMENT
Step 3: Swap out your swim gear for bike gear
Remove your goggles and swim cap. Place all your swim gear underneath your bike in your designated transition area (failure to keep your gear contained in your spot could result in a littering penalty).
Check to make sure your bike helmet is facing the correct direction (mix-ups happen a lot), place it on your head, and buckle the chin strap. Place any bike nutrition (gels, bars, etc.) in your pocket. Put on your sunglasses and bike shoes (unless you are doing a clipped-in mount) and unhook your bike from the rack by lifting the seat, tilting the bike to the side, and rolling your bike under the rack.
ADVERTISEMENT
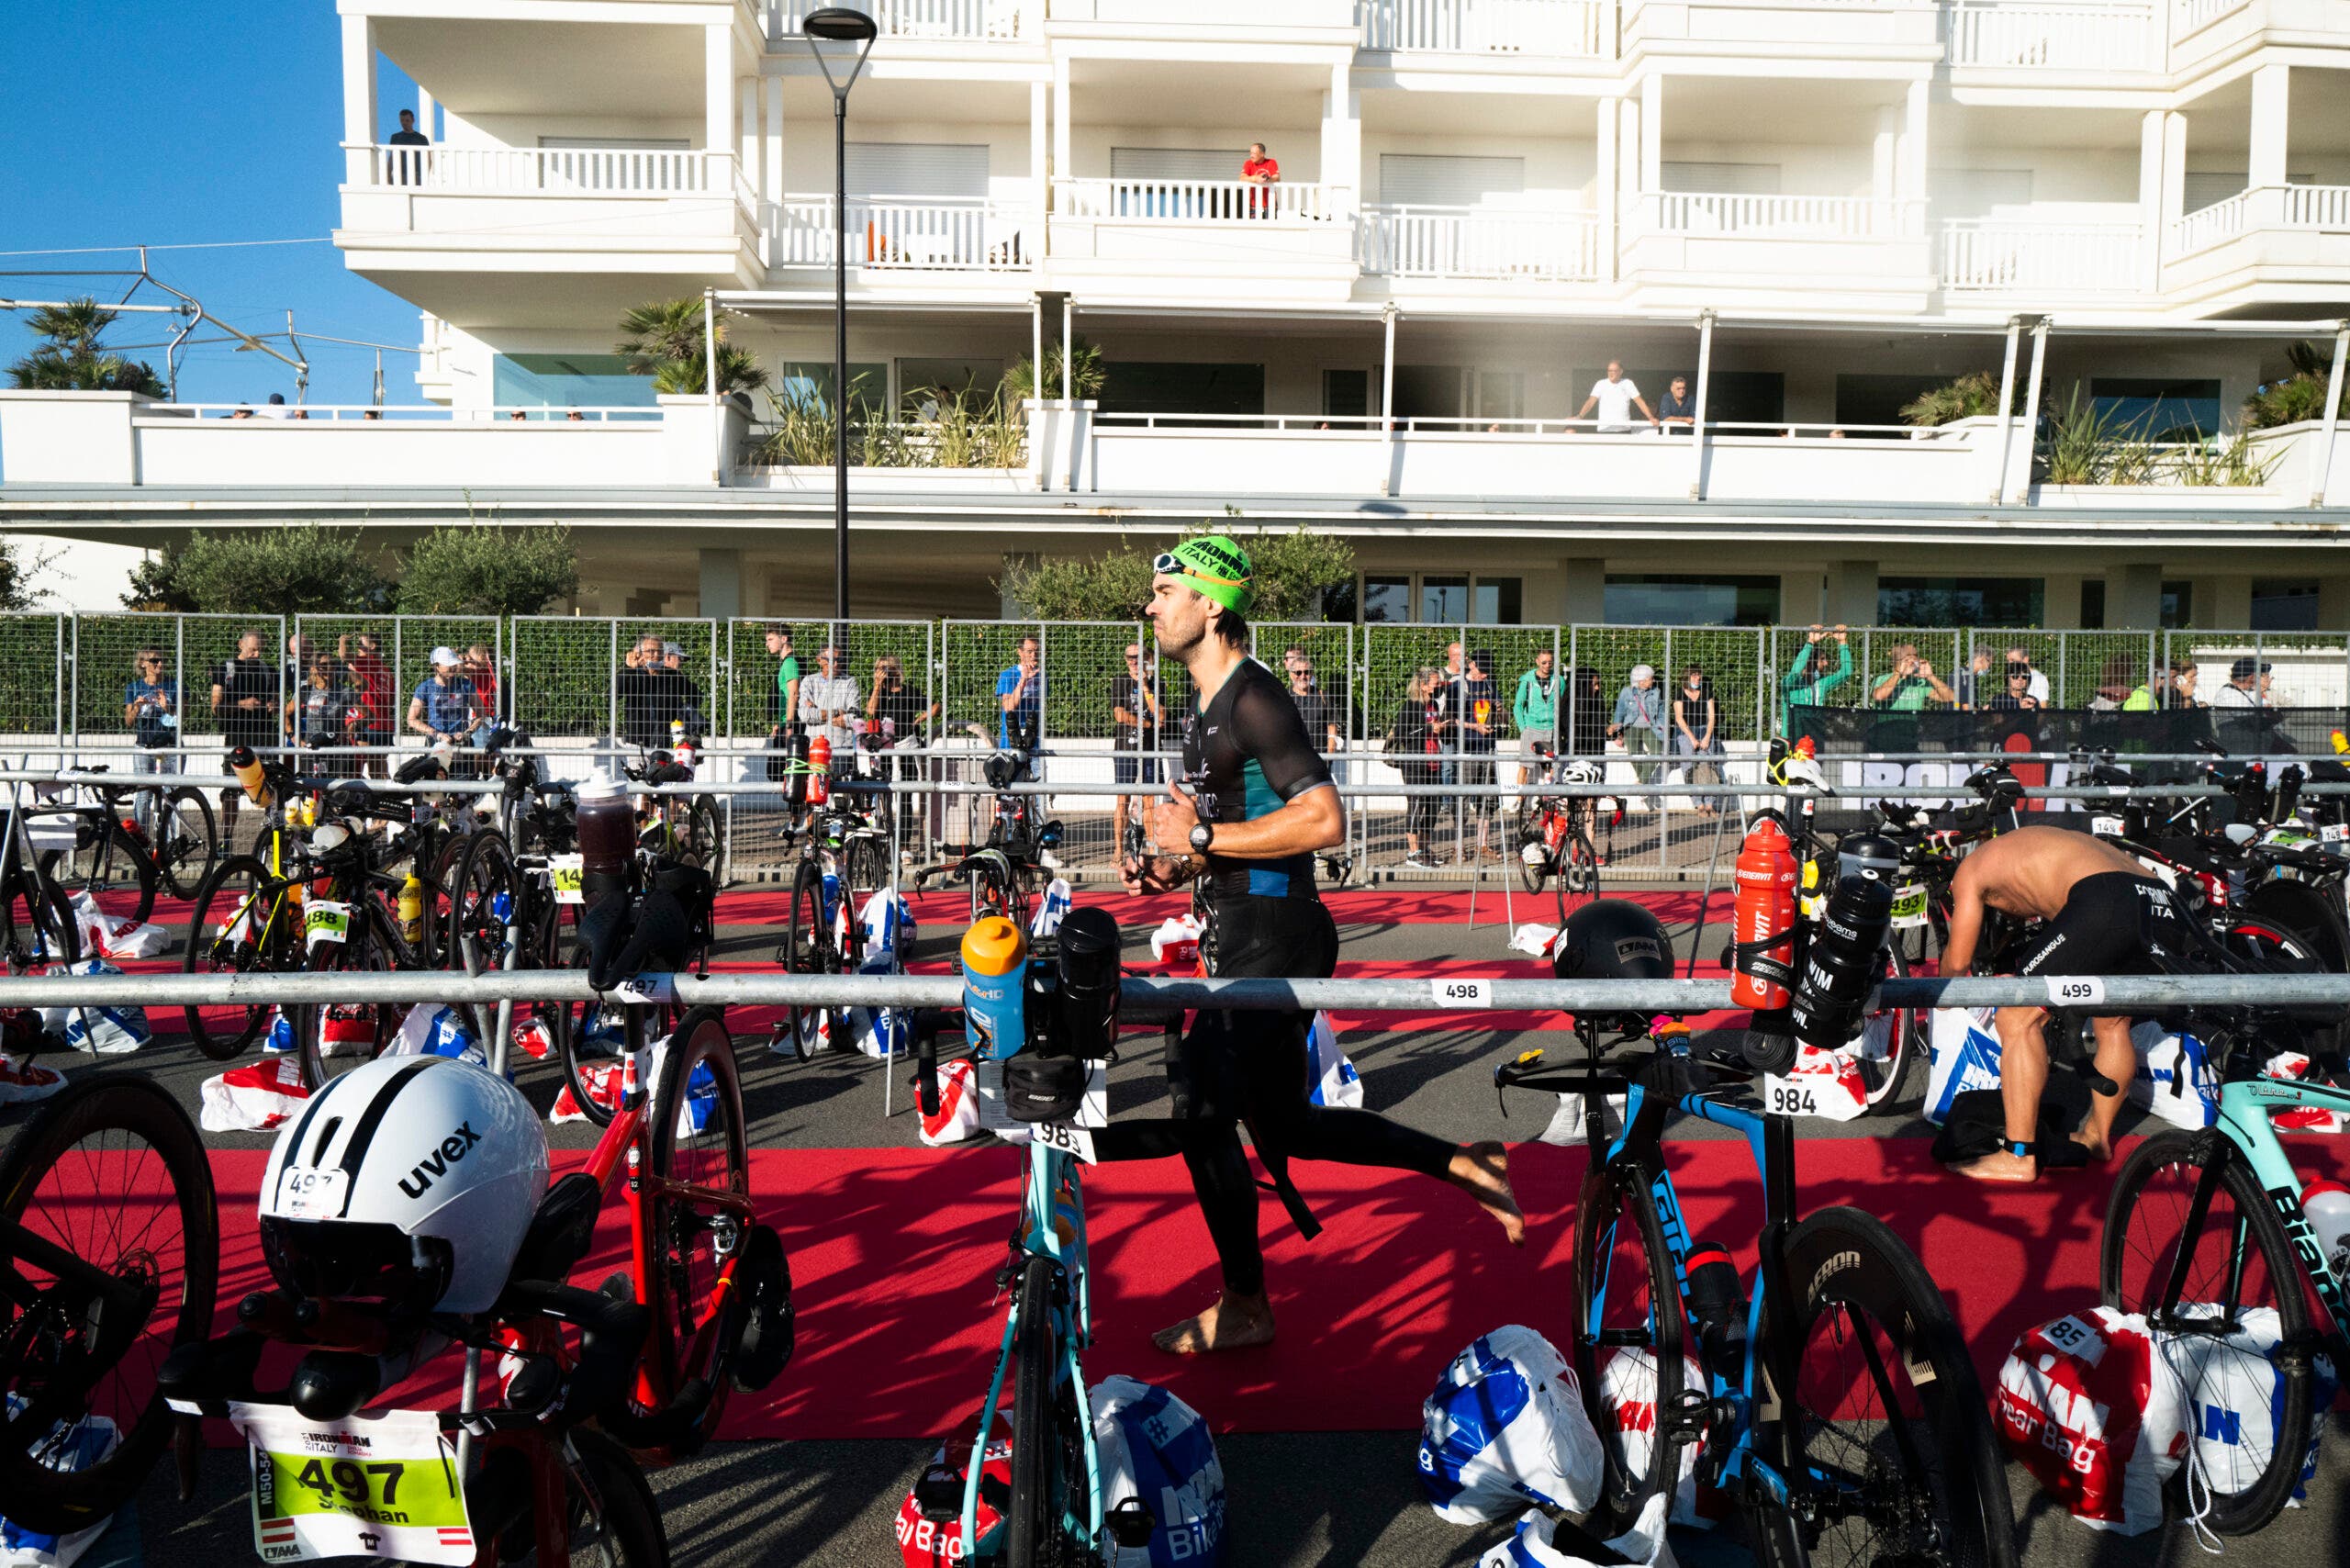
Step 4: Run to the bike exit and mount line
Run alongside your bike as you push it through transition, to the bike exit and the mount line. To avoid the congestion of the mount line and get on your bike faster, keep running for 10-20 feet past the mount line, then get on your bike and begin pedaling. Whatever you do, don’t get on your bike before the mount line – you could get a penalty!
ADVERTISEMENT
RELATED: How to Mount and Dismount Your Bike in a Triathlon
T2: Bike to run
Step 1: Exit the bike course
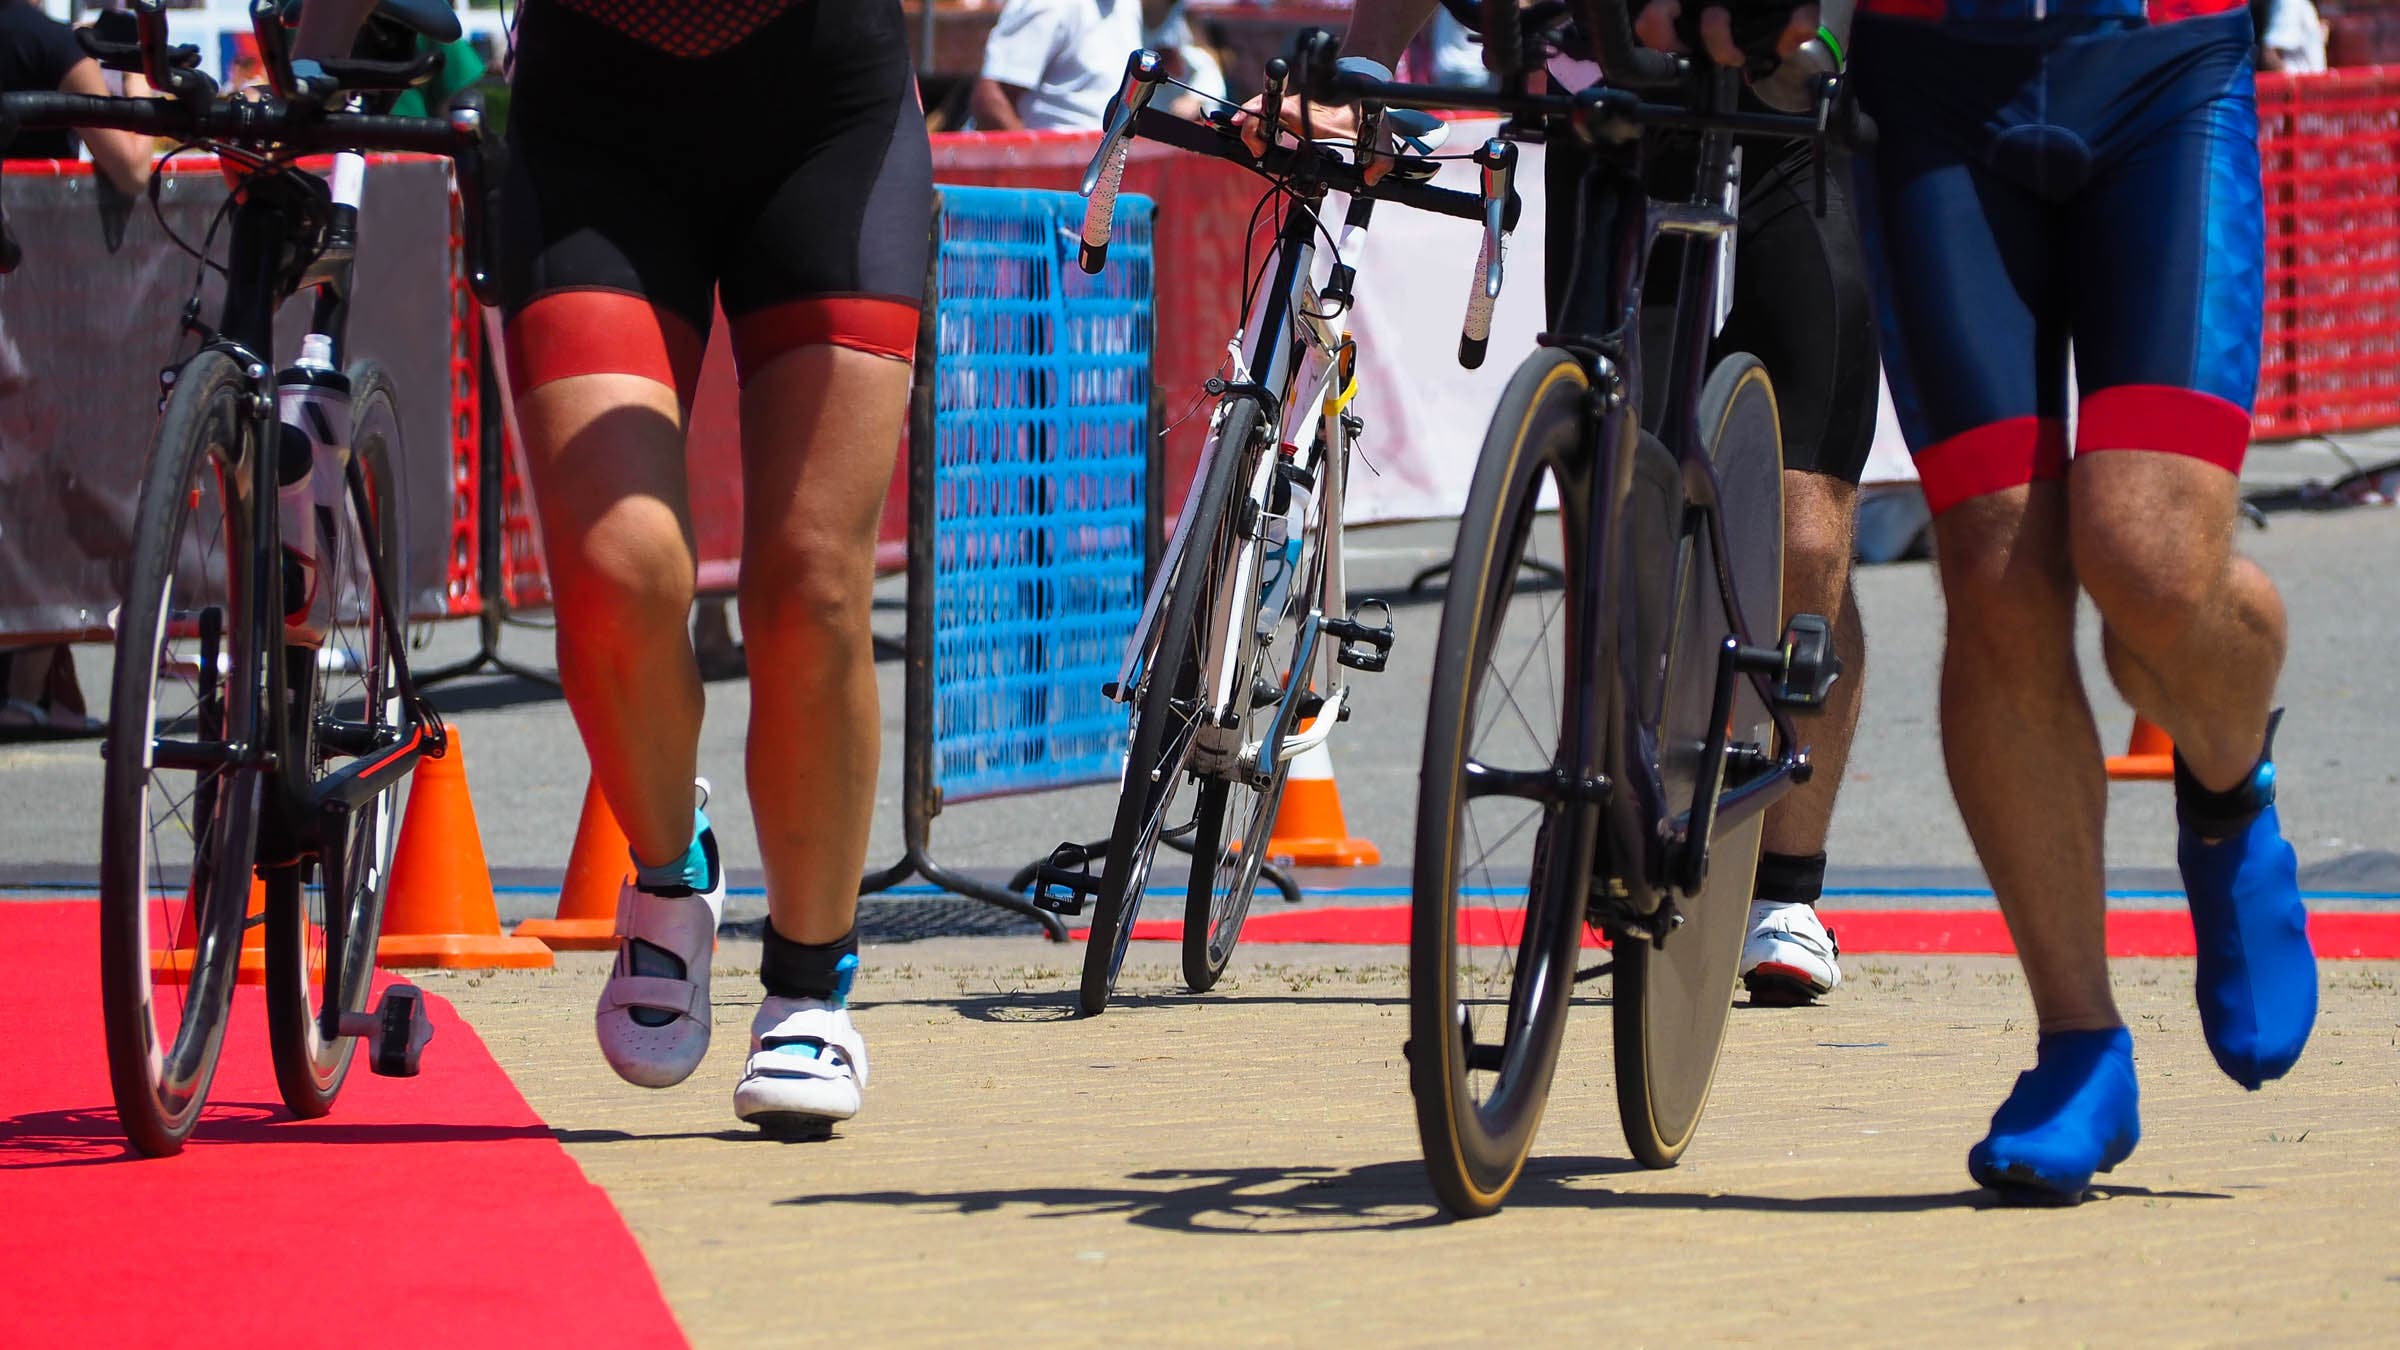
For everyone’s safety, triathletes must dismount their bike before a designated dismount line before entering T2 – again, if you wait too long to get off your bike, you could get a penalty. Whether you decide to take your feet out of your shoes for a clipped-in dismount or keep them on to wear as you make your way through transition, the decision must be made before dismounting – no waffling! No one wants to be the one to cause a low-speed pileup at the dismount line. Dismount your bike, then run alongside your bike, pushing it into transition. When you get to your spot, rack your bike by the seat (just as you did before the race), then proceed with transitioning to the run.
Step 2: Swap out your bike gear for run gear
Remove your helmet and place it under your bike (again, you must keep your gear contained to your designated space, or you may incur a littering penalty). Put on your hat or visor (if using one), place any run gels or bars into your pocket, clip on your race belt (or other apparatus for wearing your race number), and slip your feet into your socks (if using) and running shoes. If you wish, take a moment to reapply sunscreen.
ADVERTISEMENT
Step 3: Exit to the run course
If you’re looking to get out and on your way as quickly as possible, begin jogging from your transition spot to the exit and onto the run course. If you find your legs are a little wobbly after the bike, however, a fast walk to the transition exit can help you get your bearings before you start to jog, then run. Either way is fine – unlike the bike, there is no line that delineates where to begin running. Remember, you don’t want to burn your matches too early in the run, so pace yourself appropriately!
Video: Triathlon transition tips and tricks
Video credit: GRIT USA
Bonus tips for perfect triathlon transitions:
If you have the opportunity to just watch a triathlon (or, better yet, volunteer in a transition area!), stand near the transition area and pick out a few people to observe and analyze. You’ll find examples of what to do and what not to do during your race.
As the above video mentions, little things like crumpling your bib number so it doesn’t flap in the wind may seem overly attentive, but you’ll be glad to have one less distraction from your focus on the race itself. Other small adjustments:
- Bring plastic bags to put over your hands and feet to make it easier to put your wetsuit on.
- Place your wetsuit sleeve over your watch for faster wetsuit removal.
- Consider elastic laces instead of traditional shoelaces, which may save you time in T2
- If your race requires you to put stickers with your race number on your bike or helmet, apply them at home, before you arrive at the race, so you don’t forget.
- Read the race rules to see what time athletes must be out of transition and at the swim start pre-race. Arrive early and give yourself plenty of time to walk through transition, pump up your bike tires, arrange your gear, and warm up.
- Remove any extra gear you will not use during the race itself (such as your warm-up and post-race clothing, bike pump, pre-race nutrition bottles or wrappers).
You may be surprised to learn that wearing a helmet is not just mandatory for the race itself – any time you are on your bike, even if you are riding from your car to transition, rules dictate you must wear a helmet. If a race official spots you riding without a helmet, you may be given a penalty or disqualification.
ADVERTISEMENT
Do a race-day rehearsal in the weeks leading up to your big event. Just like you practice changing a flat tire so you don’t lose precious time in your race, a transition practice can help you build the muscle memory necessary to get through T1 and T2 without getting flustered. Try setting up a mini transition area during your brick workouts, or have your tri buddies over for a friendly speed competition for transition. (Just wait until after the competition to crack open the celebratory beers.)
RELATED: 4 Simple Tips For Fast, Olympian-Style Triathlon Transitions