Updated May 29, 2025 09:05AM
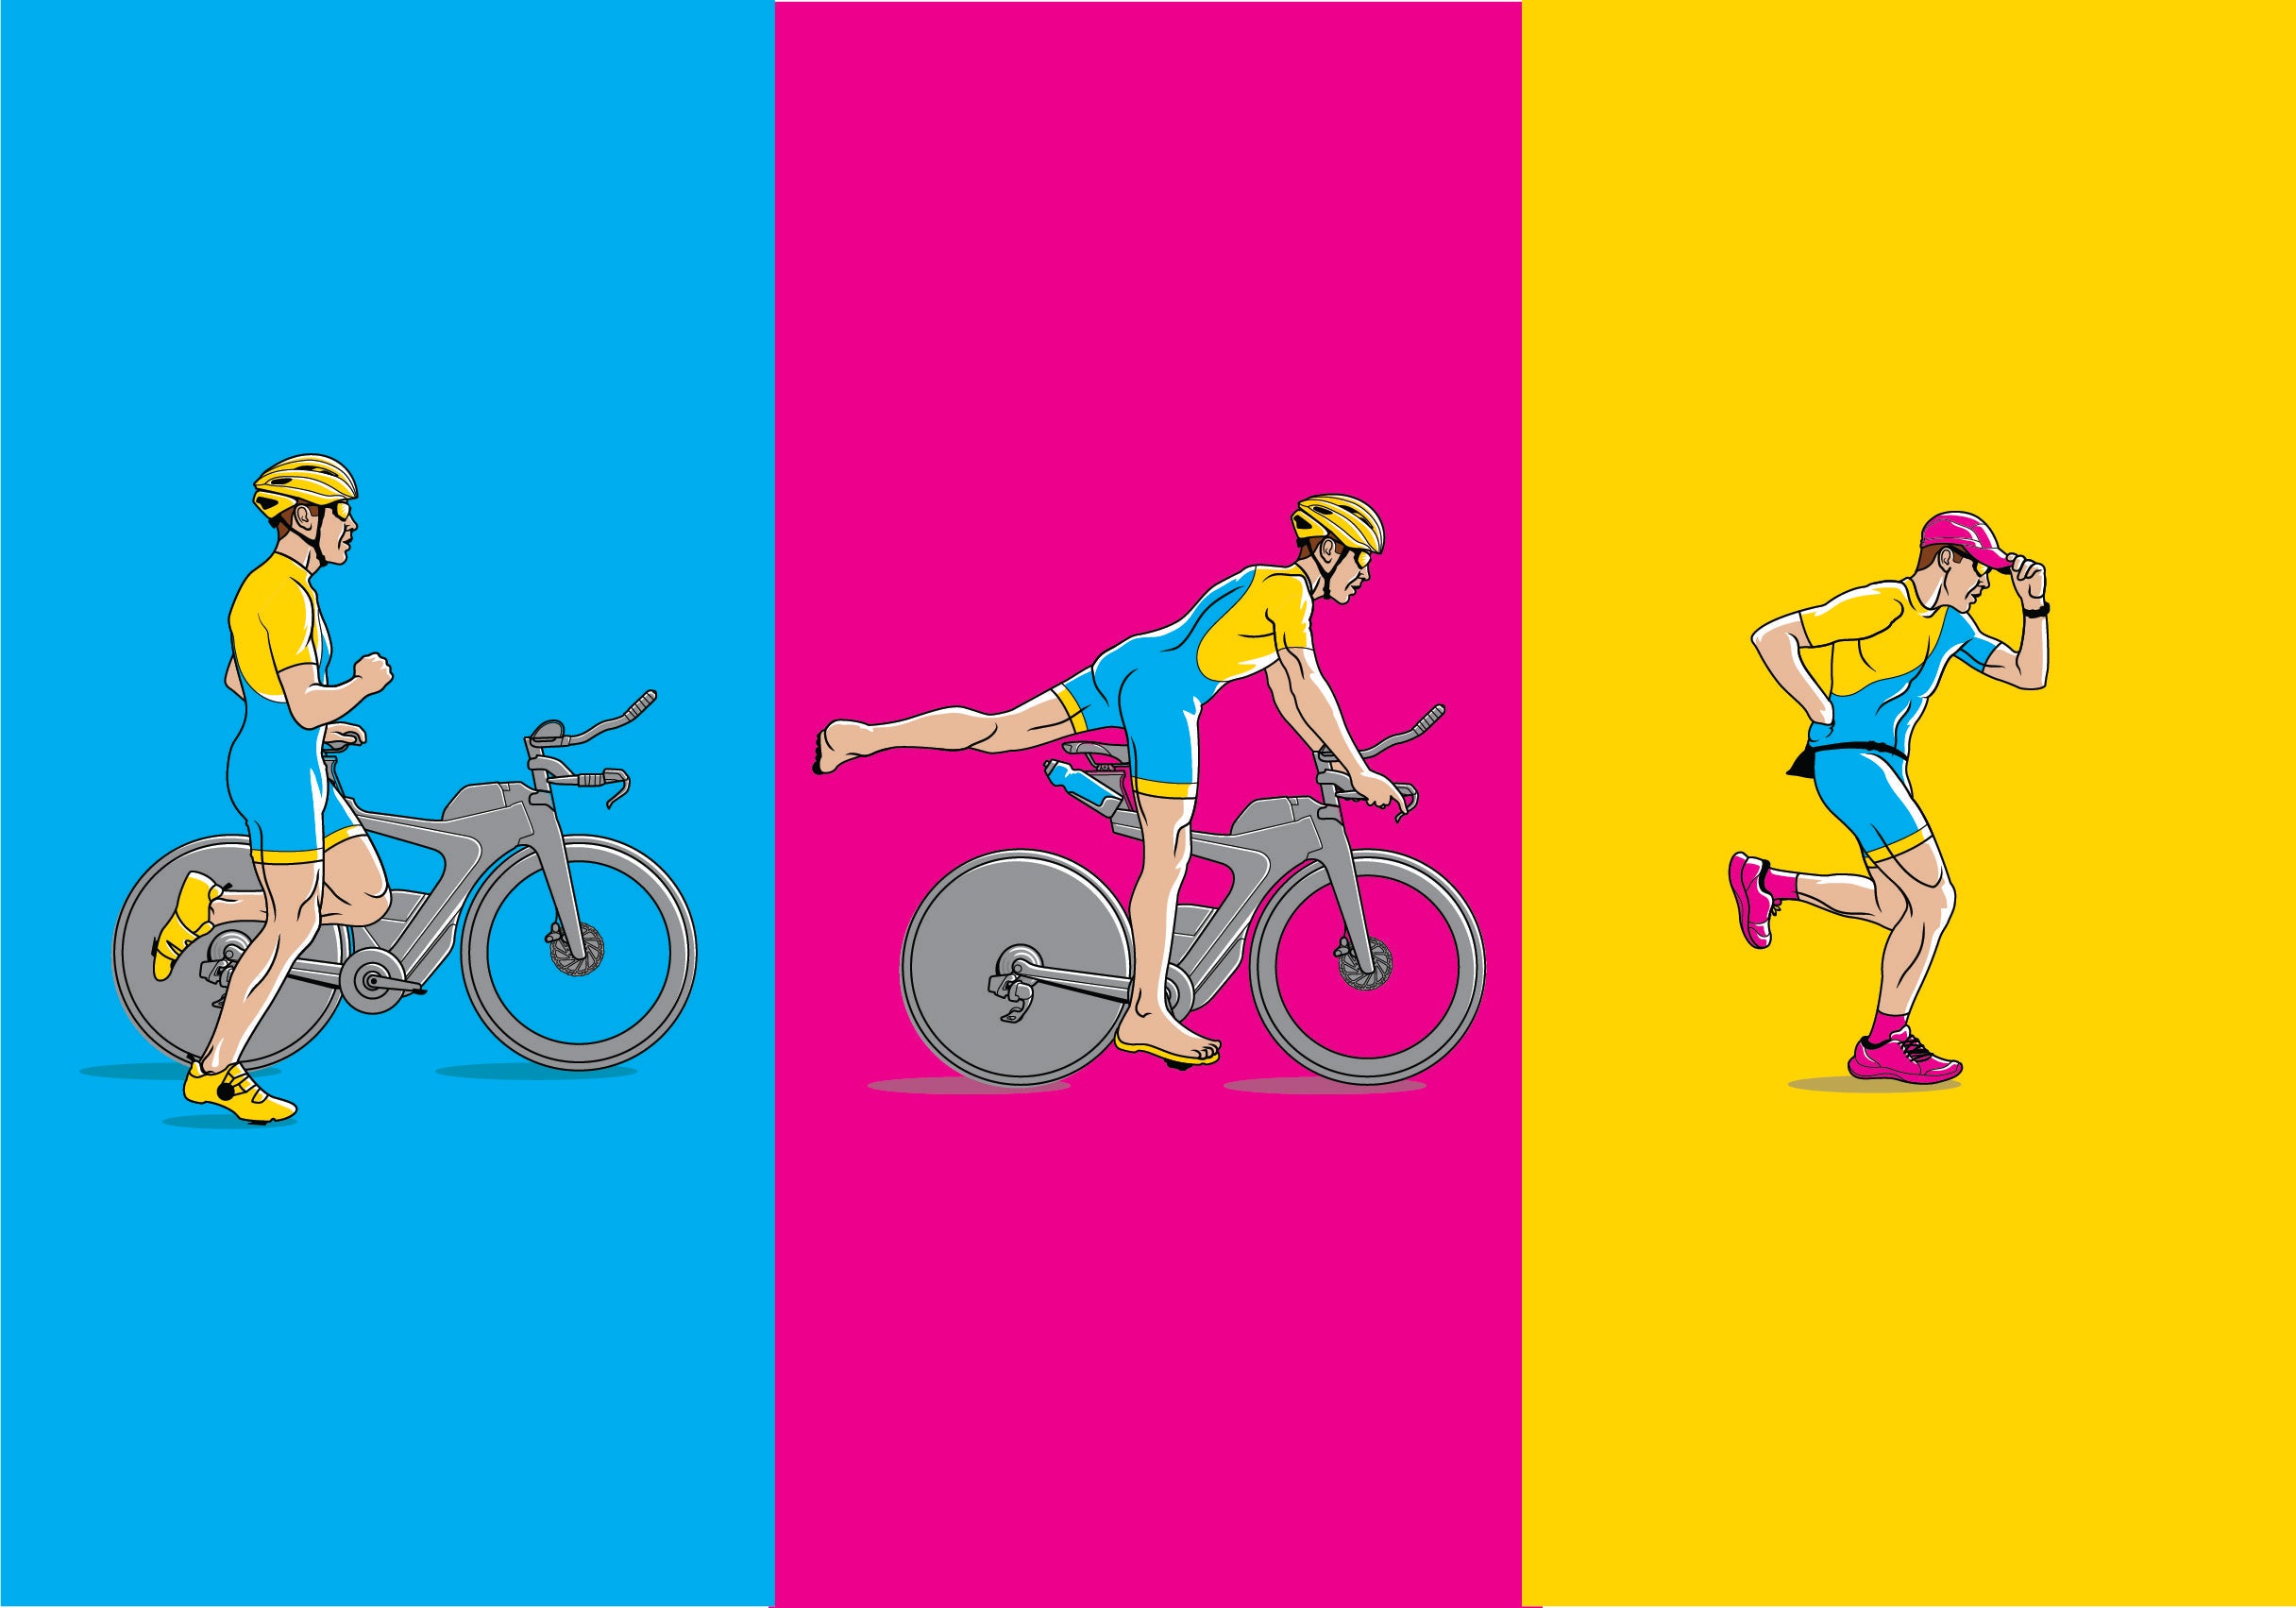
The Illustrated Guide to Racing a Triathlon
How do you transition? How do you set up your area? How do you navigate aid stations? How do you do it like a pro?
(Photo: Mike Reisel)
Table of Contents
Triathlon is a tough enough sport with just the basics – swimming, biking, and running are already pretty difficult. But throw in transitioning between the three, open-water swimming, starting, exiting the water, aid stations, and even (gasp) that all-too-important finish-line photo? You’ve got a lot on your plate all of a sudden.
Fortunately, we’ve tapped the experts to walk you through seven of the most crucial tri-specific skills with illustrations to help.
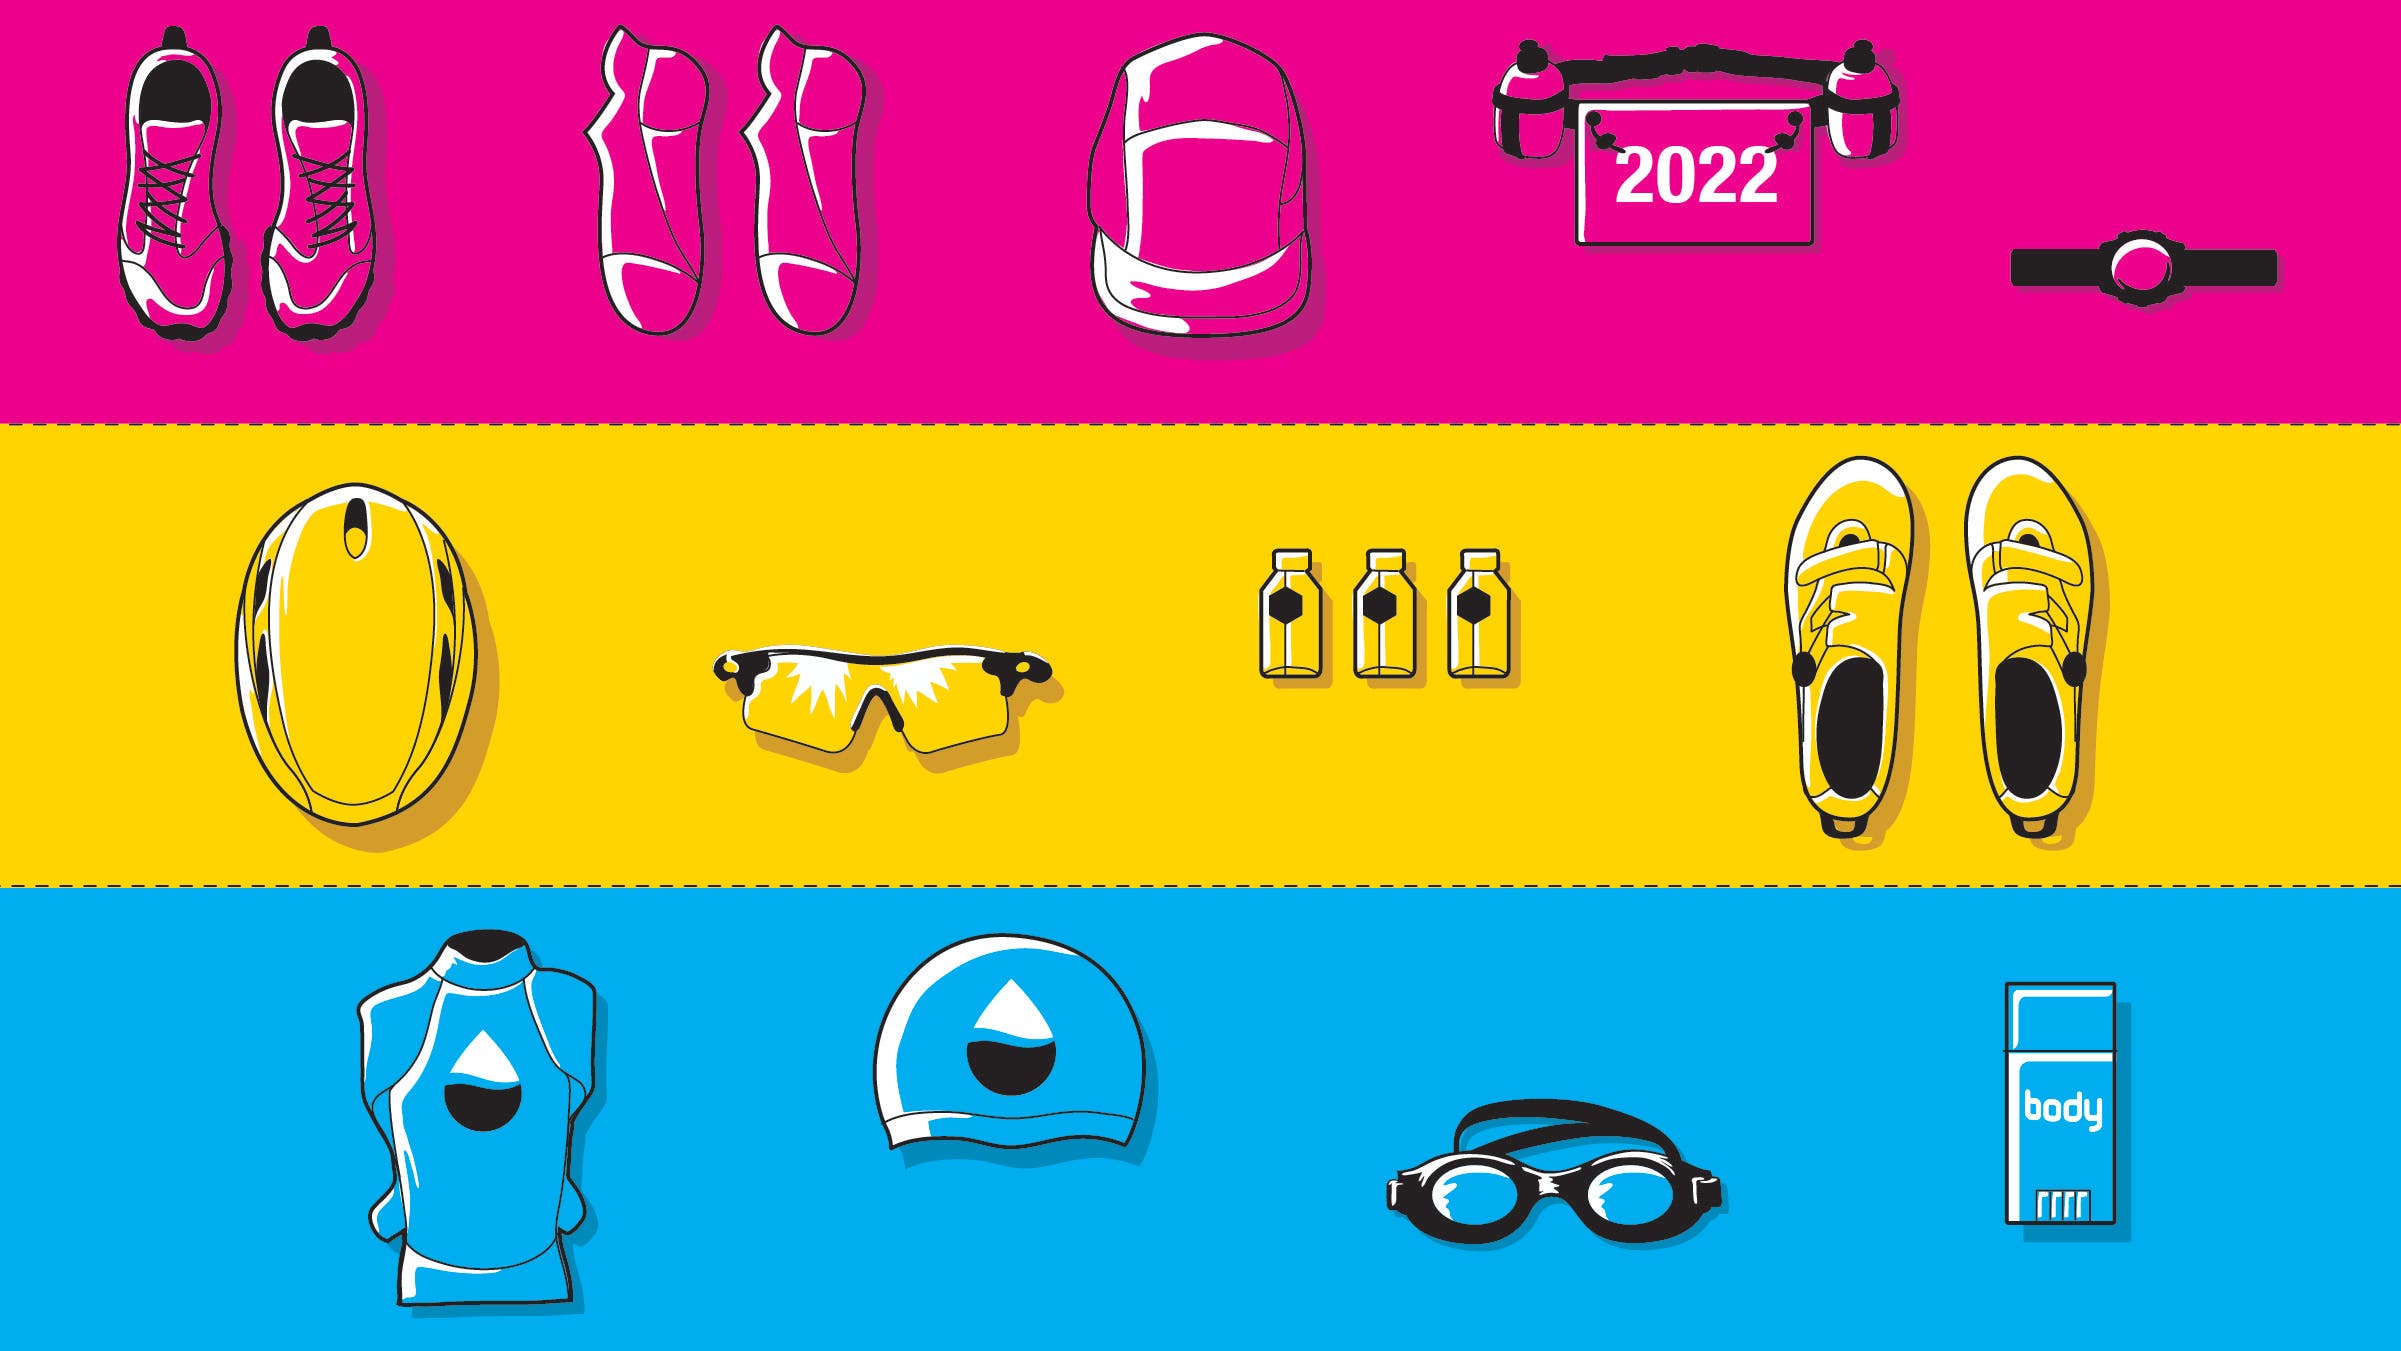
How to set up transition for a triathlon
The key to setting up your transition area is to have everything you need – and nothing more. Be organized and methodical, and then remove all extra stuff (including your morning clothes and bag).
- Divide up your transition space into parts. What do you need to go from the swim to the bike? Bike shoes, helmet, glasses, and nutrition (if it’s not already on your bike). Put your water bottles and bike computer (if you have one) on your bike. Check your tire pressure and that your bike is in the right gear for the start of the ride.
- Go from front to back in the order you’ll use stuff. Think about T2: What do you need to transition from bike to run? Run shoes, socks (if you use them – if so, take each sock out and lay it next to or on top of your shoe), watch, hat and/or sunglasses, race belt, and nutrition. Be sure to put your number on your race belt.
- Set aside what you need for the swim. Wetsuit, goggles, Body Glide. Walk the transition area from “Swim In” to your rack spot and out to “Bike Exit,” then from “Bike In” to “Run Out” so that the routes are familiar to you. Look for big landmarks to help guide you during the race.

How to get your triathlon wetsuit on (and off)
To get the wetsuit on: Start at the bottom and keep your socks on – it’ll help get your heel and foot through the leg opening. Then go bit by bit, gradually working the wetsuit up, pulling with as much of the inside (not the fragile outside) material as you can. Start at the legs and work extra neoprene up to your waist.
Once you have enough slack at the waist (the suit should be extremely snug in your crotch), pull on the arms, and then work each arm up so that any give is at the shoulders, not the wrists. Don’t worry if the wrists or ankles ride up, that’s OK. Don’t rush and stick a finger through the thin neoprene parts. If possible, once you zip up, get in the water and move around, then work up any extra once the neoprene has loosened.
While getting your wetsuit on is a process in patience, getting it off has to happen quickly. Once you’re out of the water, pull the zipper down as you run into transition (keep your swim cap and goggles on, so they don’t get in the way), then pull one arm out, then the other. You can run with the suit around your waist (and pull your cap and goggles off as you run, so you can toss them in your transition spot).
Once you’re at your transition spot (or wherever you plan to take off your wetsuit), pull with both hands straight down from your waist until the suit is around your ankles. Step on the neoprene of one leg to pull that foot out, using your fingers to pop it over your heel if needed. Then step on the other wetsuit leg to pull that foot out.
RELATED: How the #$%! Do I Get This Wetsuit On?
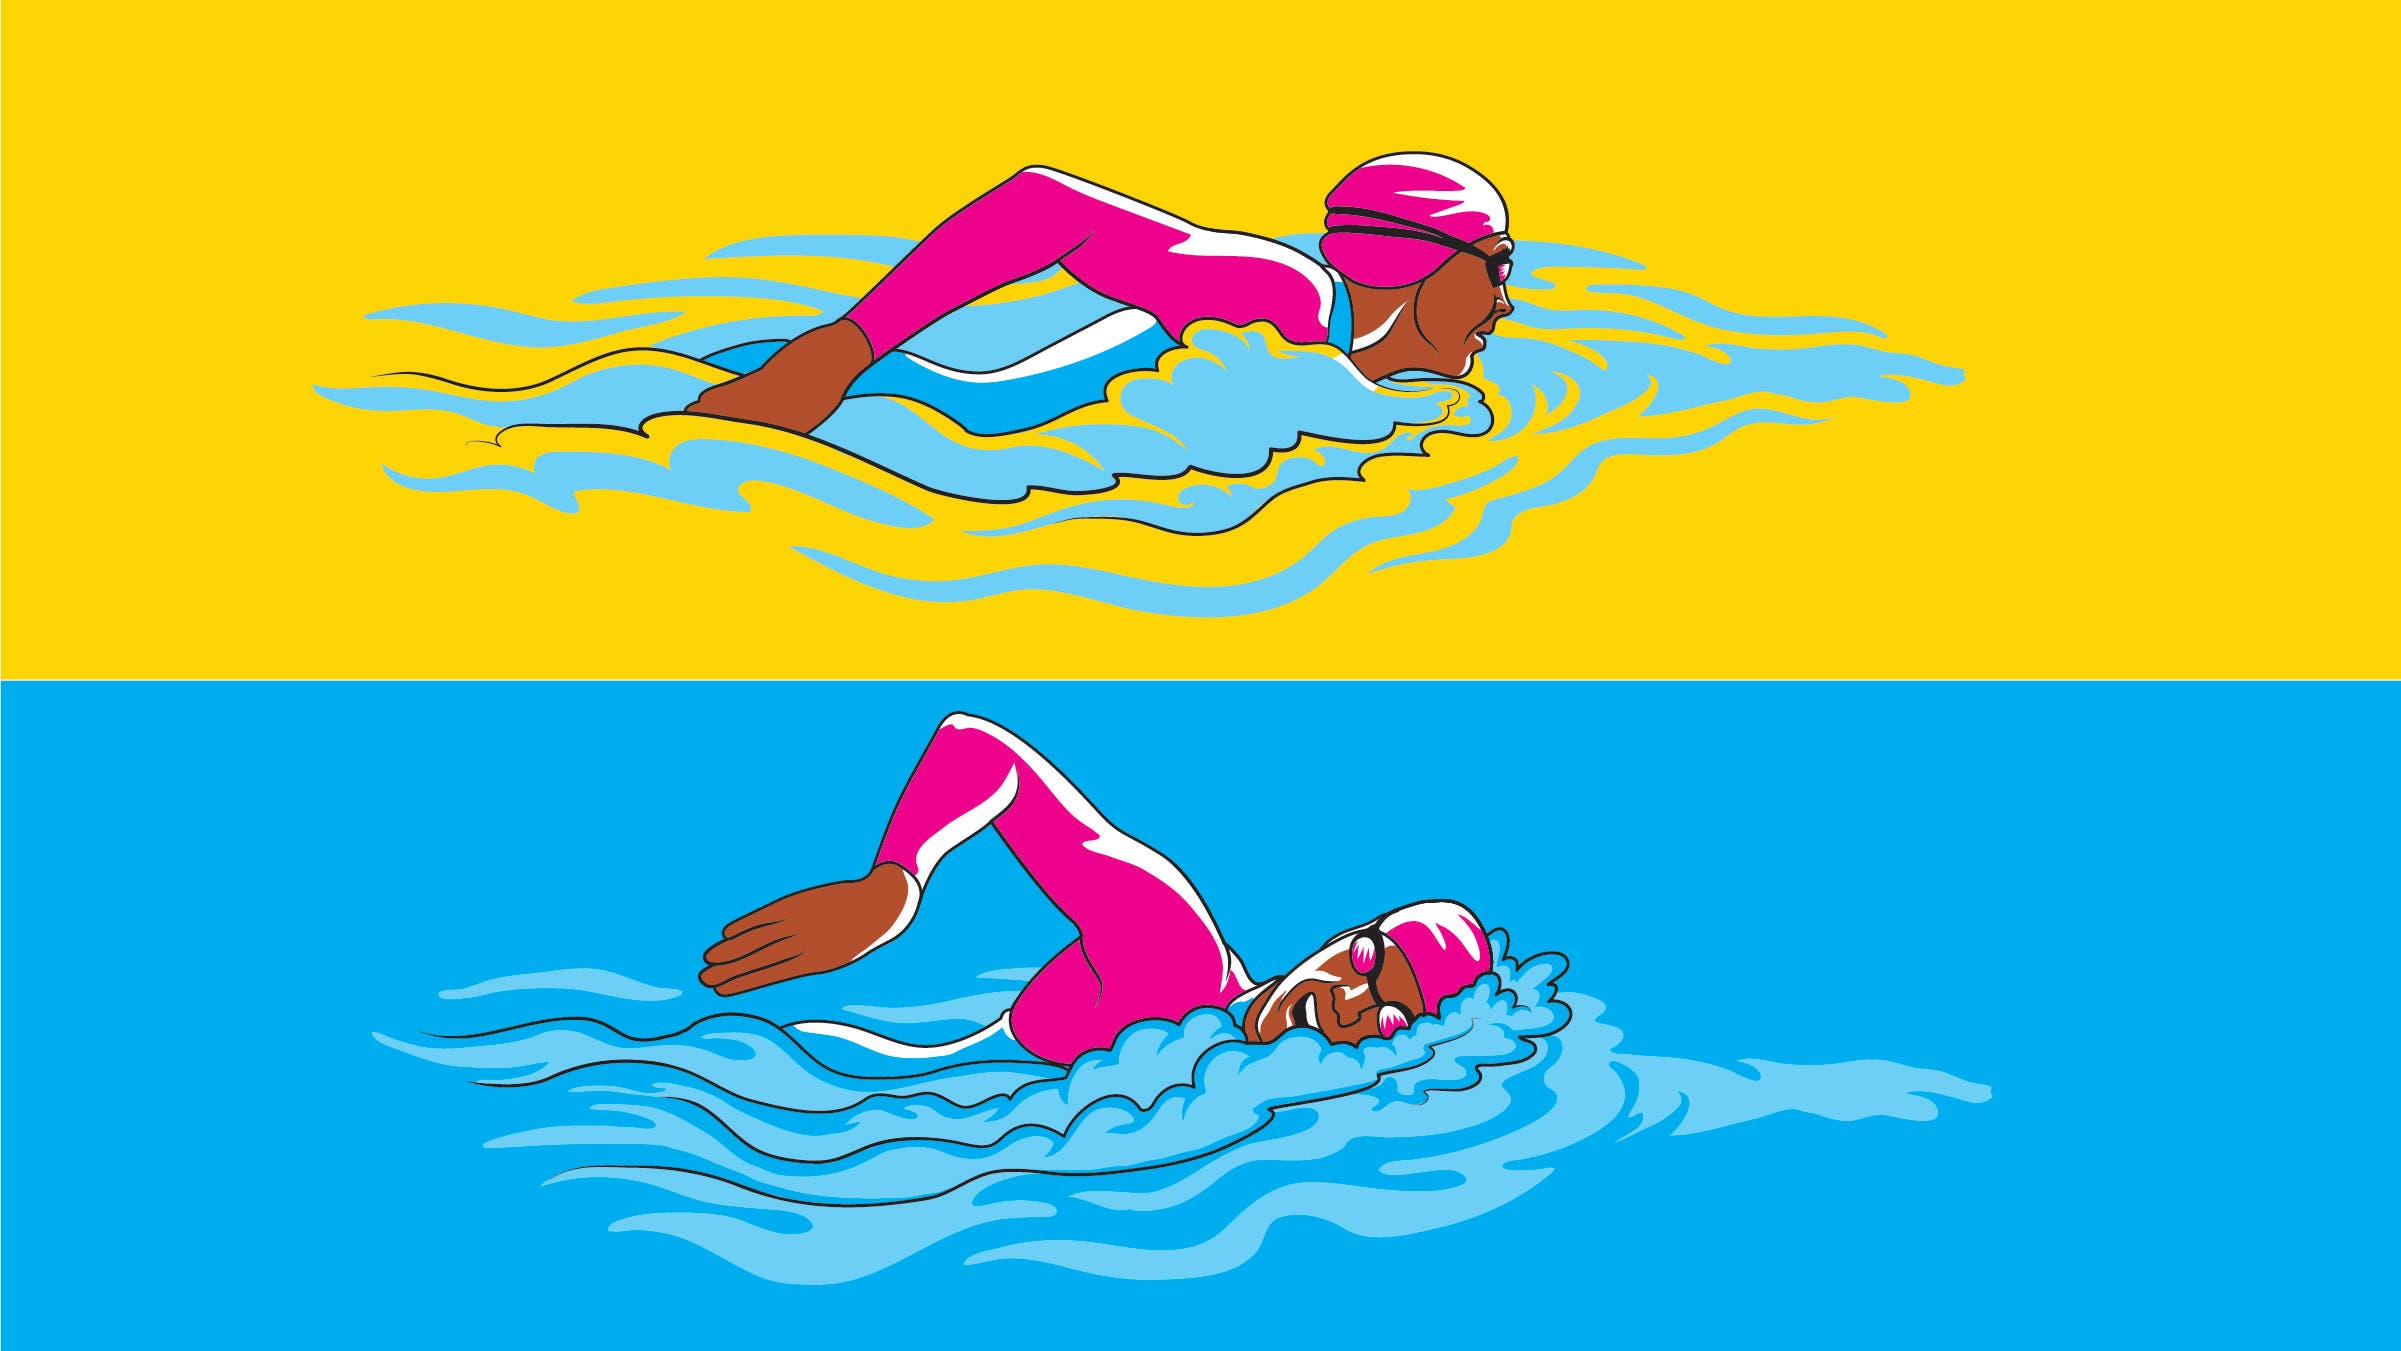
How to sight during an open-water triathlon
Without lane lines and black lines, swimming in open water requires looking up (i.e., sighting) to see where you’re going. When you sight, keep your head as low as possible in the water. Picking your head up brings your chest up and your hips down, creating drag and making it a lot harder to swim. A good rule of thumb is to only bring your eyes above the water line when you look forward, but note: In choppy conditions, you might need to lift your head higher to sight successfully.
There are generally two ways to do this (you can practice both and see which works best for you):
1. When you’re ready to sight, breathe to the side you regularly breathe to, follow your hand with your eyes, and as your hand enters the water in front of you, lift your eyes up to sight, then put your head back down as you drop your arm into the water.
2. Or, as one hand enters the water in front of you, look up to sight and then turn your head to the side to breathe as the other hand comes out of the water, continuing your stroke as normal.
RELATED: A Complete Guide to Triathlon Swimming

How to do a beach entry/exit
Running is faster than swimming, so as long as you can run into (or out of) the water, you should. When you run in from the beach, pick your feet up and out so they clear the water (think: high knees).
When you hit water that’s about thigh-high, do a couple of dolphin dives until water hits waist height, then start swimming.
On the way back in, work in reverse. A good rule: When your fingertips brush the bottom as you swim, it’s time to stand up. Start kicking more before you get vertical; it’ll help ease the transition from being horizontal.

How to transition
There’s a saying when it comes to transitions: Be quick, but don’t hurry. Think of it as a checklist you want to move through as fast as possible.
As you exit the water, follow the steps already outlined to get your wetsuit off. Put your helmet on. (Always secure it tightly first; if your helmet isn’t on when you start pushing your bike, you can be DQ’d.) Pull your bike shoes on. Grab anything else you need – gels, sunglasses, etc. – and run with your bike toward the “Bike Out” exit. Once you cross the mount line, get on and start riding.
Yes, experienced triathletes can do flying mounts with their shoes attached to their bike as they jump on their bikes, but in most non-drafting races, this is not necessary and can be dangerous to yourself and others, not to mention slower. If you want to test a flying mount, practice it extensively in training before trying it in a race, and be aware of others around you.
ADVERTISEMENT
As you finish your ride, start thinking about the run transition. For safety reasons, you must stop your bike before the dismount line and get off before you enter transition. This can be as simple as slowing, stopping, and dismounting like you would on any ride. However, as your bike handling skills improve, you can attempt a flying dismount. (Note: Flying dismounts are significantly easier than flying mounts.) In essence, a flying dismount means you slow as you near the dismount line, pull one foot off the pedal and swing your leg wide (or through) to the other side, bring it in front of your other foot that’s still on the pedal, and brake, jump off the bike, and start running as you stop. The easiest way to do this is to pull one foot out of your cycling shoe as you finish the bike leg and then the other foot, leaving your feet on top of your clipped-in shoes, and then running barefoot as you dismount.
Again: Practice this on a bike path or in an empty parking lot before trying it in a race, and pay close attention to other racers dismounting near you.
Once you’re off your bike, go through the steps of T2. Run your bike to your spot and rack it. Take off your helmet. (Don’t take off your helmet until your bike is racked.) Take off your bike shoes and put on running shoes. Grab whatever else you need – race belt, hat, nutrition, watch – and head toward the “Run Out” sign. Because it’s easier to run with things in your hands than it is to bike with them, many athletes will get themselves organized as they move toward the transition exit – clipping a race belt closed, putting their hat on, pressing start on their watch.
RELATED: 4 Tips for Fast, Olympian-Style Transitions

How to go through an aid station
Aid stations can feel hectic, but if you think of them as an in-and-out pit stop with a traffic flow, then it’ll seem like just another part of race day.
As you enter an aid station area, stay to the far left if you don’t need anything, giving people who do want food or water the right of way (and keeping you out of the chaos). If you need nutrition, then move to the right, clearly and kindly call for what you want, and slow down but don’t stop. Stopping suddenly, especially on the bike when there are multiple loops and athletes of different speeds, can be dangerous.
Most aid stations have a pattern, with volunteers holding out cups of liquid at the beginning and end, and a spread of food awaiting you on tables in the middle. As you enter an aid station, the order is typically something like: electrolytes, Coke, water, gels, solid food (bananas, pretzels), ice, Coke or electrolytes again, and water again. Often, the race directors or athlete guide will tell you what’s at aid stations.
After you get what you need, continue through as you eat or drink or refill your bottles, step aside to the right if you need to make a pit stop – toilets can often be found at the end of an aid station area. Don’t forget to dump your trash in the trash cans before you exit. No littering after the aid station zone (you can get a penalty)!
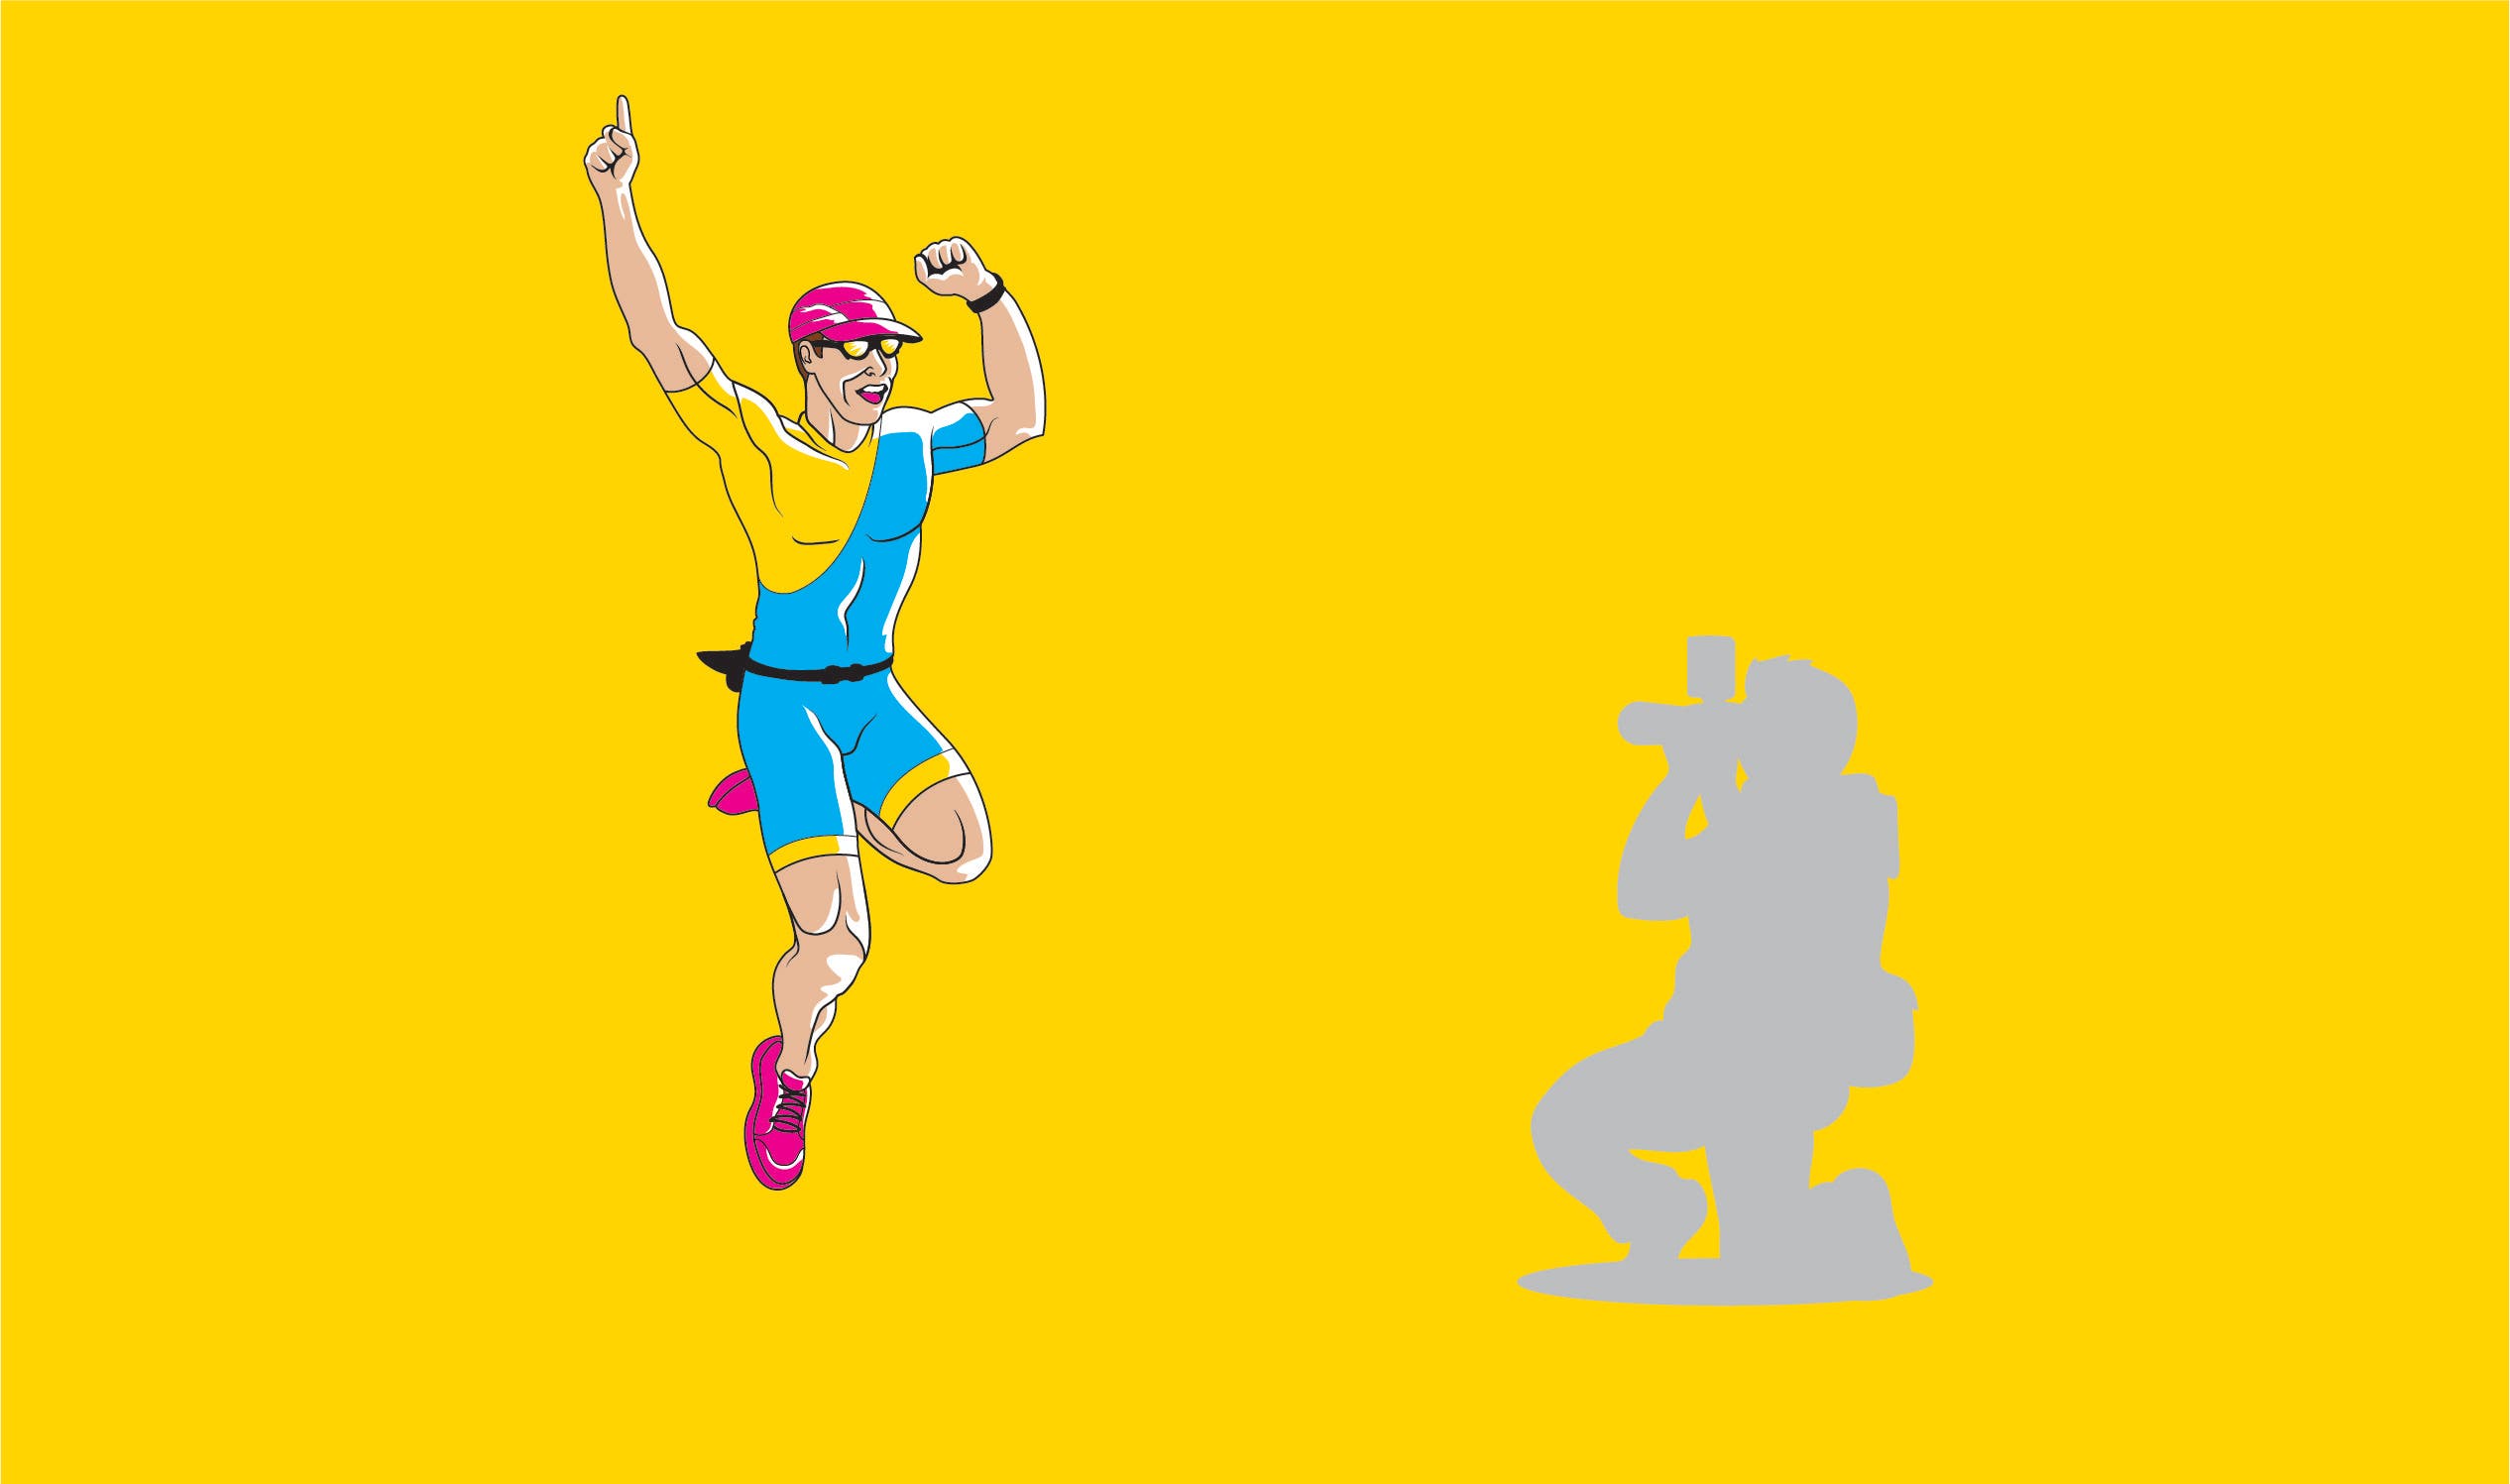
How to take a great race photo
Smile!
Remember: This is fun. And when you cross the finish line, look up – not down at your watch!