Updated April 17, 2025 07:01AM
The Beginner’s Guide to Clipless Pedals
It can be one of the most intimidating parts of getting ready for your first triathlon. Clip in like a pro with these tips.
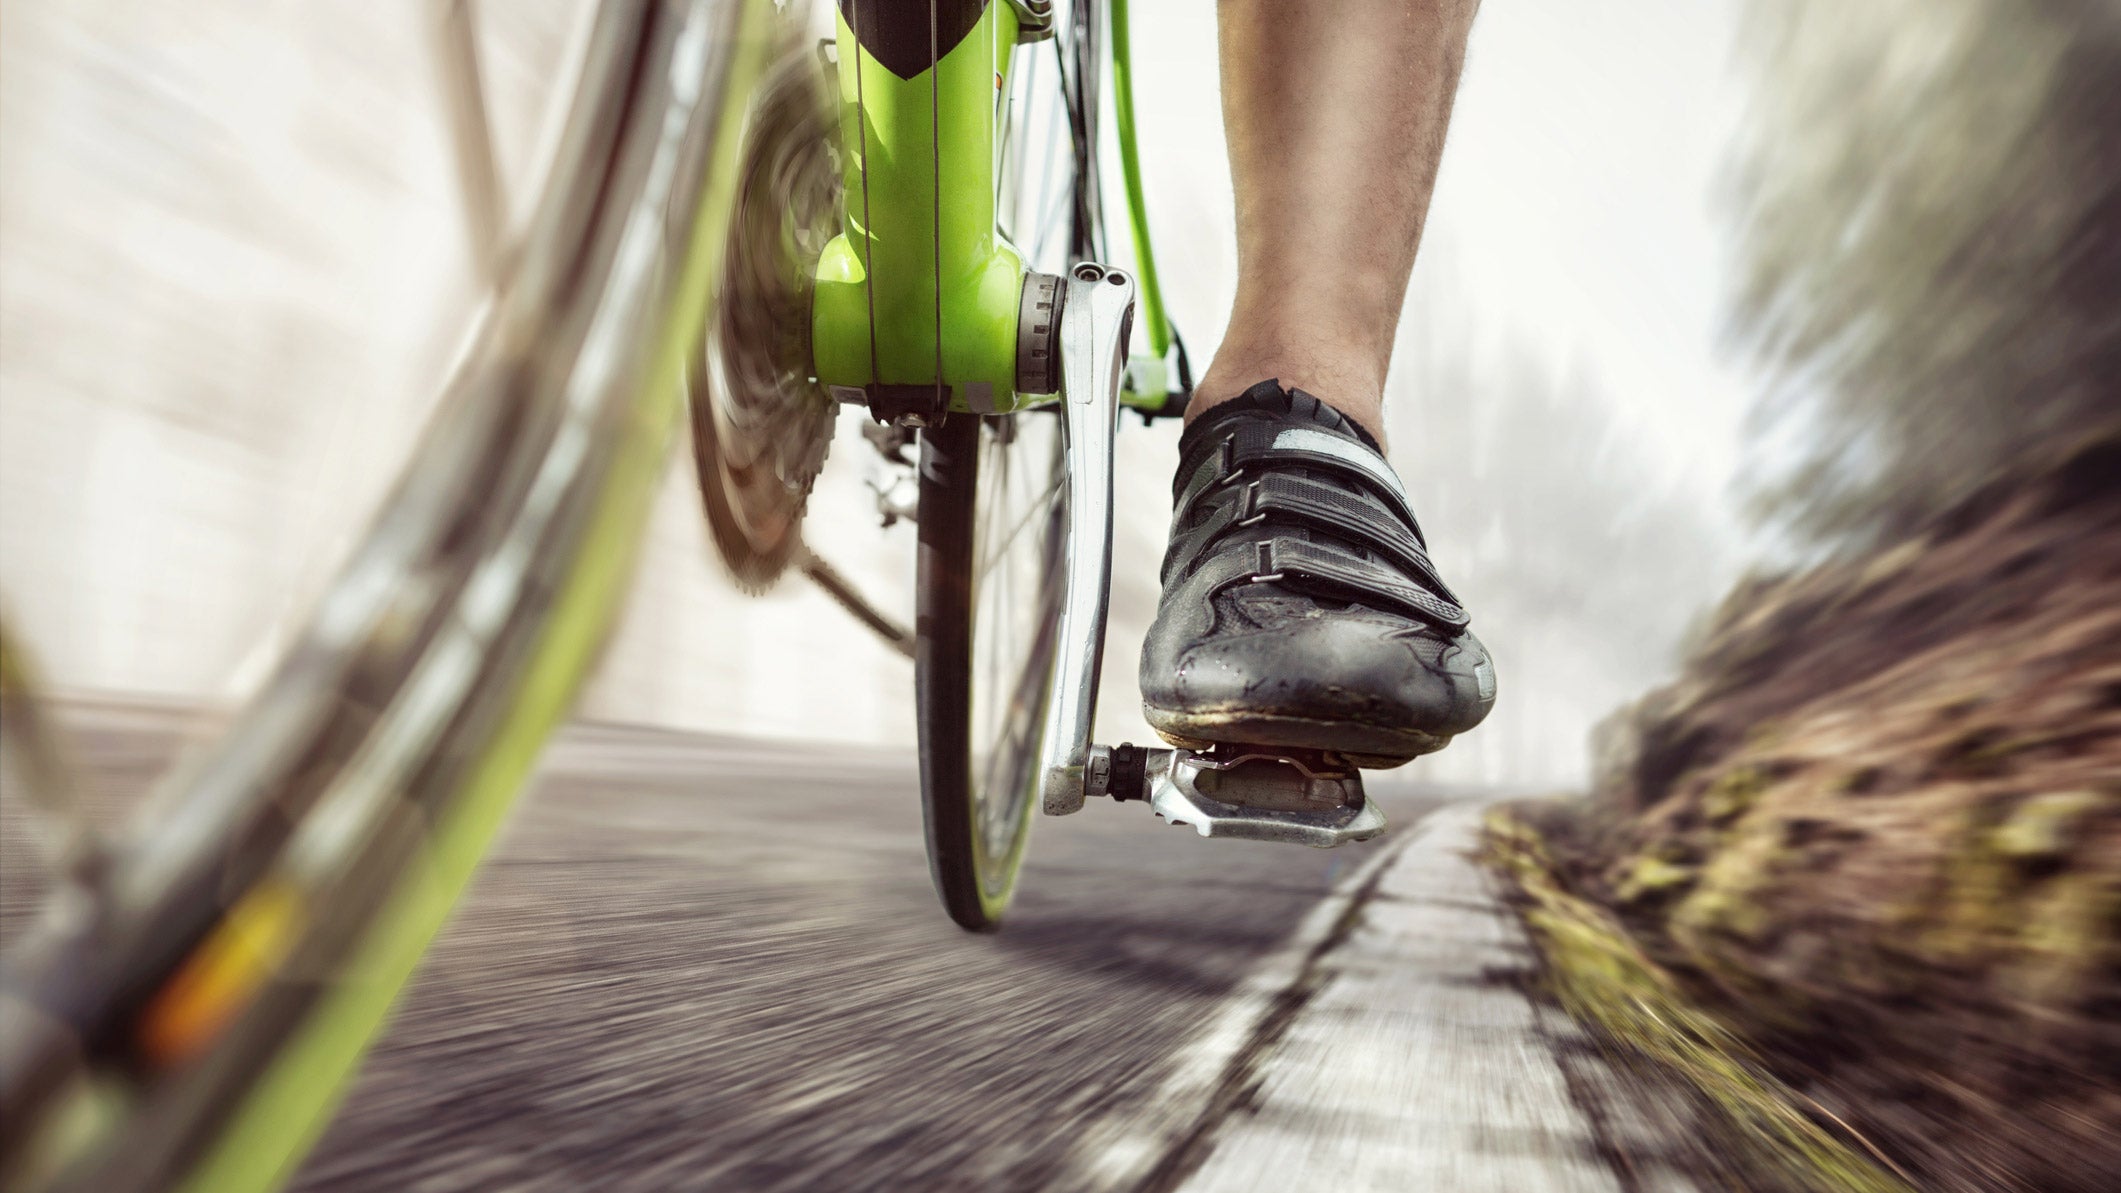
An athlete rides on the road using clipless pedals. (Photo: Getty Images)
If you learned to ride a bike as a kid, chances are high your ride came equipped with platform pedals. As the name suggests, these pedals provide a platform for your feet to press on and put the bike in motion. Platform pedals are standard on most children’s bikes and even many recreational bikes for adults. But if you’re upgrading to a bike designed for speed – like a road or triathlon bike – your pedals get an upgrade, too.
Looking for more advice for the beginner triathlete? Check out Triathlete’s Guide to Your First Triathlon.
What are clipless pedals?
Clipless pedals, which secure to the bottom of the rider’s shoe using specialized cleats, offer something platform pedals can’t – the ability to power through the entire rotation of the pedal. Because the shoe is attached to the pedal, the rider can pull up and push down as they pedal, meaning more efficiency and control. Like ski boots, bike shoes that attach to clipless pedals snap in to connect (“clip in”) and disconnect (“clip out”).
The prospect of being attached to the pedals can be scary for many new cyclists, explained coach Colin Izzard of Carmichael Training Systems. “The biggest fear I encounter is usually related to getting in and out without falling over, especially when stopping and starting,” says Izzard. “It’s a fair concern, for sure.”
Almost every rider has an experience with a low-speed tip-over when getting used to clipless pedals. These moments can be awkward and even embarrassing, but with practice and consistency, you’ll soon become a pro at clipping in and out. Here’s what you need to know about your new pedaling power.
ADVERTISEMENT
How to choose the best clipless pedals
Clipless pedals are designed to connect with bike shoes that have a compatible cleat. Most people like to start their search with the shoe, not the pedal. Once you’ve found a pair that fits comfortably (your toes should have wiggle room, and your foot should feel snug and supported), ask your bike shop about the compatible cleat (which attaches to the shoe) and pedal (which attaches to the cleat) for the shoe. “You don’t have to have the most expensive, titanium spindle, carbon body set of pedals,” said Izzard. “Get a good, mid-range pair. They will be scratched and scraped if nothing else in normal use. The price of pedals goes up wildly to lose a little weight, but there’s no real functional gain.”
Ask your local bike shop to install your clipless pedals and cleats. They will be able to set you up so that your cleats clip in and out of the shoe with little resistance.
ADVERTISEMENT
RELATED: 8-Week Sprint Triathlon Training Plan For Beginners
How to ride with clipless pedals
Step 1: Learn the feel of the pedal.
Practicing the motions of clipping in and out while standing over the top tube on the bike. With one foot on the ground, squeeze the brakes of your bike while placing the other foot over the pedal. Most pedals are toe-entry first, meaning you’ll slide the front of the cleat under the catch on the pedal. Once that’s in, press down with the heel until you feel a click. You should then be connected to your pedal.
To release your shoe from the pedal, twist your heel out to the side like you’re stubbing out sparks from a campfire. Don’t twist up or down, but instead go straight out until you feel the click once more. You should now be able to release your foot from the pedal.
ADVERTISEMENT
Practice clipping in and out on each foot while standing over the top tube. “You want to learn to feel for this, rather than looking down at the pedal,” says Izzard. “Once you are starting to roll and clip in later on, it’s a bit dangerous to look down at your feet instead of the riders or road ahead.”
Step 2: Practice clipping on the fly.
Once you’re feeling confident with the motions of clipping in and out, it’s time to level up to riding. But don’t head out onto the road just yet, warns Izzard: “Choose a nice, low, freshly cut grass field to practice in. It’s slower, but the price for falling on grass, with no cars around, is pretty low.”
To roll out, squeeze your brakes, then clip your foot into the pedal at its highest point (think 12 on a clock face). After you clip in your first foot, release the brakes while slowly pushing down on the clipped-in pedal. Once you have some momentum, clip in the other foot.
Take a few pedal strokes to get used to the feeling of riding while connected to your bike, then practice stopping. Unclip one foot first, then squeeze your brakes. As you come to a stop, put your unclipped foot down (Izzard calls this “lowering the kickstand”). Once you’re stable on that foot, release the other.
ADVERTISEMENT
You might struggle with this at first – that’s why going slowly and having a soft landing surface is essential. (And don’t beat yourself up if you do fall over – we’ve all been there.)
Step 3: Take your clipless pedal skills onto the pavement.
In a large, empty parking lot, practice your stopping skills once more. “You want to get in the habit of anticipating a stop,” says Izzard. “Rolling up to the stop and then panic-unclipping will just make you fall. Anticipate it. You can unclip a good bit away, say even 50 yards if you want some security, and still pedal with one foot clipped in. Or you can just coast. But the bigger thing is that one foot is out and ready to be your kickstand when you do stop.”
Step 4: When you’re ready, head out for a short, easy ride.
But only when you’re ready. Your first few rides in clipless pedals shouldn’t be in a group setting or on a busy road – wait until you’ve mastered your pedals before taking to traffic, for your safety and the safety of those around you. Be patient – mastery will come if you stick with it.
ADVERTISEMENT
“Have patience with yourself and others learning this skill,” said Izzard. “If you’ve never had your feet fixed into a bike outside, it’s going to take some time. Give yourself plenty of time to anticipate stops and unclip. You’ll get better and need less time as you do it more, but start easy.”