Published August 13, 2020 09:05AM
A Triathlete’s Guide On How To Set Up A Smart Trainer
Smart trainers sound like a good thing, but what are they and how do you set one up?
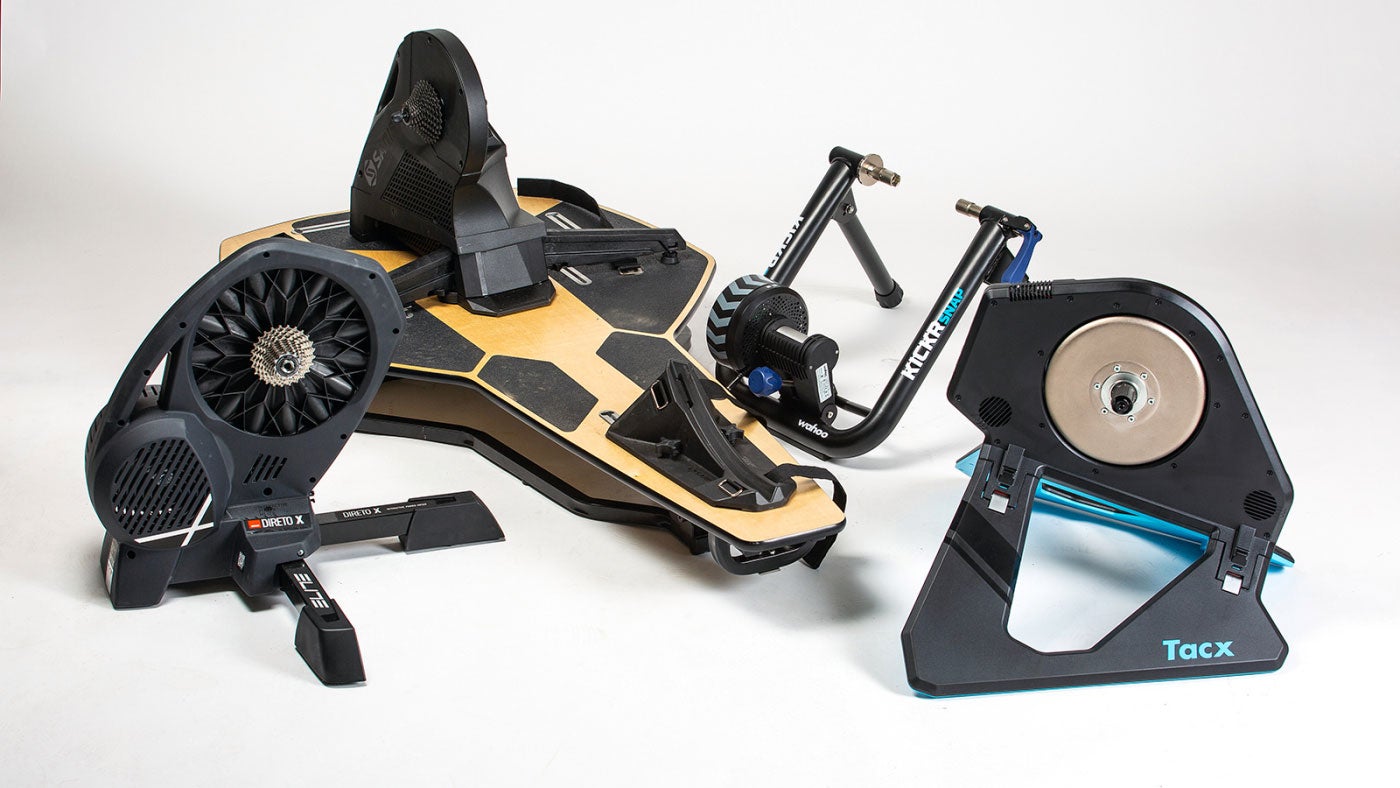
(Photo: Brad Kaminski)
Smart trainers have been all the rage in the indoor cycling world for the past few years. While some smart trainer companies have been around since as early as 2010, the technological capabilities and athletic benefits of these savvy bike trainers have skyrocketed in recent years thanks to virtual training platforms like Zwift and TrainerRoad.
Just like with any newfangled technology, understanding how to set up a smart trainer for the first time can often result in way too many expletives, some hair pulling, and swearing off indoor riding altogether. Let’s alleviate that pain preemptively by taking a look at how to set up a smart trainer and successfully execute your first smart trainer ride.
What is a Smart Trainer?
A smart trainer is a bike trainer that has connective and electrical capabilities. A smart trainer:
- Measures things like power, cadence, and speed, then transmits it to a number of places (see below); some can even adjust your resistance level based on a signal from a virtual riding platform or cycling computer—allowing you to feel the hills and adjust your resistance for workouts
- Can connect via Bluetooth, ANT+, and even now via ethernet to your smartphone, computer, cycling computer, smart TV, or tablet
- Requires an electrical source as they need to be plugged in for the connectivity aspects to work (with a few exceptions—the $1,600 Tacx Neo, for instance)
- Is often “wheel off” (but some, like the Kickr Snap or the Saris Fluid2, are “wheel on”)
“Wheel off” technology means the trainer has a cassette built into its design, inviting you to remove your back wheel and allowing you to set up your chain directly on the smart trainer. This can lead to more accurate metric readings, a more stable platform, and a better overall indoor riding experience, but it can be a hassle if you’re moving from trainer to road riding multiple days a week (and it’s often pricier).
A traditional bike trainer:
- Does not have connective capabilities
- Does not require an electrical outlet
- Usually is “wheel on” using a fan, magnets, or fluid to provide resistance while your tire contacts a roller
While these trainers are less expensive and can be beneficial for travel, a good back-up trainer, or for grinding it out old-school, the wheel-on resistance roller sets up faster if you use it sporadically, but it can burn out your tires quickly.
Some folks may even own a separate “trainer wheel” if they stick with a traditional bike trainer. This prevents your road tires from burning out too quickly. Others may use a trainer with “rollers,” cylindrical drums on which you balance your wheels and ride. Rollers, which are also non-electric, often require a good bit of balance and are recommended mostly for road bikes—though a triathlete who masters the rollers has done themselves a huge favor!
ADVERTISEMENT
RELATED:
- Ask A Gear Guru: What Are Some Indoor Training Essentials?
- Face Off: 2 Smart Trainers That Cost Less Than $1,000
- Indoor Training 101: Smart Vs. Regular Trainers
How To Set Up A Smart Trainer: What You’ll Need
Once you’ve committed to the smart trainer way of life, it’s time to prepare your pain cave for hundreds of miles of virtual riding.
As you pick a spot for your new gadget to call home, first ensure these two critical things:
- A reliable electrical outlet
- No competing Bluetooth sources
In rare cases, conflicting Bluetooth signals can cause connectivity difficulties with the smart trainer.
If you use Garmin products, you’ll likely connect to your trainer using Garmin’s ANT+ method. To “communicate” with a computer using ANT+ connectivity, you’ll need to pick up an ANT+ dongle for a few bucks.
If you’re using a wheel-off trainer, just be sure you’re using a cassette that has the same number of speeds as your bike (count the rear cogs)—but even then you may still need to readjust your rear derailleur.
ADVERTISEMENT
Of course, if you’re rocking a wheel-on smart trainer, no need to worry about cassette switching or measuring. Just change out the skewer, align the wheel, and hop on!
Speaking of skewers, if your bike has a thru axle and not a quick release skewer, you should pick up a thru axle adapter before starting your first ride. Checking if you have a thru axle or quick release is simple:
- A thru axle is threaded through the wheel using circular dropouts and is often found on bikes with disc brakes.
- A quick release is threaded through the wheel using upside down “U” shaped dropouts.
Grabbing a thru axle adapter is quick and easy (and often comes with the trainer itself) and is needed whether your smart trainer is wheel-off or wheel-on. They’re relatively cheap, and are one of the finishing touches to getting your bike smart-trainer ready.
How To Set Up A Smart Trainer: Ready to Ride
You’ve got your connectivity ready. Your electrical cord is plugged in (and out of the way!). Thru-axle adapter? Got it. You’re ready.
But…“where” to ride (virtually)? Fortunately, there is a smattering of virtual riding platforms to join. For many of these, if you have a smart trainer with feedback (FE-C), you’ll get more resistance going uphill and less resistance when virtually riding down:
- Zwift allows you to enter the world of Watopia, where you can ride against and with professional athletes, your friends, and new competitors worldwide.
- TrainerRoad is more of a solo pursuit, allowing you to build workouts whose resistance is automatically adjusted by your smart trainer, assuming you have a model with feedback.
- Rouvy gives you access to hundreds of actual roads across the world from the comfort of your living room.
- Ful Gaz also recreates epic rides from far and wide for your riding pleasure.
- Sufferfest, while not necessarily a virtual platform, offers programs for smart and traditional trainers designed to make you, well, suffer—but for fun, kinda.
Whichever one you choose, there is one thing we forgot to mention… you’ll need a towel. Maybe two. And a fan. Because you’re gonna sweat a lot.