Published March 28, 2022 06:00AM
Get Started Training With Power
Become a stronger, faster cyclist by using a power meter.
(Photo: Brad Kaminski)
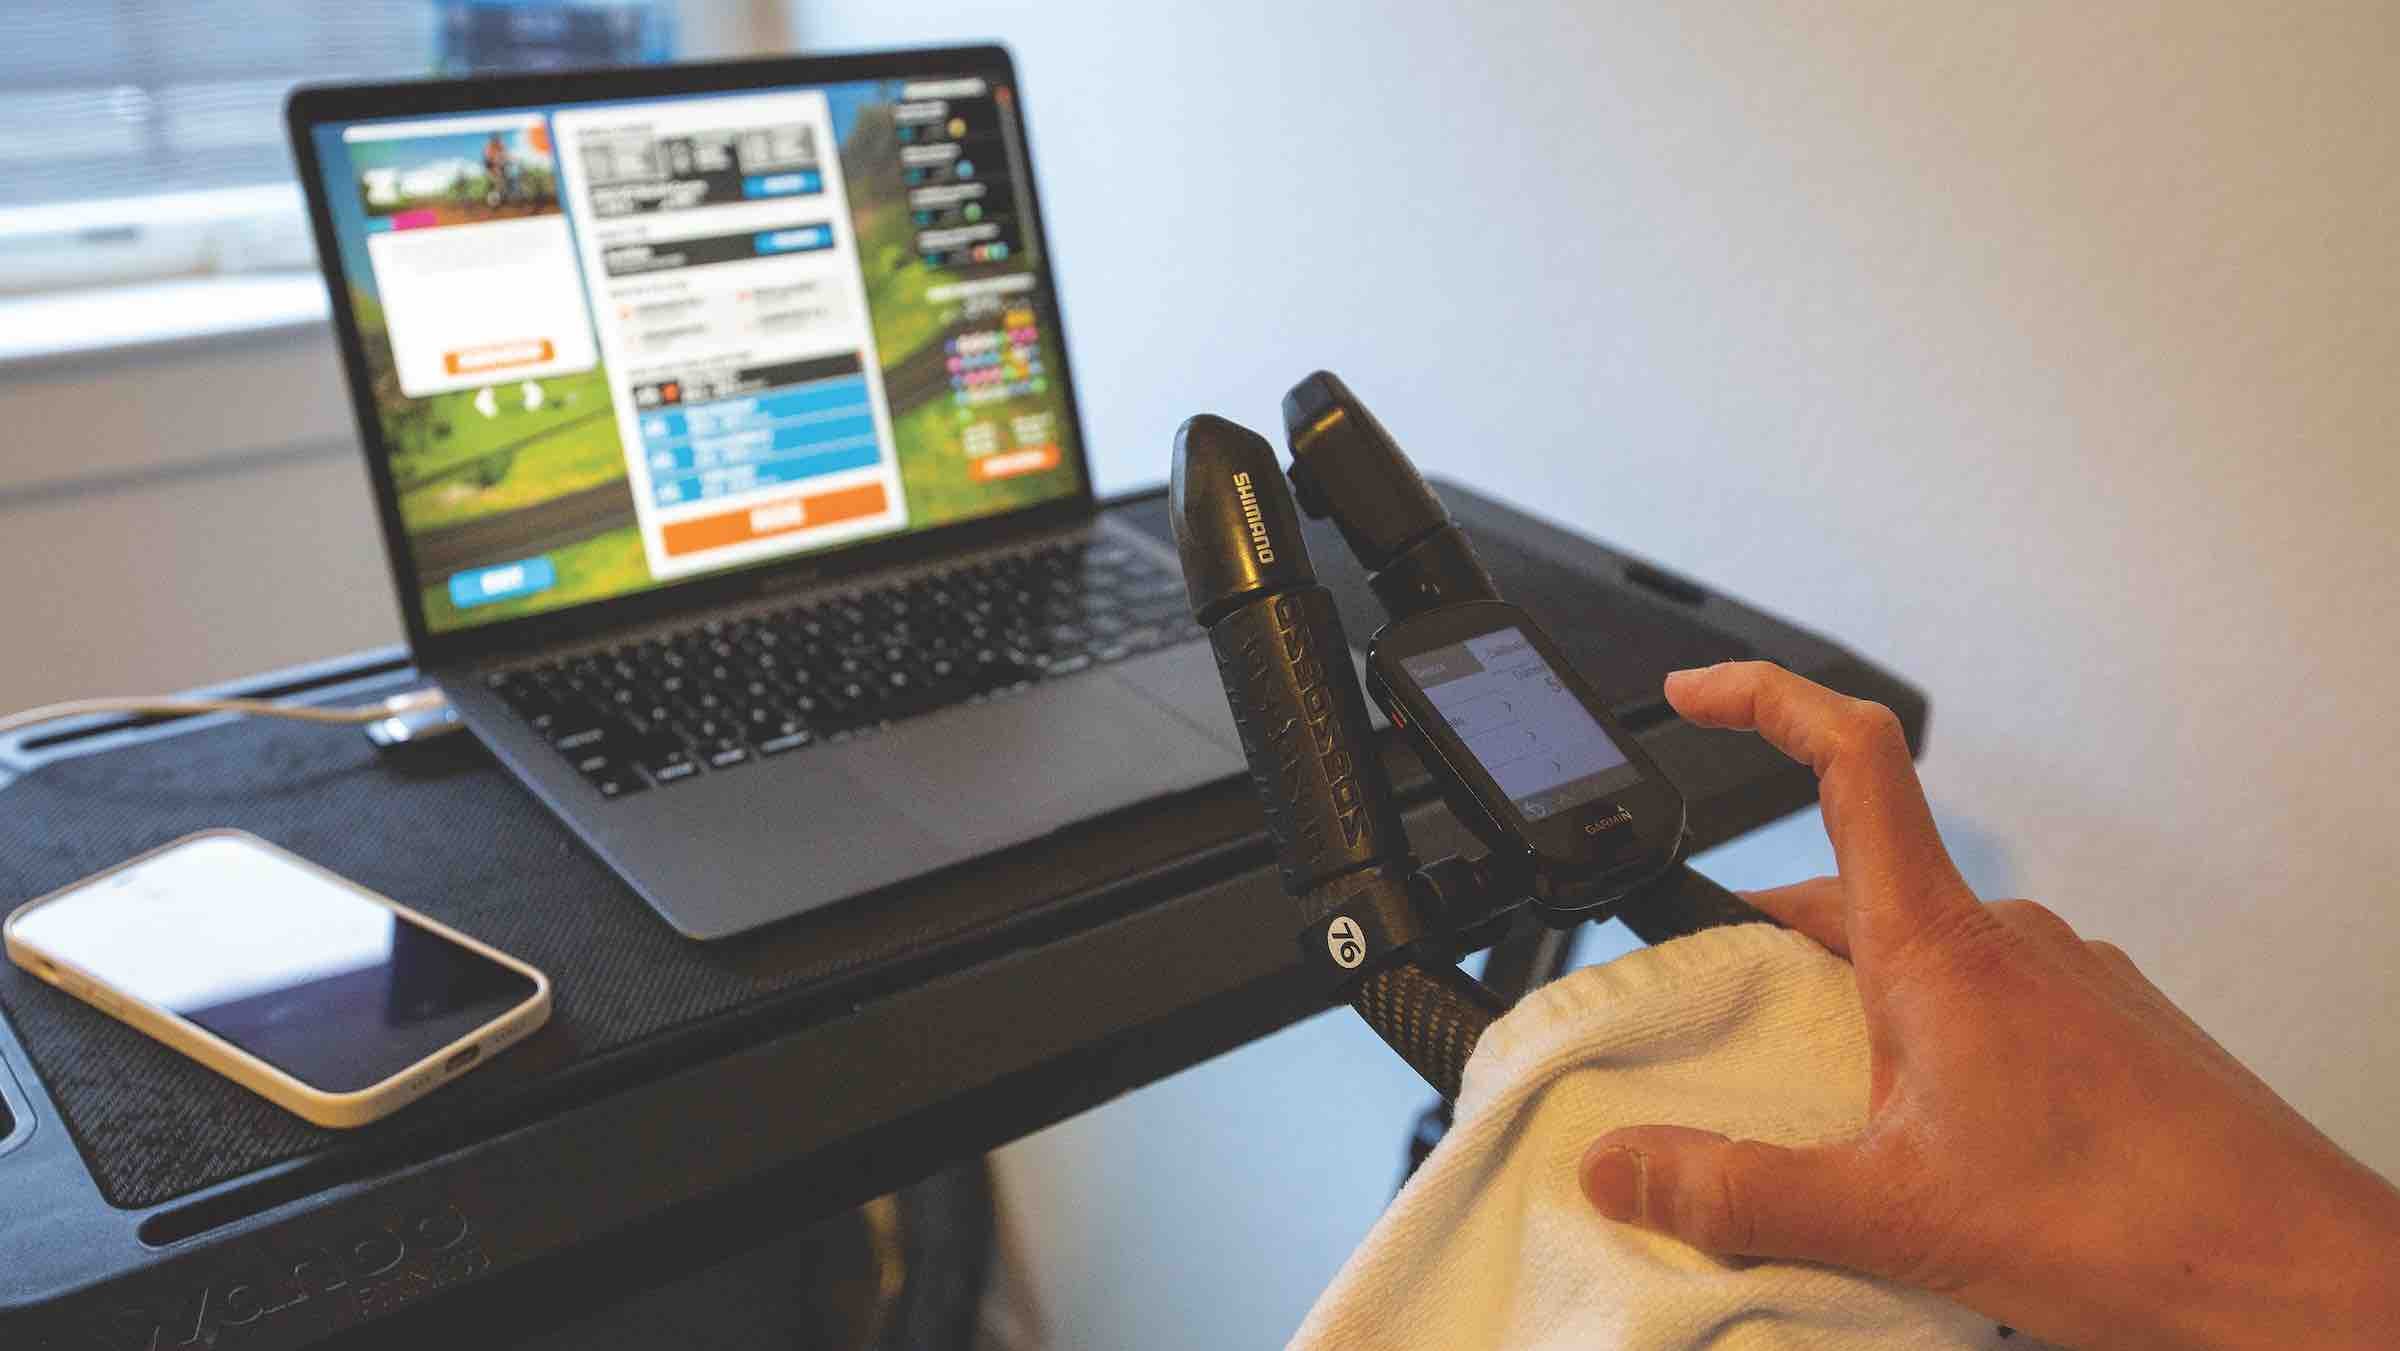
Training with a power meter can truly change your training and racing, but if you’ve not dived into the world of watts just yet, it can also be a little intimidating. Fear not, our guide to getting started will help you on your way.
The Power Basics
Training with power is considered one of the most accurate ways to monitor your cycling. Why? Well, unlike training using a heart-rate monitor or by perceived effort, there is very little margin for error. Power is measured in watts and is the result of the torque (force on the pedals) multiplied by your cadence (RPM, revolutions per minute). It is absolute—that is, a power meter gives you real-time, accurate data that is a reflection of the actual work being done. By comparison, your heart rate, while also a valuable data point, can be affected by a myriad of factors, such as fatigue, caffeine, stress, and other environmental factors. In short: the power meter does not lie.
Although power meters have been around for more than a decade now, in the last few years there has been a noticeable uptick in the number of brands bringing them to market, which has also helped lead to a drop in price. Purchasing a power meter is no longer as cost-prohibitive as it once used to be. There are a number of different options, including pedal-based, crank arm-based, and single- or dual-sided. Some of the best known brands include Wahoo, Speedplay, Quarq, and Garmin.
ADVERTISEMENT
Check out more guidance on what you need to know about watts and some of our favorite power meters: Riding With a Power Meter Will Supercharge Your Training
The Benefits of Training with Power
One of the biggest benefits is that it allows you/your coach to monitor your progression and the efficiency of your training. This is largely due to the fact you can do accurate FTP (Functional Threshold Power) tests every four to six weeks (see Coach Joe Friel’s sample FTP test below). The test involves riding for a certain duration of time at your best effort (usually an hour, although it can be less)—and then this data can be used to set your training zones going forwards, ensuring you spend enough time at the correct training intensities/zones. It typically leads to greater fitness gains, especially for those athletes who are new to using it. You can hone in on the quality work (intervals or higher intensity efforts) and move away from the “junk miles.”
RELATED: What is FTP and Why Does It Matter?
Bike coach Matt Bottrill believes this is what helps so many athletes see huge jumps in performance—and it can also help keep an athlete highly motivated and compliant with their training; they see the gains they’re making and are excited to stay on track.
ADVERTISEMENT
Training with Power: Joe Friel’s FTP Test
One of the most important steps when first getting started with a power meter is to get a FTP test under your belt. Here’s Coach Joe Friel’s simple guide to getting it done—and doing it well. This workout is designed to help determine your FTP.
Friel’s top tips for the workout:
- This is an important test as it will serve as the standard upon which the athlete’s power data/training/racing zones will be based
- The biggest mistake riders make is starting much too fast—and then fading badly
- During the test, every five minutes decide if you need to go a little slower or a little faster
Warm-up:
20-30 min. @ varying intensities, building from very easy to very hard
ADVERTISEMENT
Main set:
20 min. riding as hard as if in a race—on a slightly uphill course if possible
Cooldown:
10-20 min. very easy
ADVERTISEMENT
RELATED: Riding with a Power Meter Will Supercharge Your Training