Published December 14, 2020 02:10PM
Your Lower-Leg Injuries Could Be Starting at Your Hips
The angle of your hip joint plays a much greater role than you might think. We look at the unheralded source of many issues that end up popping up elsewhere.
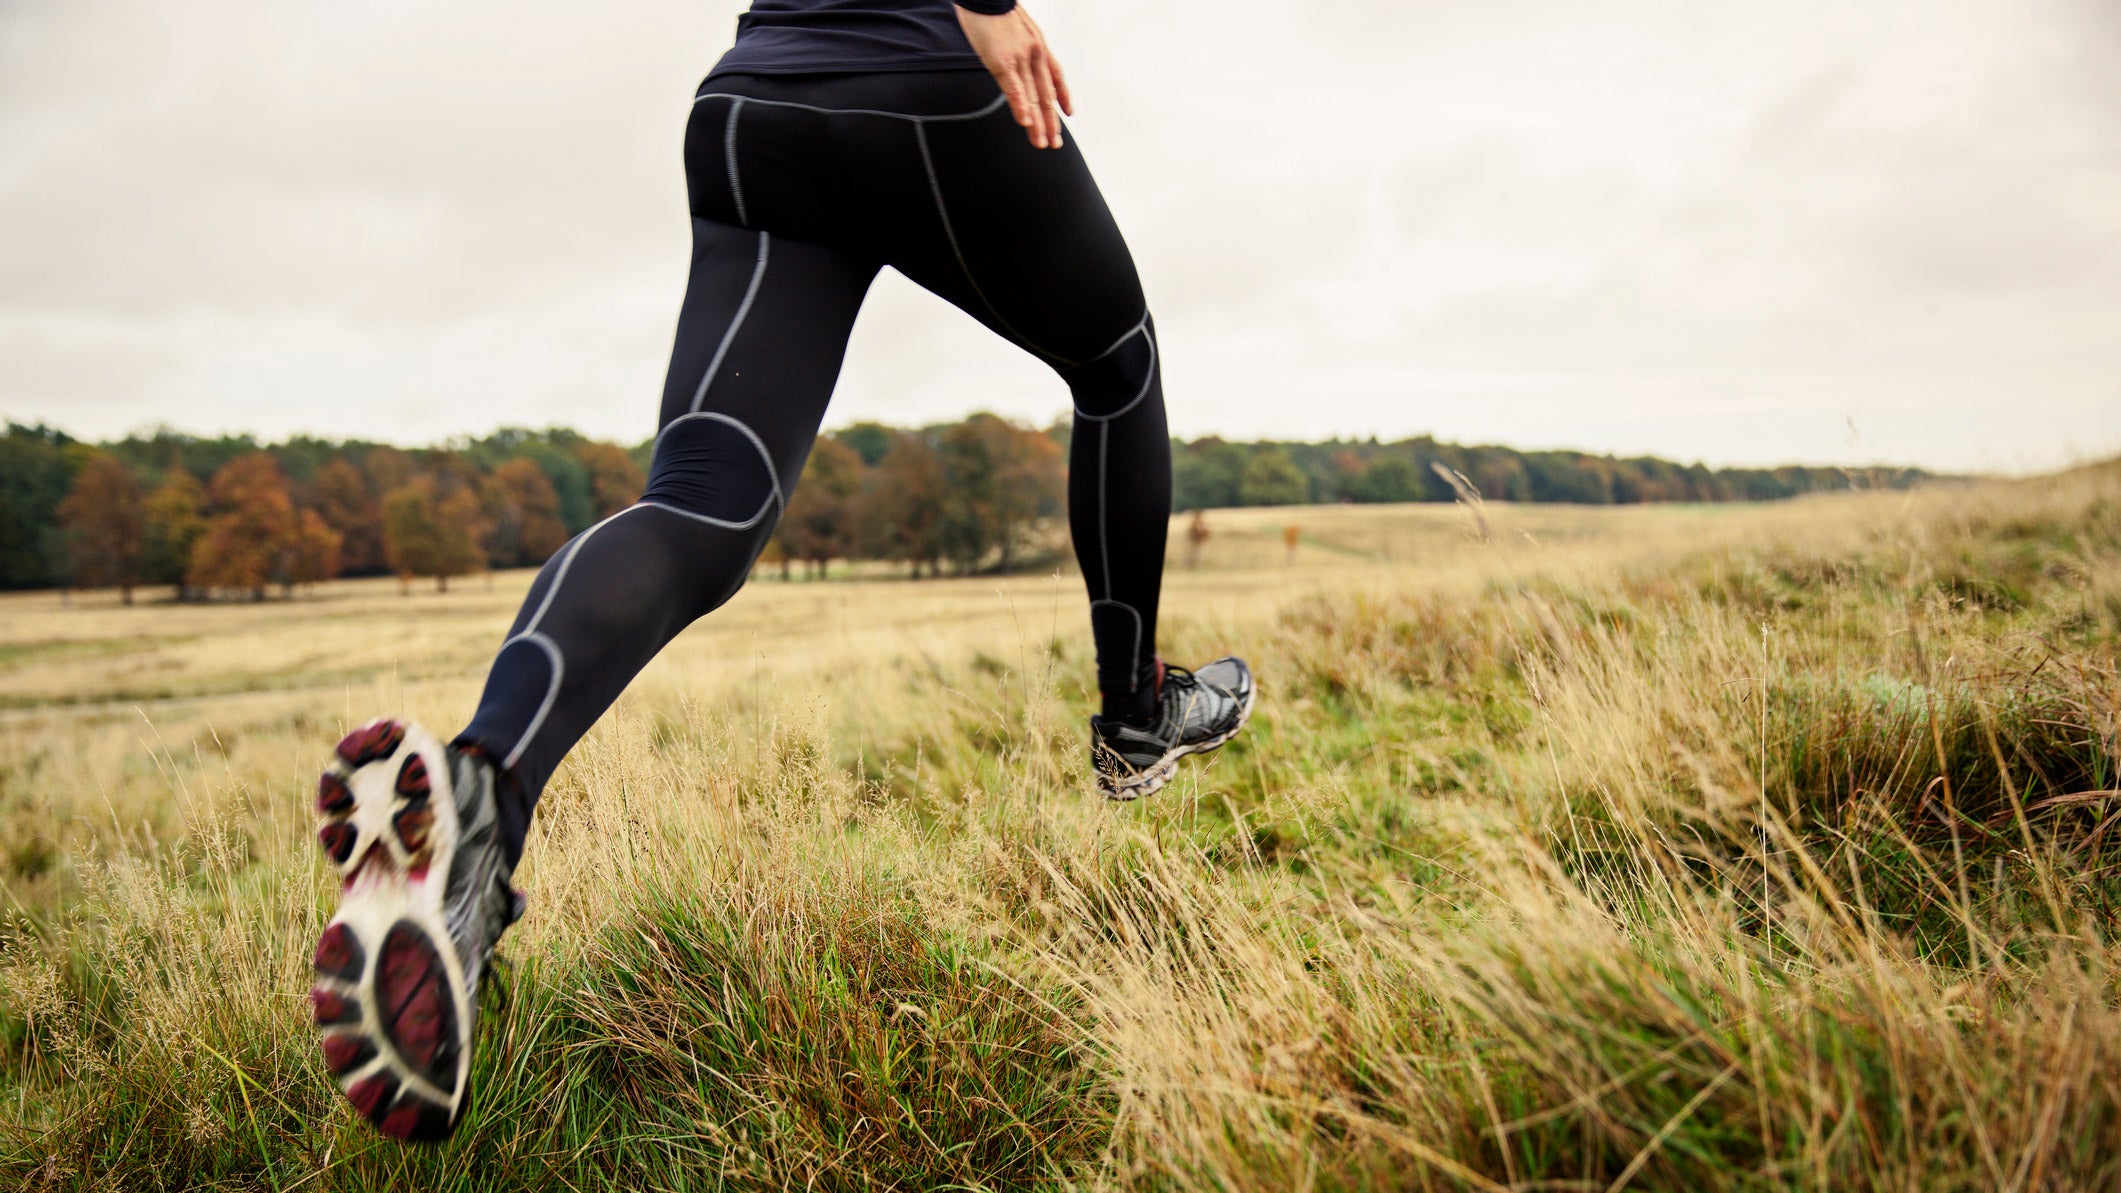
The motion of your legs start at your hips. (Photo: Getty Images)
Sometimes your foot hurts, but it might not be your foot’s fault; sometimes your knee hurts, but it has nothing to do with your knee. One of the major sources of lower-leg issues—particularly in triathletes—begins at the hips. While that might not be new news, we now know that the angle of your legs as they exit the hip joint can play a huge role in the potential for specific injuries, and if you can identify your hip joint angle, you can head these injuries off at the pass before they travel down the chain and cause pain elsewhere.
Hips 101
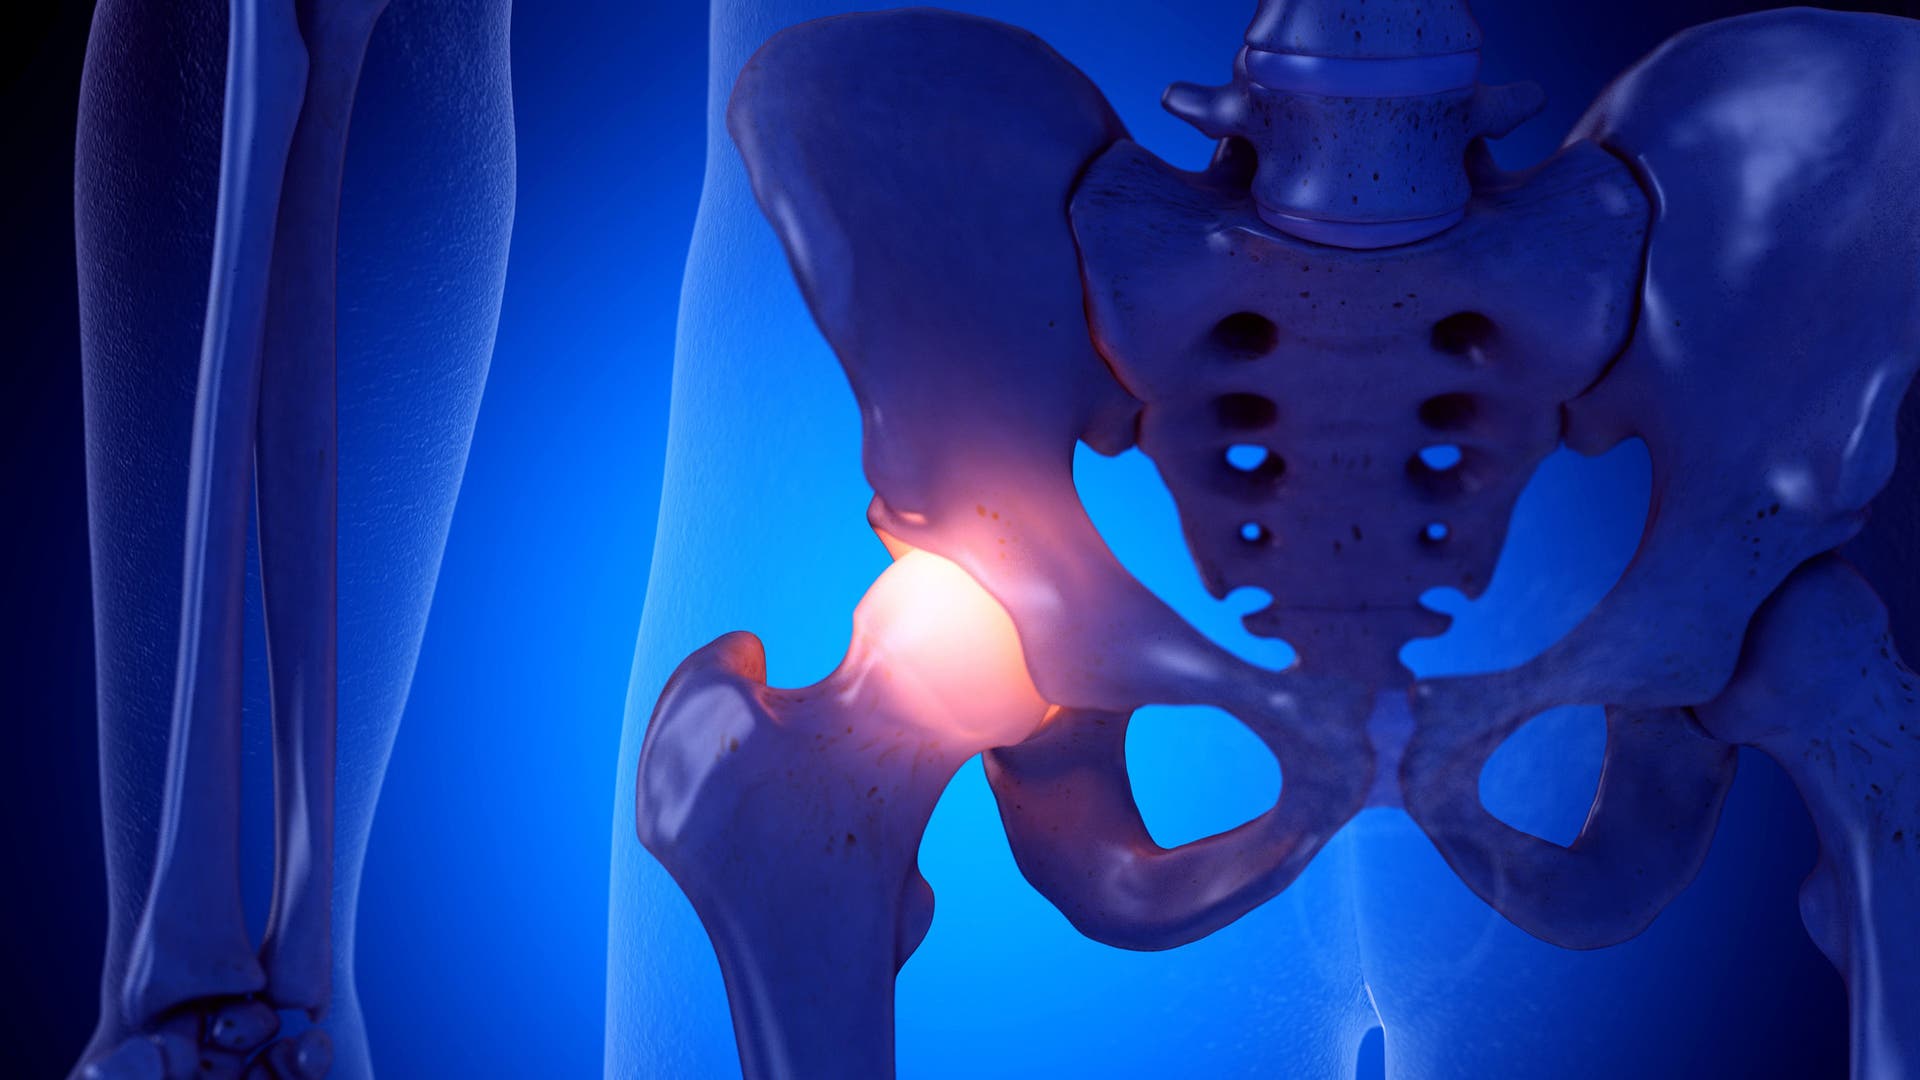
First, a little anatomy brush up: The hip joint consists of a ball and socket that provides motion in all planes of movement. The joint itself is made up of the pelvis that has a concave socket that is called the acetabulum. Typically this depression in the pelvis faces downward, to the side, and is angled slightly forward. The end of the humerus, or the head, is ball-shaped and sits inside the acetabulum. Together they make up the femoroacetabular joint that allows your hip to move in any direction. While sitting, hip external rotation occurs when you rest your ankle on the opposite knee, whereas hip internal rotation happens when the entire leg rotates inward.
Because there are variations in anatomy from person to person, there can be a predisposition to injury based on your hips’ natural positioning. Lacking hip external rotation can increase the chances of an ACL injury while running. Having not enough hip internal rotation can predispose the hip to impingement which may lead to tears in the tissue around the joint. Combining hip bending with a deficit in internal rotation—like while cycling—can further exacerbate hip pain. With repetitive injury to the hip joint, an early onset of osteoarthritis in the joint can occur if you’re not taking care of your “uniqueness.”
The Test
There are some self-assessments you can do to determine if you lack a certain rotation based on muscle tightness or irregular hip anatomy. To perform a Craig’s Test to look at your hip motion, typically you need two people but it can also be performed solo:
- Lay on a firm, flat surface with one knee bent to 90 degrees.
- Place your hand on the same hip to feel for a bump that sticks out. This is the greater trochanter, a prominence of the femur or long bone that sticks out from the femoroacetabular joint.
- Slowly let your leg rotate back and forth until you feel where the greater trochanter is most prominent and pushing into your hand. At that point stop and observe the position of your leg. Do this by laying in front of a mirror or videoing yourself with a direct angle to avoid skewing the testing.
The normal range is called anteversion where the leg rotates out to the side 8-15 degrees—roughly between 12 and 1 o’clock on the face of a clock. If you have less than that, it could be classified as retroversion whereas more would be anteversion. These are anatomical terms that refer to the natural alignment of the ball and socket joint.
Another indicator that you may have an abnormal anteversion is by the direction your toes point during gait. If you walk toward a mirror and your feet naturally point out to the sides, it’s possible that the body is correcting for hip retroversion. If you perform the prior hip test on yourself and you have less than 8 degrees along with “toe-out” gait, then this could be you. The opposite is true if you have more than 15 degrees and notice that you have “toe-in” gait—it’s possible you have excess hip anteversion.
ADVERTISEMENT
Work It Out

Most of the population falls within the normal parameters for hip alignment. However, if you fall into either of the two extremes, there are exercises that will help prevent possible injury:
Hip Anteversion
For those with hip anteversion (more than 15 degrees of rotation): Help increase hip external rotation by laying on your back with knees bent. Prop your ankle on the opposite knee and push that knee out so the hip opens up. Visit this link for a better visualization of the figure-4 stretch: Piriformis stretch. If no stretch is felt, progress to sitting upright in a chair and perform the same stretch. Here is a great resource for a more active stretch and warm-up before exercises: Active hip external rotation stretch.
Potential conditions that can occur with hip anteversion:
- ACL sprain
- Meniscus tears
- Snapping sound while walking
ADVERTISEMENT
Hip Retroversion
For those with excess hip retroversion (less than 8 degrees of rotation): Work on improving hip internal rotation by doing a similar exercise while laying on your back with knees bent. This time, hook the right foot around the opposite knee and pull the knee to the right which will cause internal rotation of the left hip. This can be seen here: Hip internal rotation stretch. Again if you’re warming up for a workout, and you have advanced your stretching to work on more dynamic mobility, view this link to work on those progressions: Active hip internal rotation stretch.
Potential injuries that can occur with hip retroversion:
- Hip impingement
- Hip labral tear
- Low back pain
- Early osteoarthritis of the hip joint
Strengthen, Stretch

Whether your hips are in the extreme ranges or not, strengthening your hips can help improve hip mobility and reduce injury. The gluteus maximus works to externally rotate, extend, and bring the hip out to the side while also controlling hip internal rotation, flexion, and the hips coming together. This occurs when the leg is being loaded with running, jumping, or cutting. Here are some good resources to getting your hips performing better:
- Glute warm-up: Hip Prep
- Glute medius exercises with progressions: Glute Med
- Glute maximus exercises with progressions: Glute Max
While stretching before a workout hasn’t shown to reduce injury, static stretching can be good which is more effective than dynamic stretching for increasing static range of motion. But if you’re looking to maximize your power production during cycling sprints, dynamic stretching is a better option. A great resource for warming up the hips before a ride or run can be found here: Hip warm-up.
Just like anything, having strong and flexible hips takes a lot of work, but taking care of something so far up the “injury chain” will pay off dividends as you start to increase your training. Get a jump start on the season by evaluating yourself early and building a strong foundation.
ADVERTISEMENT
Brad Thomas is a physical therapist at ProSport Physical Therapy in Rancho Palos Verdes, California. After receiving his Bachelors of Science in Biology, with an emphasis in Physiology in 2015, he earned his Doctorate of Physical Therapy from California State University, Long Beach. He is also an avid surfer, swimmer, and runner.