Published January 7, 2022 08:47AM
A Triathlete's Guide to Getting Started with Fat Biking
If the thought of riding indoors all winter is enough to drive you crazy, you might just want to find out more about the wonderful world of fat biking.
(Photo: Wendy Sweet)
Cycling clothing has come a long way, and when you still want to pedal after the mercury drops, there are plenty of good options to keep you warm and comfortable. Don’t feel like dealing with Mother Nature at all? Well, then there’s always Zwift and any number of excellent smart trainers.
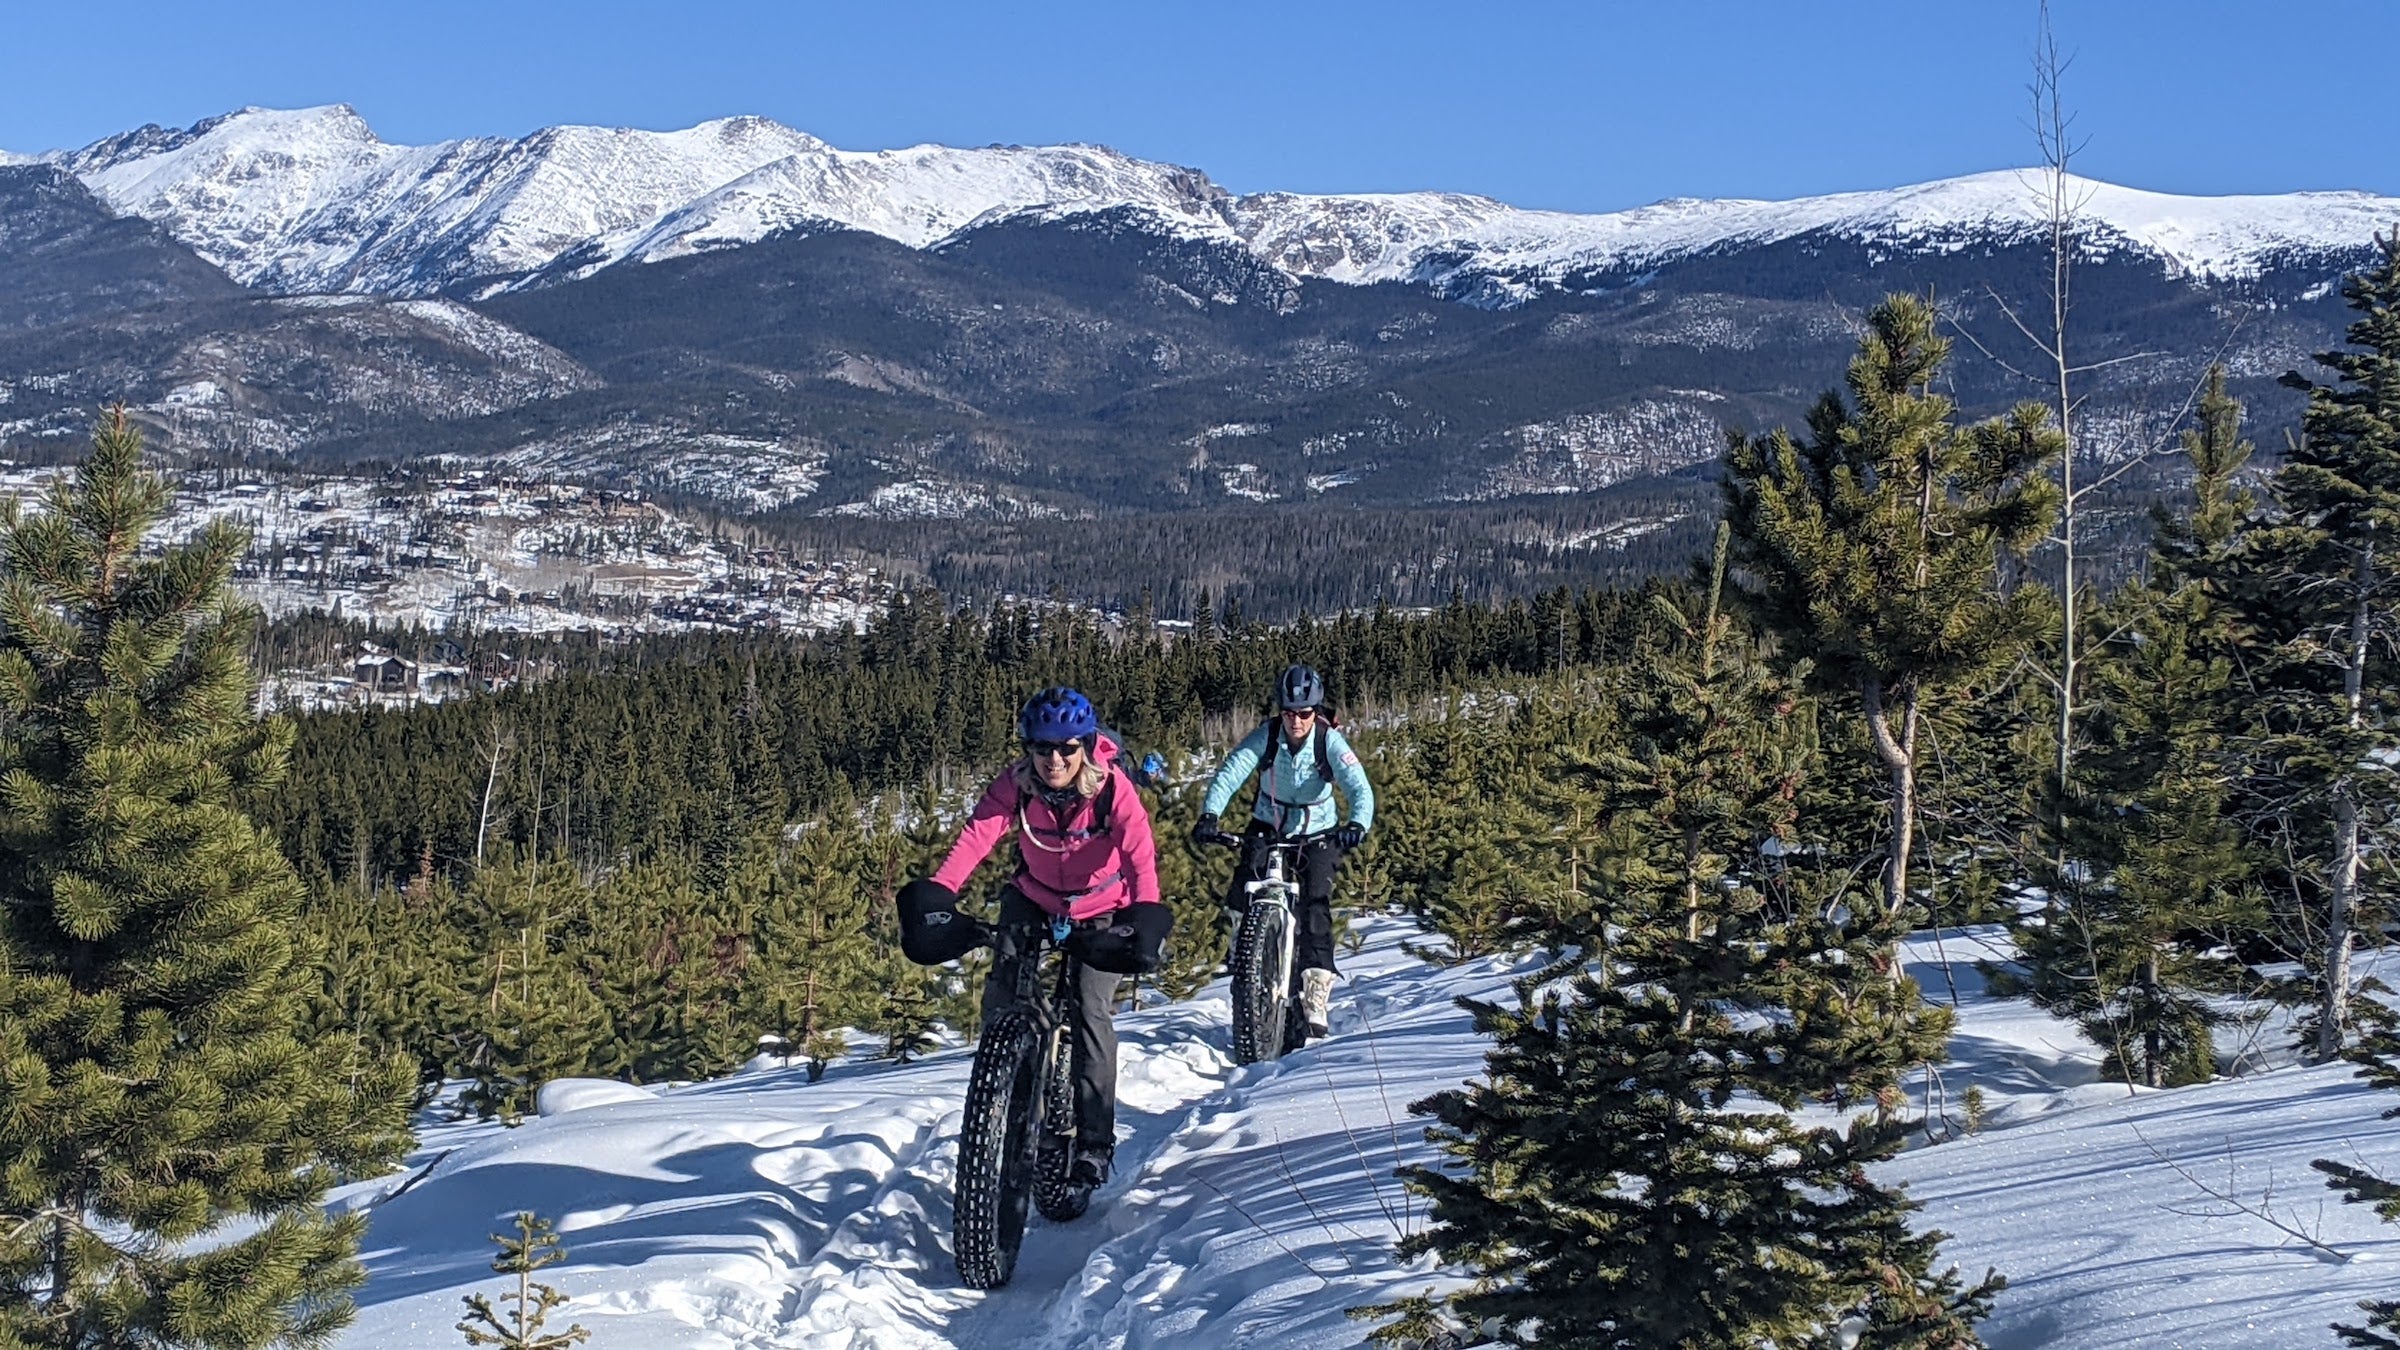
But what do you do when the ground is covered in snow and ice, and you still want to pedal outside? At that point, there’s only one solution: fat bikes.
Fat bikes resemble conventional mountain bikes in many ways, but for one key difference: the tires. Whereas typical mountain bike tire widths range between 2.1-2.6 inches, fat bike tires are roughly double that, with frames and ancillary equipment all being purpose-built to suit. They may look like the two-wheeled equivalent of clown shoes, but when you’re the only one floating atop the snow while everyone else is stuck pizza-cutting, it’s you who’ll be laughing.
What to look for
Fat bikes vary considerably in price, but when all is said and done, riding on snow is all about managing the limited amount of traction available, and performance boils down almost completely to the tires. Width is important, along with tread design and rubber compound, but proper inflation pressure trumps it all.
Hard-packed conditions usually call for tires that are around 4 inches wide with lower-profile tread designs, while deeper and looser conditions will require tires pushing the 5-inch mark with more aggressive knob patterns. There are even options with carbide studs to help bite on ice. Whichever way you go, inflation pressure is everything, and lower is usually better. Something around 4-6 psi can work well on firmer snow, but backcountry riders might go as low as 1-2 psi for a bigger footprint to keep from sinking. Experimentation is key.
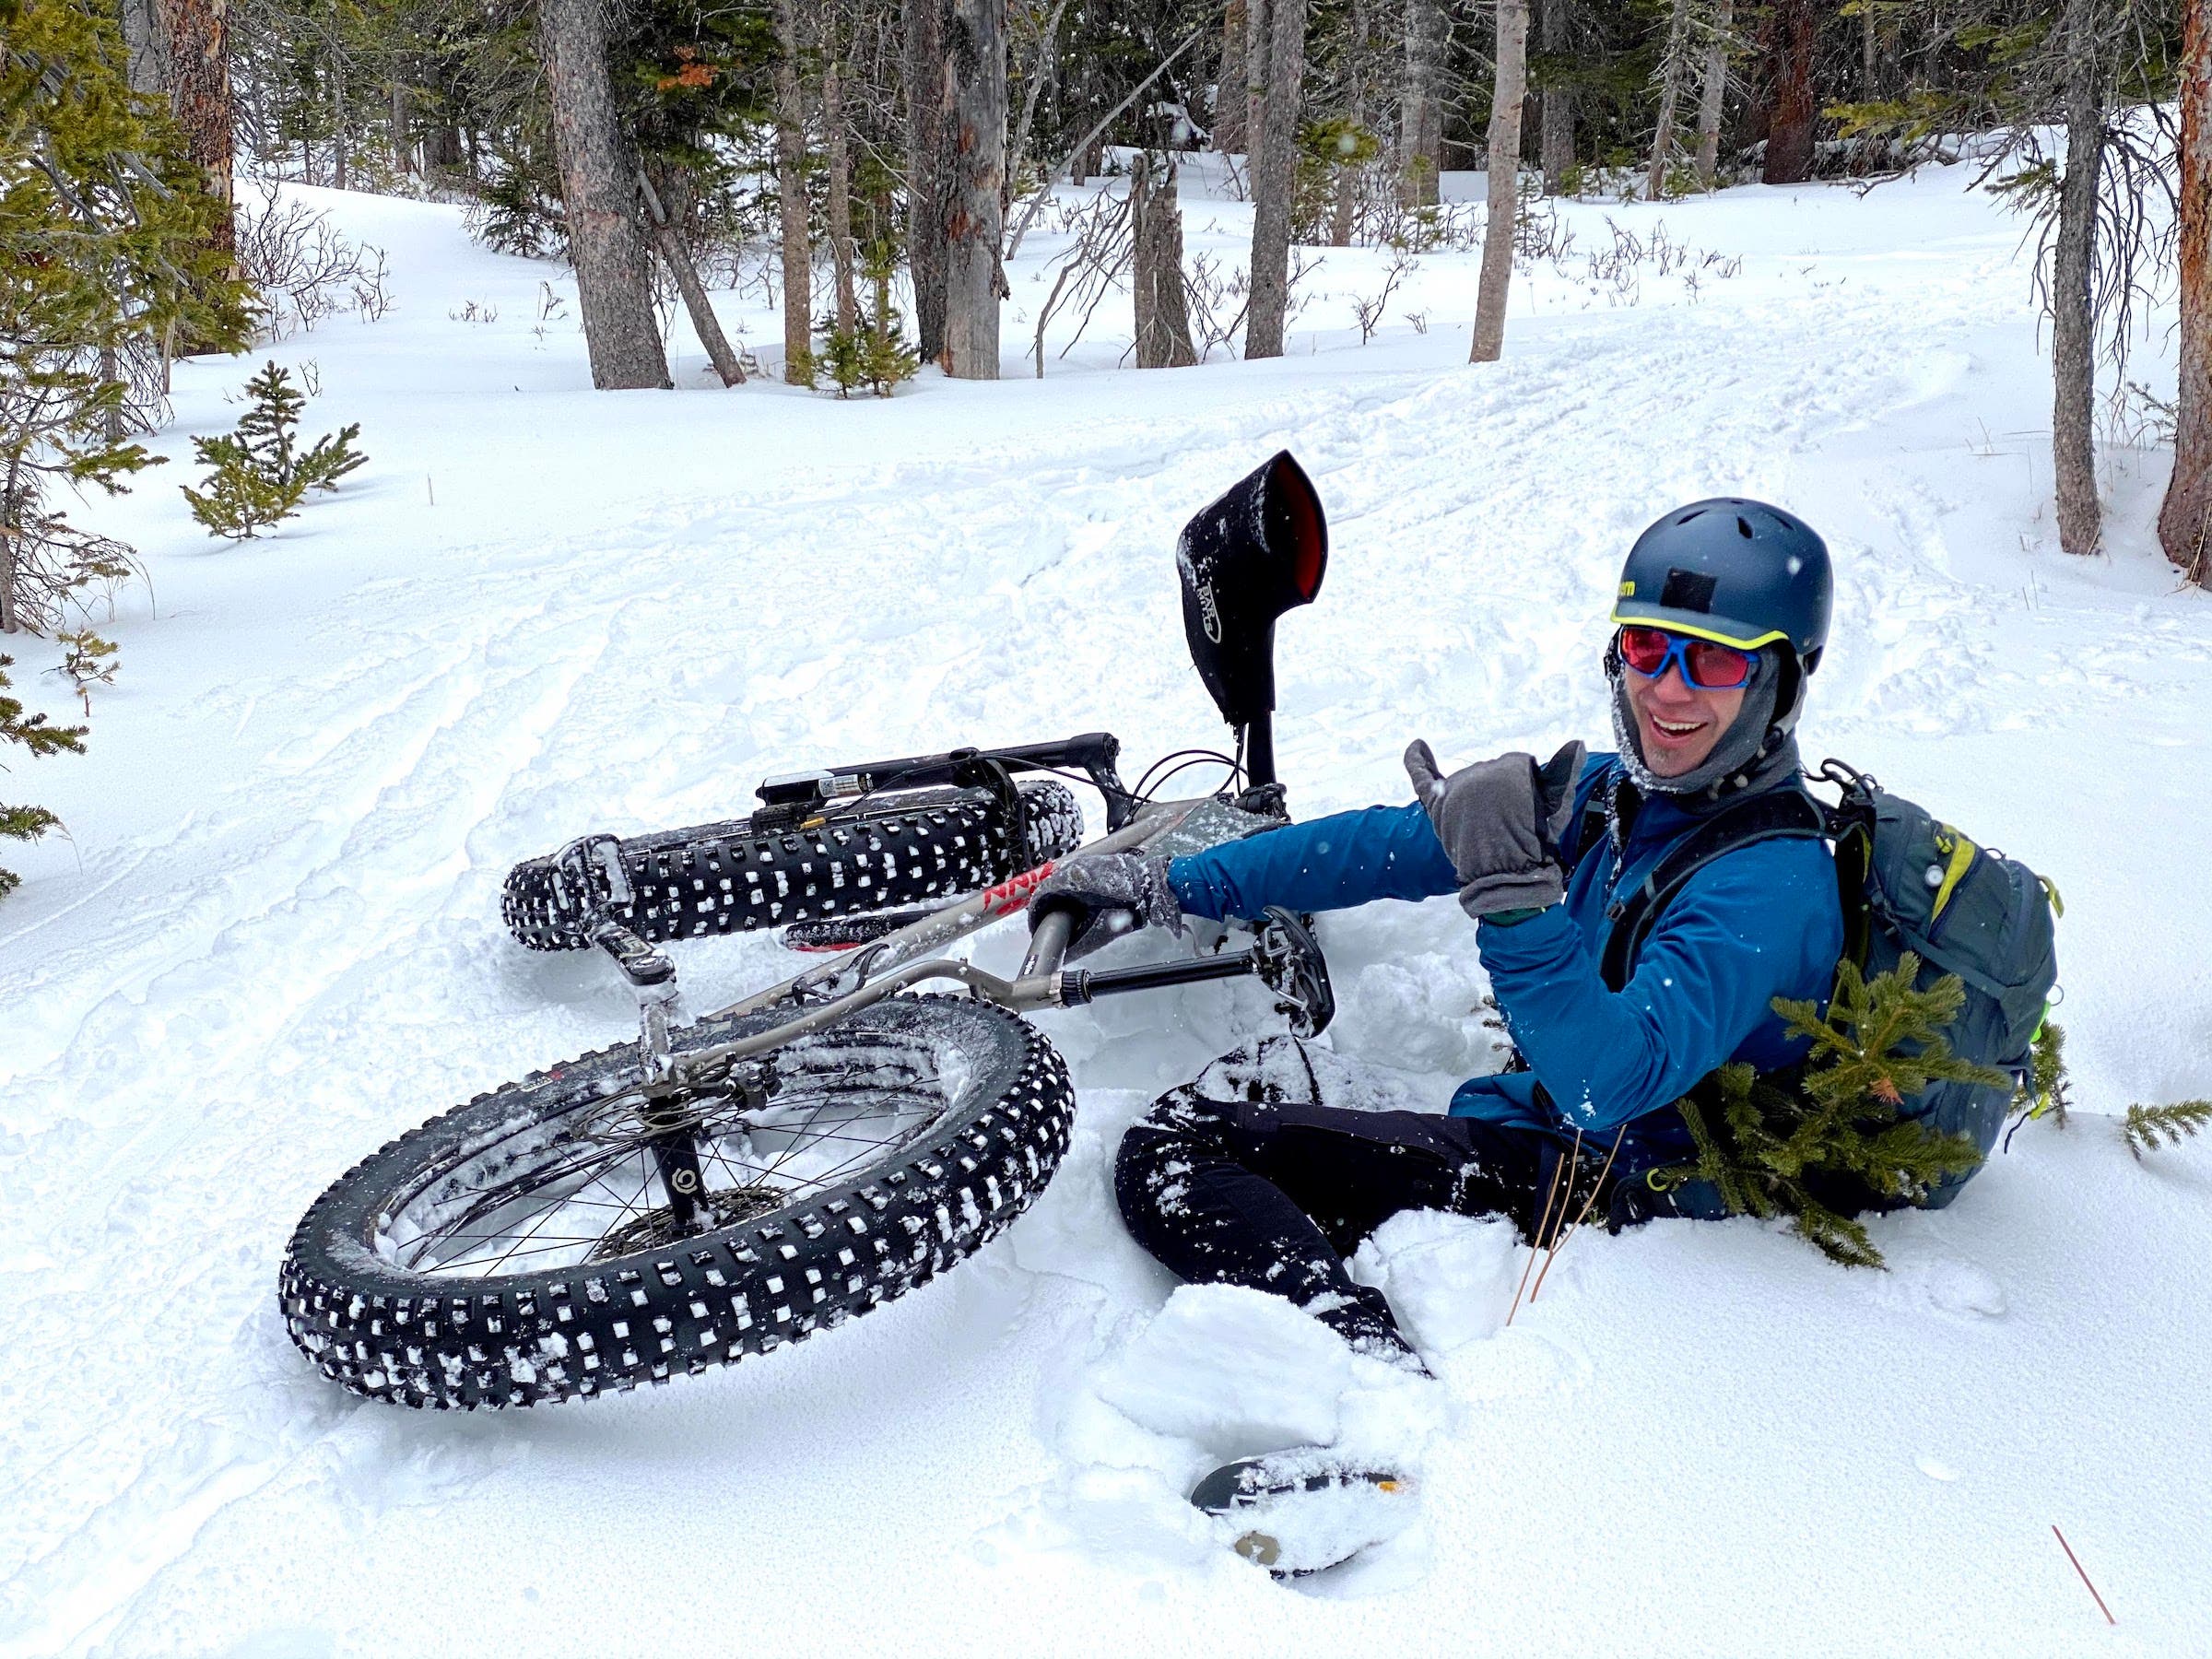
Other features are nice to have, but hardly necessary; a cheaper bike with a good tire setup will outrun an expensive one with a bad tire setup any day. Don’t worry too much about component spec; better to keep it simple here unless you really want to get serious. However, lower weight is often nice to have since challenging conditions can often put you on foot for extended periods.
If you’re on a budget—or only fat bike-curious for now—consider renting. Many retailers that rent ski gear now also have fat bikes available for nominal day rates, which can be a smart way to go if you only anticipate riding on snow a few times per year. If you do end up buying, keep in mind that riding on snow is awfully easy on gear, so whatever you end up with will likely last for many seasons to come.
ADVERTISEMENT
What to wear
Dressing for fat biking is more akin to heading out for a day of winter hiking than winter riding. It’ll obviously be cold, but you’ll also be working plenty hard and the lower speeds mean you won’t have to deal with as much wind chill as on a winter road ride. The key will be staying warm without overheating or getting soaked from sweat.
If you have cross-country ski gear, that’s a good place to start, though you’ll probably need an extra layer or two. Insulated and waterproof pants—ideally with zippered vents and elastic cuffs—over your usual chamois are nice to have. Up top, a heavier winter cycling jacket can often do the trick, though it’s smart to pack a thin down jacket just in case, too.
Pay close attention to your hands since they’re most likely to get cold. Split-finger mittens should be high on your list, or pogies (basically insulated handlebar end covers for your hands) if it’s really chilly out. If it’s not too arctic out, your regular cycling helmet with a hat underneath will often do the job. Covering the forward-facing vents will extend the usable temperature range down further if needed, and ski helmets with adjustable venting can work well, too.
As for your feet, don’t even try using your regular cycling shoes. Insulated hiking boots and aggressively spiked downhill mountain bike pedals are the norm here since there’s usually some walking involved, although some clipless pedals (Crankbrothers and Time, in particular) still work OK in icy conditions without packing up.
Whatever you wear, don’t forget about food and drink. Regular water will quickly freeze in winter conditions, but a high-salt drink mix can help, along with insulated bottles. Don’t bother with hydration packs; the hose will freeze unless you wear the pack next to your body.
ADVERTISEMENT
Where to go
Unless you have purpose-built groomed terrain nearby, multi-use trails frequented by snowshoers are the way to go. Fat bikes are supremely capable, but they’ll still sink in soft conditions, so something that’s already been somewhat packed is ideal.
Otherwise, pretty much anything goes—even sparsely traveled snow-covered roads—but check your local trail networks to verify winter bike access.
Wherever you end up, be sure to keep an open mind! Fat biking is fun, but it can also be frustrating, especially for first-timers. However your day goes, just remember that you’re still outside in the open air instead of sweating in your basement—and even better, you’ll likely have the trails all to yourself.
James Huang is the Head of Tech at CyclingTips.com, and is a serious nerd for all things two-wheeled and pedal-powered, including road and cross, trail and enduro, and townie and cargo. He did a triathlon once, but three decades ago, and only as part of a relay.