Published June 4, 2018 02:40PM
Understand Geometry Before You Buy Your Next Bike
Two expert bike fitters help you crack the code on complicated bike geometry charts.
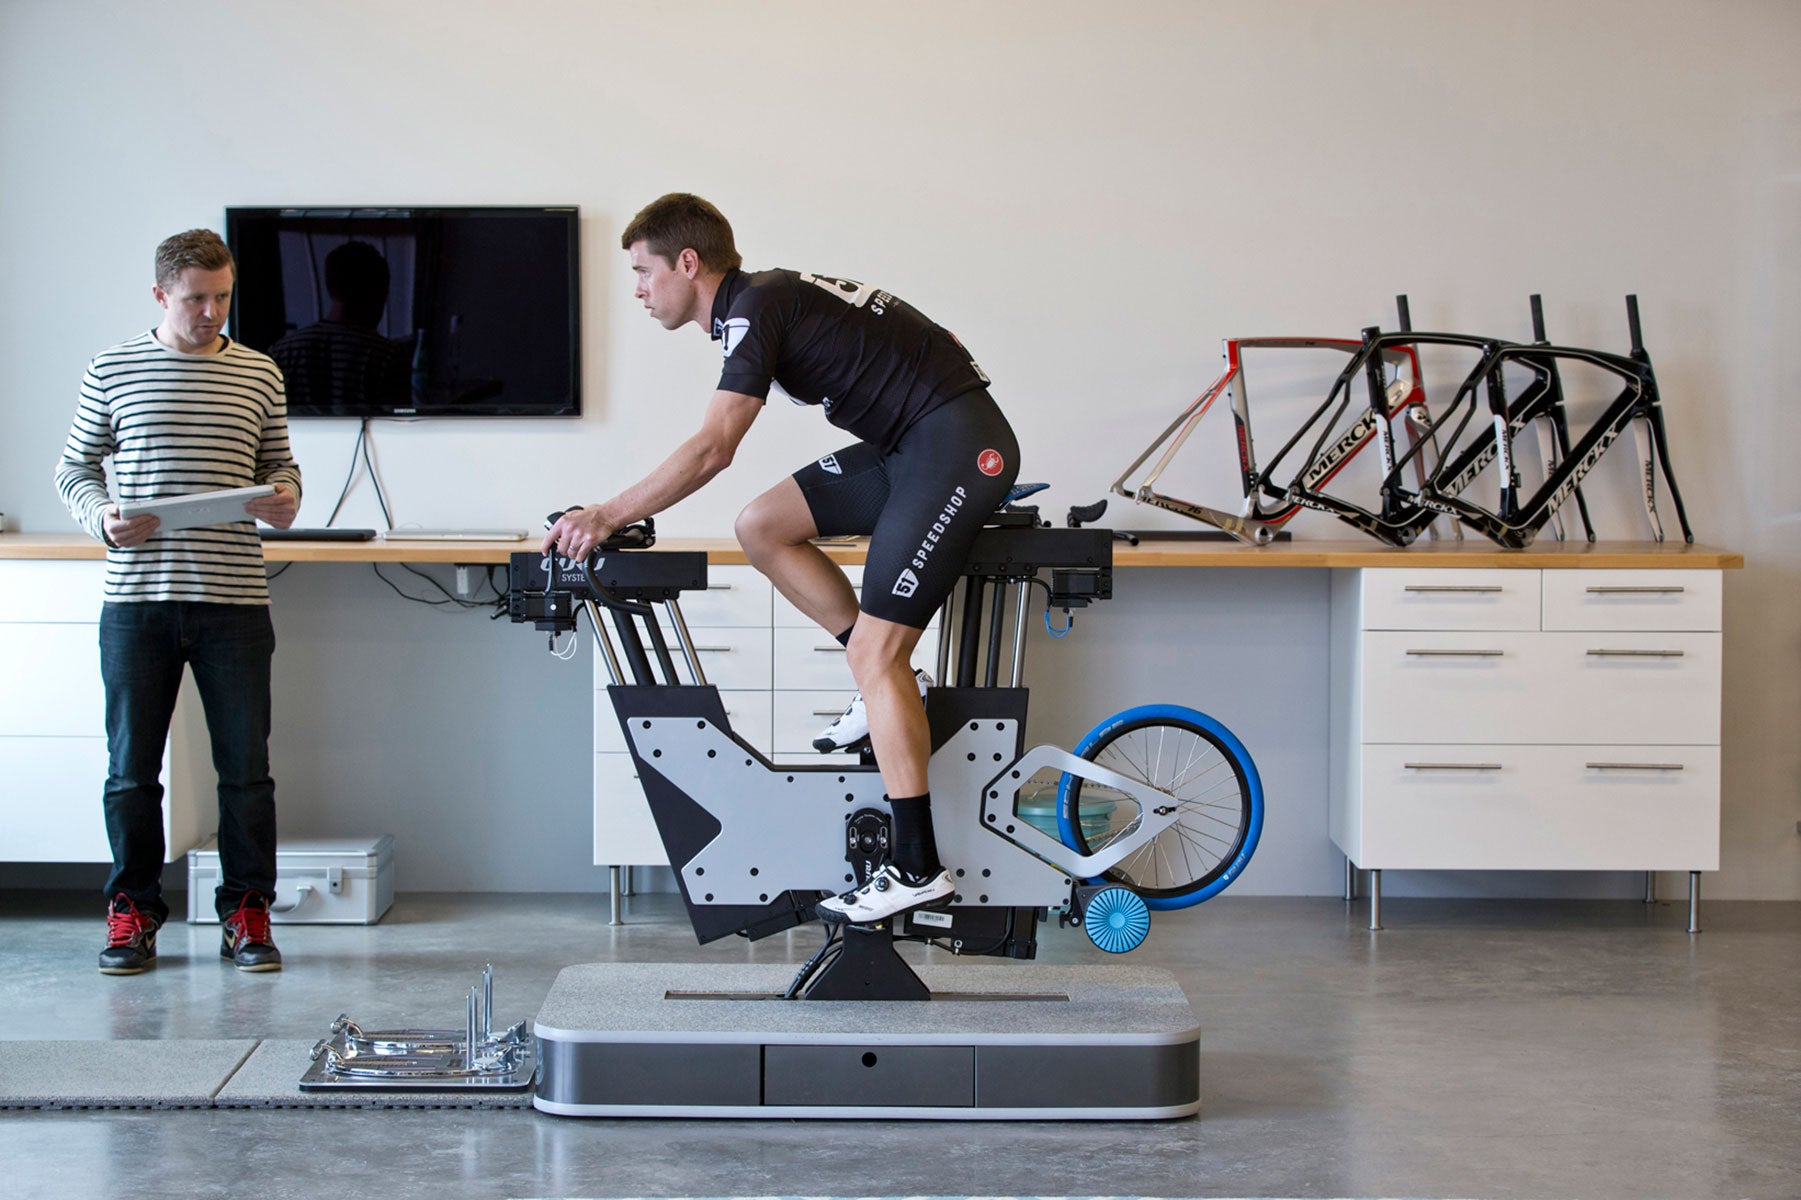
The best approach to picking out the perfect ride is to start with a bike fit from your local fitting professional. Then have them make recommendations for you based off of your fit session.
If you don’t have that luxury, a brief understanding of what to look for when contemplating geometry charts can erase some of the mystery and help you make an educated purchase—or translate the measurements from your current well-fit ride onto a new rig.
First off, know that the manufacturer’s frame size means very little. The frame size—whether in centimeters, or by small, medium, large—does not give a complete picture of the bike’s actual size or proportions.
ADVERTISEMENT
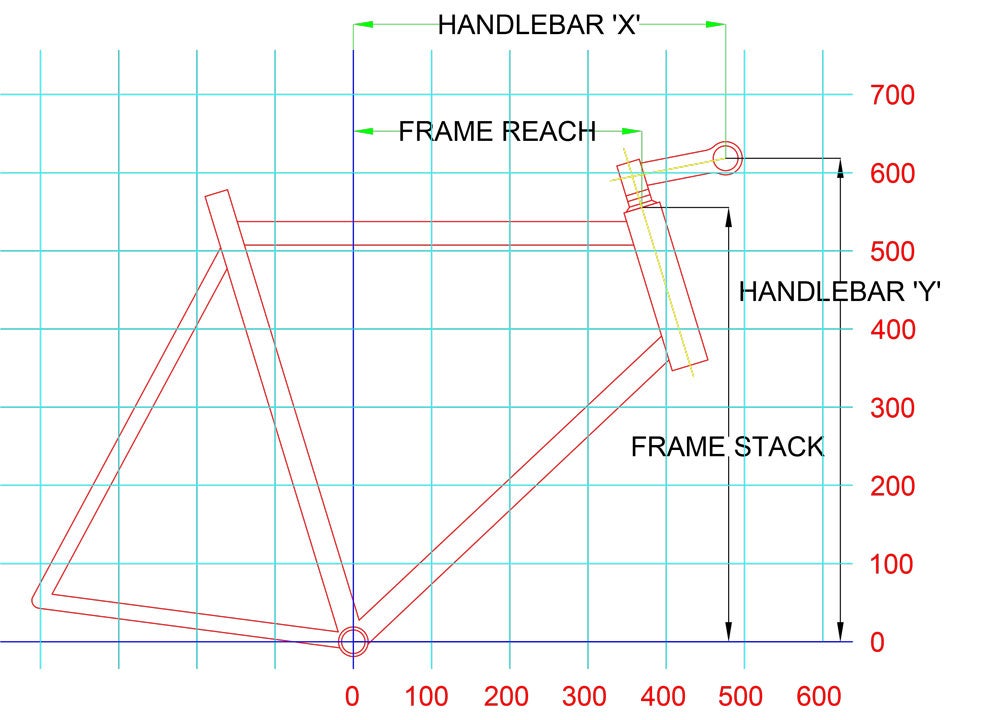
A better way to understand bike geometry is to think of putting a bike on a piece of graph paper (see below). Using the center of the bottom bracket (BB) as the origin, the position of all relevant aspects of the bike can be described using ‘x’ and ‘y’ coordinates. The handlebars, for instance, on a particular bike may have a horizontal (x) coordinate of 480mm and a vertical (y) coordinate of 620mm from the BB. This method can be used to quantify the frame itself, when connected to the top of the head tube (commonly referred to as frame stack and reach), the position of the saddle, shift hoods, arm rests, or virtually any other part of the bike. When describing a bike in this way, we are able to not only describe the position of a particular bicycle, but also compare the positions of multiple manufacturers’ bikes accurately.
When comparing one bike to another, the first place to look on a bike geometry chart is the frame stack and reach measurements. (See a glossary of other common terms below.) The specific measurements and also the ratio of stack/reach tell a lot about how a bike will fit. As a rule of thumb, road bikes with a high ratio of stack to reach (1.5 and greater) are best for less flexible athletes or those with longer legs and shorter torsos; road bikes with a lower ratio of stack to reach (1.5 and lower) are best for more flexible athletes or those with longer torsos and shorter legs.
If the thought of comparing frame geometry ratios makes your head hurt, go to a professional bike fitter and let them do the work for you. It’s the best money you can invest into your sport.
 Glossary of Terms
Seat Tube Angle
The acute angle formed between the horizontal plane and the seat tube. Tri bikes often have steeper angles (~78 degrees) to more evenly recruit the hamstrings and glutes—ostensibly allowing triathletes to run better post-ride.
Bottom Bracket Drop
The vertical distance between the wheel axles and the center of the bottom bracket. The greater this distance, the lower the rider sits to the ground, improving stability.
Front Center
The horizontal distance between the bottom bracket and the front wheel axle.
The length of the front center impacts the weight distribution of the bike; tri bikes have longer front center distances than road bikes.
Chainstay Length
The distance between the bottom bracket and the rear wheel axle. This measurement affects
the ability of a gear shift system to work well, the weight distribution, and the clearance between the rear tire and the seat tube.
Trail
The distance from the tire contact patch to the fork steering axis along a perpendicular line. Trail has a big impact on the way your bike handles: More trail leads to a more stable but less responsive bike (good for triathlon); less trail leads to a quicker handling bike (good for bike racing).