Published March 8, 2013 04:19PM
Power Trip: Four Power Meters Reviewed
Inside Triathlon put these power meters through the wringer to find which device can help take your cycling to the next level.
All four of these power meters are accurate. The most important differences are what they can (and cannot) do, and how smoothly they work.
This article was originally published in the Jan/Feb 2013 issue of Inside Triathlon magazine.
Look Keo Power
($2,200, Lookcycle.com)
Type: Pedal-based power meter, allowing the rider to swap wheels or move the system between bikes with relative ease.
Benefits: Can be swapped between bikes; independent leg power measurement
Drawback: Few computer options, all lacking popular features
Getting them to work: Once familiar with some of the nuances of installation, moving the pedals between bikes is quite simple and takes just a matter of minutes. Tools included with the pedals make installation easier. It is not, however, as simple as mounting typical pedals. The connection process between the computer and power meter takes a few seconds, and the pedals automatically calibrate every time they are turned on. All Look Keo cleats are compatible with Keo Power.
What they do: Moving a crank can be intimidating, and hub-based power systems limit wheel selection, but Keo Power solves both problems. The main attraction is the ability to easily move the system between bikes, making it especially appealing to riders who train on different bikes. It records power from both legs, and, when used in conjunction with the Polar CS600 computer, displays the split in real time. The system uses Polar’s proprietary transmission protocol, which means Keo Power is limited to a short list of Polar computers, none of which currently offers GPS or a wide range of useful data display options available on other head units. A GPS-equipped option is nearing completion, however.
How well they work: Although a tester experienced occasional transmission problems during one set of trials, the pedals performed well in all other tests and generated power data similar to the more established systems. When it is first turned on, the left and right transmitters must connect with each other before they can connect to the head unit, so if racing with Keo Power, it’s important to remember to do this as soon as you enter T1 so it’s ready by the time you pull your bike off the transition rack.
Buy them for: Their ability to move between bikes.
RELATED: Gear Upgrades That Really Matter
ADVERTISEMENT
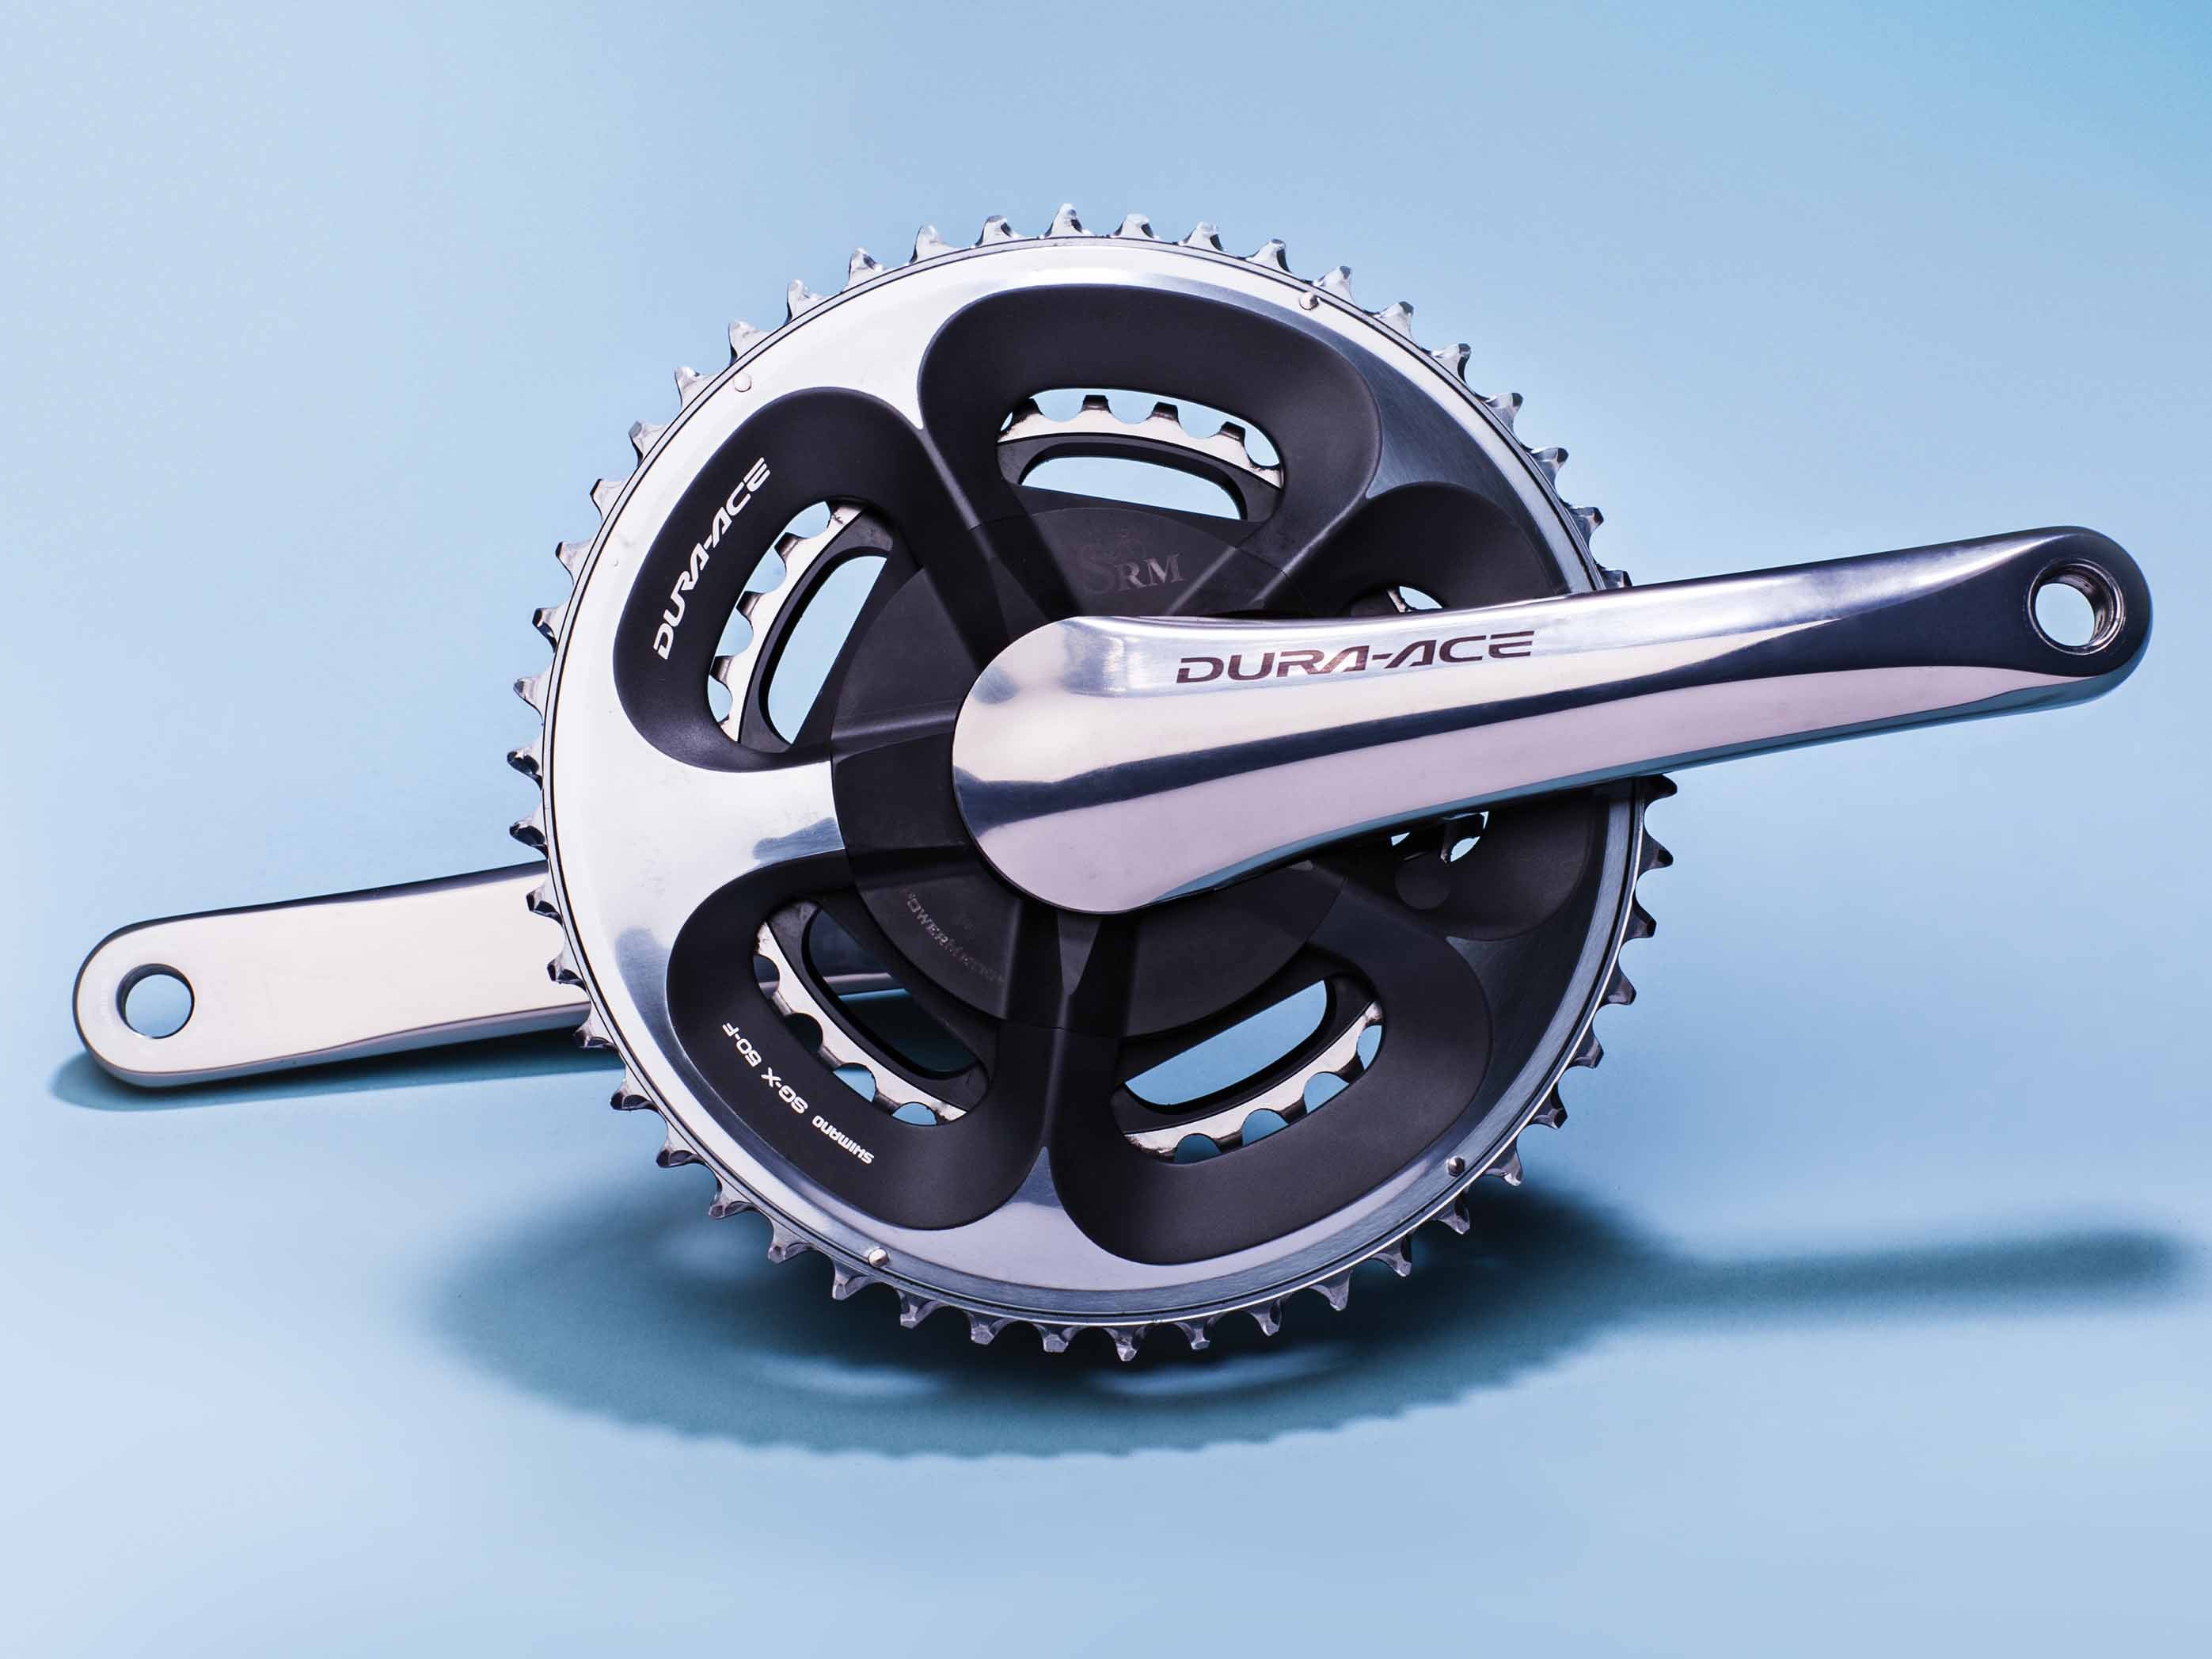
SRM Shimano Dura-Ace 7900 Training System
($3,895, Srm.de)
Type: Crank-based power meter, meaning it can alternate between racing and training wheels, but swapping the meter between bikes takes some mechanical knowledge.
Benefit: Flawless function with every piece included
Drawbacks: Price; computer lacks GPS
Getting it to work: Installation is quite simple. It’s no different than mounting a standard crankset, save for the necessity to include a cadence magnet. Everything needed to start measuring power is included in the training system. Once a user learns his way around the SRM system, he can expect reliable and predictable performance backed by 25 years of development. The crank alone is $3,145.
What it does: SRM’s hallmark is simplistic, dependable function. The SRM Training System includes everything needed to start training with power straight away; the other power meters in this review require accessories. It includes the Power Control 7 computer and wireless speed and cadence sensors needed to record data, as well as the SRM software used to analyze those data. The Power Control 7, however, is not as user-friendly as the Garmin Edge 500 and lacks GPS. There are numerous versions of the wireless SRM power meter crankset. No matter what your crank brand, length (as short as 165mm) or bottom bracket standard, there is likely an SRM option for you.
How well it works: SRM power meters have long been considered the gold standard by which all others are judged, and for good reason. The SRM worked flawlessly without any data transmission issues. It must be calibrated at the beginning of a ride, however, the system cannot be automatically recalibrated during the course of a ride, meaning data accuracy can drift if conditions change. The internal battery powers the unit for about 1,400 hours of riding, according to SRM, and when the time comes to replace the battery, the unit will have to be shipped back to SRM in Colorado.
Buy it for: Simplicity and reliability.
RELATED: Shimano Aero Wheels Get Serious
ADVERTISEMENT
Sram Red Quarq
($1,995, Quarq.com)
Type: Crank-based power meter, meaning it can alternate between racing and training wheels, but swapping the meter between bikes takes some mechanical knowledge.
Benefit: Cheapest crank-based meter
Drawback: Comes without necessary accessories or computer
Getting it to work: Installation of this power meter is no different than installing a crankset, which is much simpler than it sounds. Once you become comfortable with the basic steps required, the Quarq can be swapped from one bike to another in a matter of minutes. The crankset comes without any electronic accessories, so you’ll need an ANT+ compatible computer and analysis software such as Training Peaks. It is part of Sram’s flagship 2012 Red component group and must be paired with the corresponding front derailleur and shifter for optimal gear changes. Riders without Red run the risk of compromising shift quality.
What it does: Power created during the first half of the stroke can be separated from the second half and displayed on a Garmin Edge 500, 800 or Forerunner 910XT, giving an approximation of the balance between the right and left legs. Note that the power balance ratio is not directly measuring the effort independently applied from your left and right side. On most occasions the average leg balance data from a ride has been 49/51 percent, and there was one particular recovery ride when riding with a sore knee that the balance reported was 46/54 percent.
How well it works: This unit worked reliably in a wide variety of weather conditions straight out of the box. The power meter syncs quite easily with Garmin ANT+ enabled devices and manual calibration is also quite easy, although it does require pushing a lot of buttons. The unit can also be automatically recalibrated during the course of a ride by back-spinning the pedals several revolutions, but it doesn’t signal that it has in fact recalibrated, leaving the tester a little unsure. It is available with standard (53/39) or compact (50/34) gearing with crank length as short as 170mm. The battery, which will need replacement once or twice a year, can be bought for a few dollars at most drug stores and takes less than two minutes to install.
Buy it for: Versatility, dependability and advanced features.
ADVERTISEMENT
RELATED – 2012 SRAM Red: Shifting To The Front
Saris PowerTap G3
($1,300, Cycleops.com)
Type: Hub-based power meter, which makes it easy to use on multiple bikes, but limits race-day wheel options if you want to record data.
Benefits: Simple to use and easily swaps between bikes
Drawback: Can’t alternate between race and training wheels
Getting it to work: Having installed four different power meter systems as part of this testing, the PowerTap was definitely the easiest and quickest to set up with the least amount of complications. Installing the G3 is very simple, so long as you know how to mount tires and install a cassette. The hub was matched to a Garmin Edge 500 using its ANT+ connectivity, and calibration went without a hitch. Calibration only takes a few moments but cannot be done while riding. If you are not mechanically inclined and want a simple, reliable and easy-to-use power meter system, this is the product for you.
What it does: Price aside, easily moving the power meter between bikes is the system’s biggest draw over the others, especially since there are no additional sensors, magnets or wires required. The only strike against the PowerTap system is that if you would care to use a variety of different wheels during the course of your training and racing, then you’ll need to buy a PowerTap hub for each wheel. Many triathletes have gotten around this costly situation by building a PowerTap hub into a very sturdy training wheel and using a disc wheel cover for racing. This option adds a little bit of weight to your rear wheel, but it also provides you with a cost-effective solution. Lacing it to a rim that can perform training and racing double duty is another option.
How well it works: The G3 is lighter than all previous PowerTap hubs and is easier to service. All of the electronics associated with the PowerTap are built into the small, removable outer cap, so if anything were to go wrong with your unit, you only have to mail in this small piece rather than the whole wheel. The PowerTap G3 uses a typical watch battery, so replacing the battery is quite simple, yet it requires a simple but proprietary tool that’s included with the unit.
Buy it for: Reliability in an affordable package that can be adapted for race day.