Published November 7, 2017 04:14PM
Try This Super Simple Recovery Pose
Triathlon coach and yoga instructor Sage Rountree shares a simple pose that will help you recover.
(Photo: Getty Images)
In her new book, The Athlete’s Guide to Recovery, certified triathlon and running coach and yoga instructor Sage Rountree provides a path to full recovery and improved performance. Here, she shares a simple recovery pose, as well as one variation, you can do almost anywhere.
Legs up the Wall
For legs up the wall, you’ll need a wall or a closed and locked door. A stack of a few blankets, a roll of towels, or a yoga bolster can enhance the pose, though they are not necessary.
At its simplest, the pose will take an L shape, with your back against the floor and your legs up the wall. If you’ve got tight hamstrings, getting there can be tricky.
- Sit with one hip against the wall, then swing yourself around so that your spine rests on the floor and your legs are propped on the wall.
- If your hamstrings allow, scoot your bottom all the way to the wall or baseboard. If you find your hamstrings are tight, you can keep your bottom a few inches from the wall, but to be sure you aren’t hyperextending your knees, keep them in a slight bend.
- Take your arms to a position that feels comfortable. This could an inverted V, out to a T, in an open Y overhead, or split into a W.
- Wherever your arms are, roll your palms toward the ceiling to help open your chest and shoulders.
If you have props on hand, you can make this pose into a gentle supported backbend. Lay your bolster, pillow, or a rectangular folded blanket so its longer end runs parallel to the wall and a few inches away from it. Sitting on the prop, slide your legs up the wall and let your entire pelvis rest on the cushion. The prop should support your lower back fully while stretching your ribcage. If you feel like you’ve got too strong a curve in your neck, add a rolled blanket under your head. If you have an eye bag, try putting it over your eyes or simply on your forehead. If you have a sandbag, it can rest on top of your feet to settle your legs toward the ground. (You can start with it as you push your legs up the wall, or have a friend add it once you’re in place.)
ADVERTISEMENT
How long: Stay in this position for a good while—10 minutes or up to 20, if you can. Should your legs fall asleep, simply bend your knees toward your chest for a few breaths and reposition them. If your legs won’t stay together, you can use a yoga strap to tie them together loosely. This is a good place to experiment with economy of form. Use only as much energy as you need to hold your legs up the wall. Try relaxing entirely. Worst-case scenario: Your legs will slide down the wall, and you’ll have to reposition them. Not a problem!
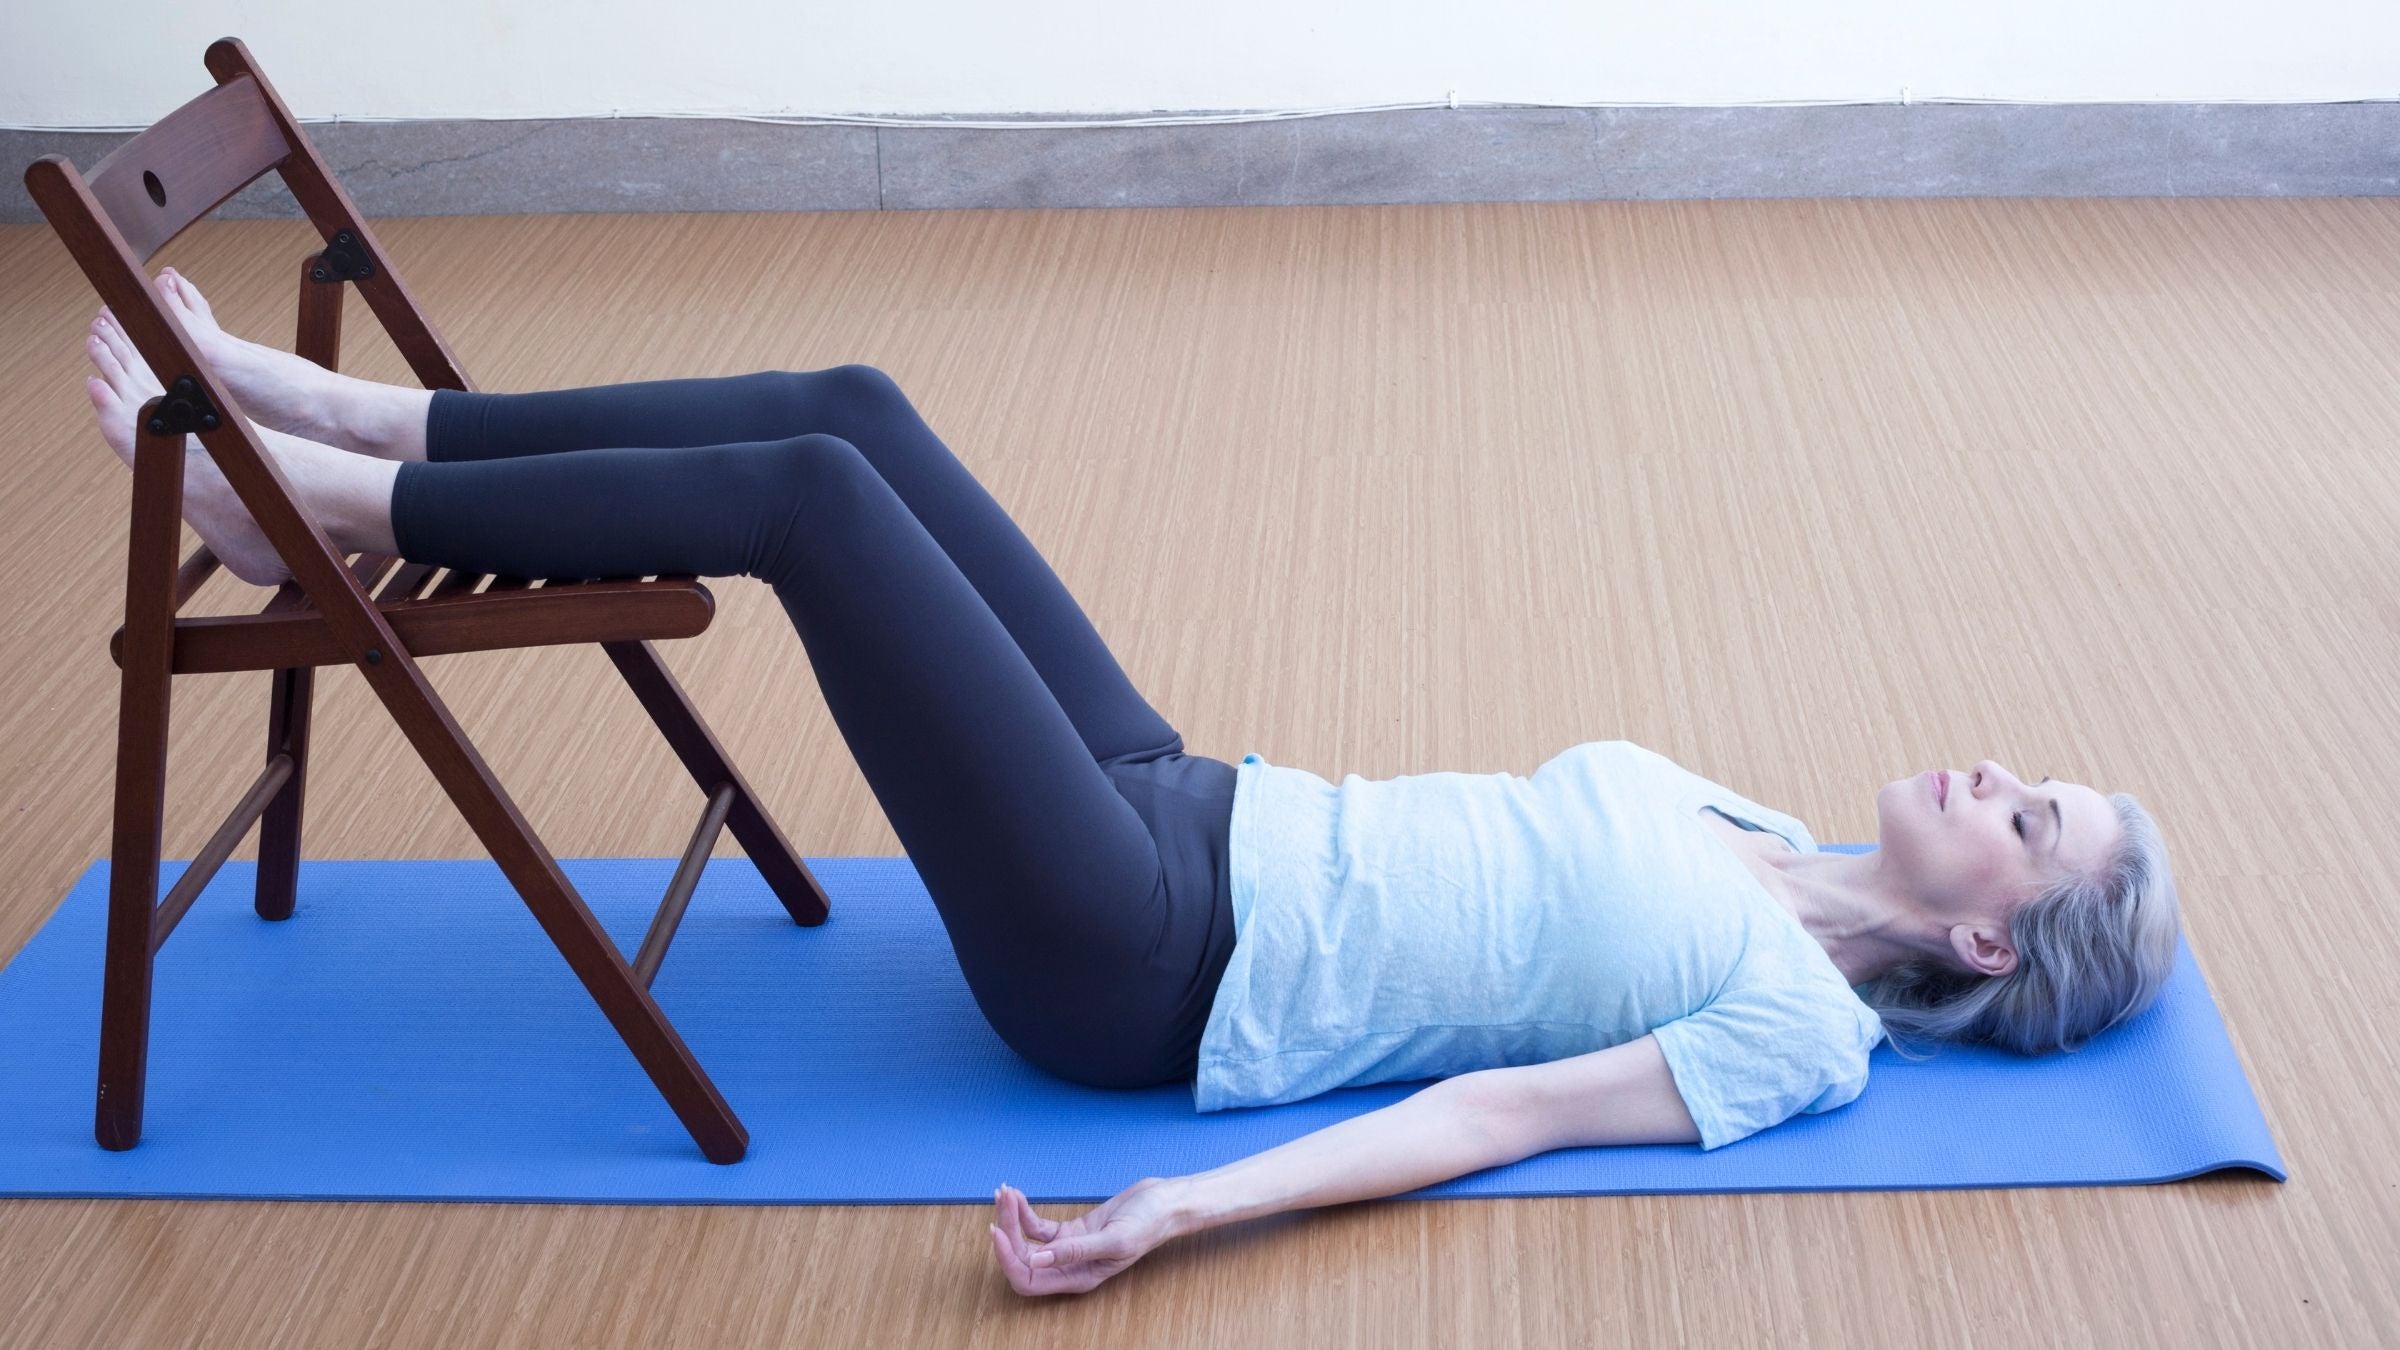
 Variation: Legs on a Chair

A variation on legs up the wall involves placing your calves on the seat of a chair, on a sofa, or on a coffee table.
Bending the knees will alleviate strain on the back, so this is a nice option if your lower back or knees don’t do well in a full version of legs up the wall.
Depending on the length of your femurs, you may need to add some padding to the support beneath your calves.
Make sure your back is resting happily on the ground and improvise with props if you feel they will support your relaxation here.
How long: A stay of 10 minutes or more is ideal, and an eye bag is a nice touch.