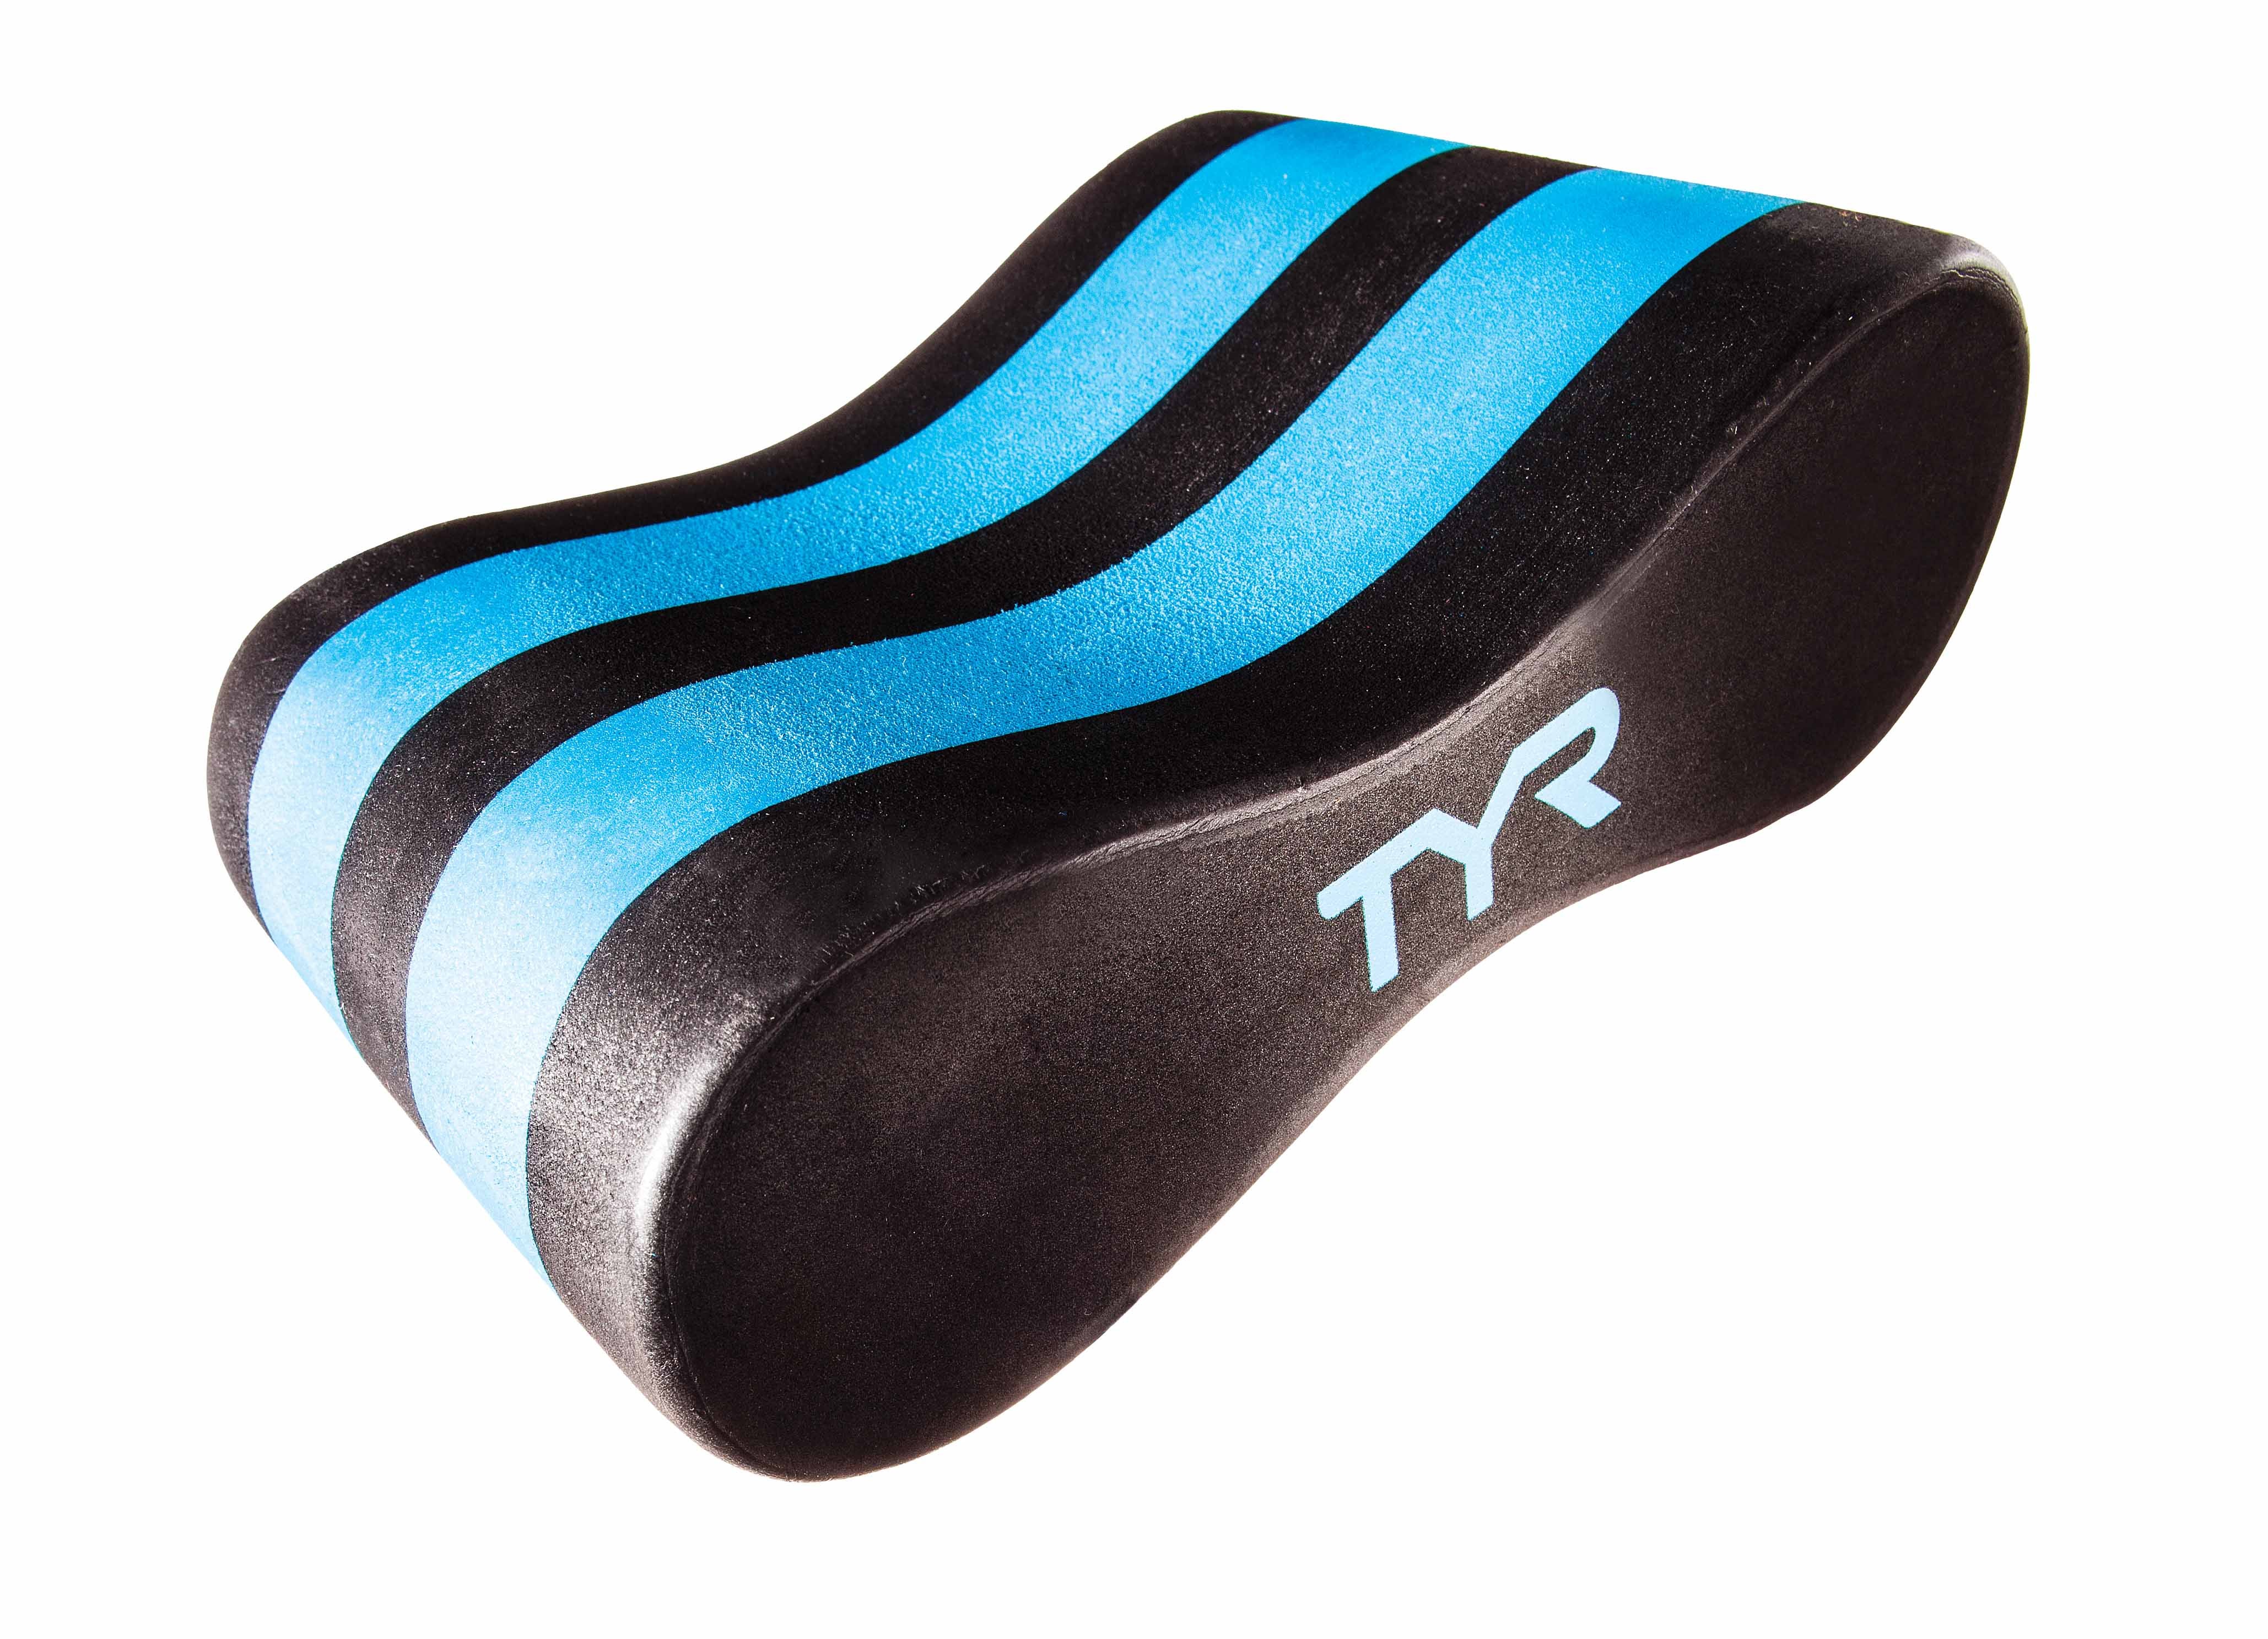
Pull Buoy For Beginners

Photo: John David Becker
If you’ve seen the hourglass-shaped pull buoy on the pool deck but haven’t tried using it yet, here’s your guide to get the most out of this simple, effective tool, which can help build upper-body strength, especially when paired with a set of paddles.
Starter Tips
– Try not to kick excessively. However, a light flick of the lower leg to help with torso rotation is OK.
– Do not point your toes! Let your legs float behind you. Aggressive toe pointing could lead to calf cramps.
– Improve your balance by adjusting the position of the buoy along the length of your legs. Observe how you make adjustments when the buoy is between your ankles, shins, knees, lower thighs, etc.
RELATED: How Often Should Swim Tools Be Used?
FAQ’s
Q: Which end goes up?
A: Most buoys have a larger side. There is no specific answer for this question, but I recommend putting the large side toward your butt so there is less underwater drag and fits most comfortably.
Q: What do I do if the buoy doesn’t support my legs?
A: Use TWO buoys! Hold one buoy just below your crotch and another just above your knees.
Q: Is there a pull buoy option for petite athletes?
A: Yes, many swim companies sell a “junior” buoy that is smaller and less buoyant than the adult size. A quick online search will bring up a few options.