Updated July 10, 2025 02:08PM
If you buy through our links, we may earn an affiliate commission. This supports our mission to get more people active and outside.Learn about Outside Online's affiliate link policy
How to Make a DIY Portable Shower for $30
This DIY portable shower can help keep you (and your gear) fresh after you workout. We also check out three non-DIY options.
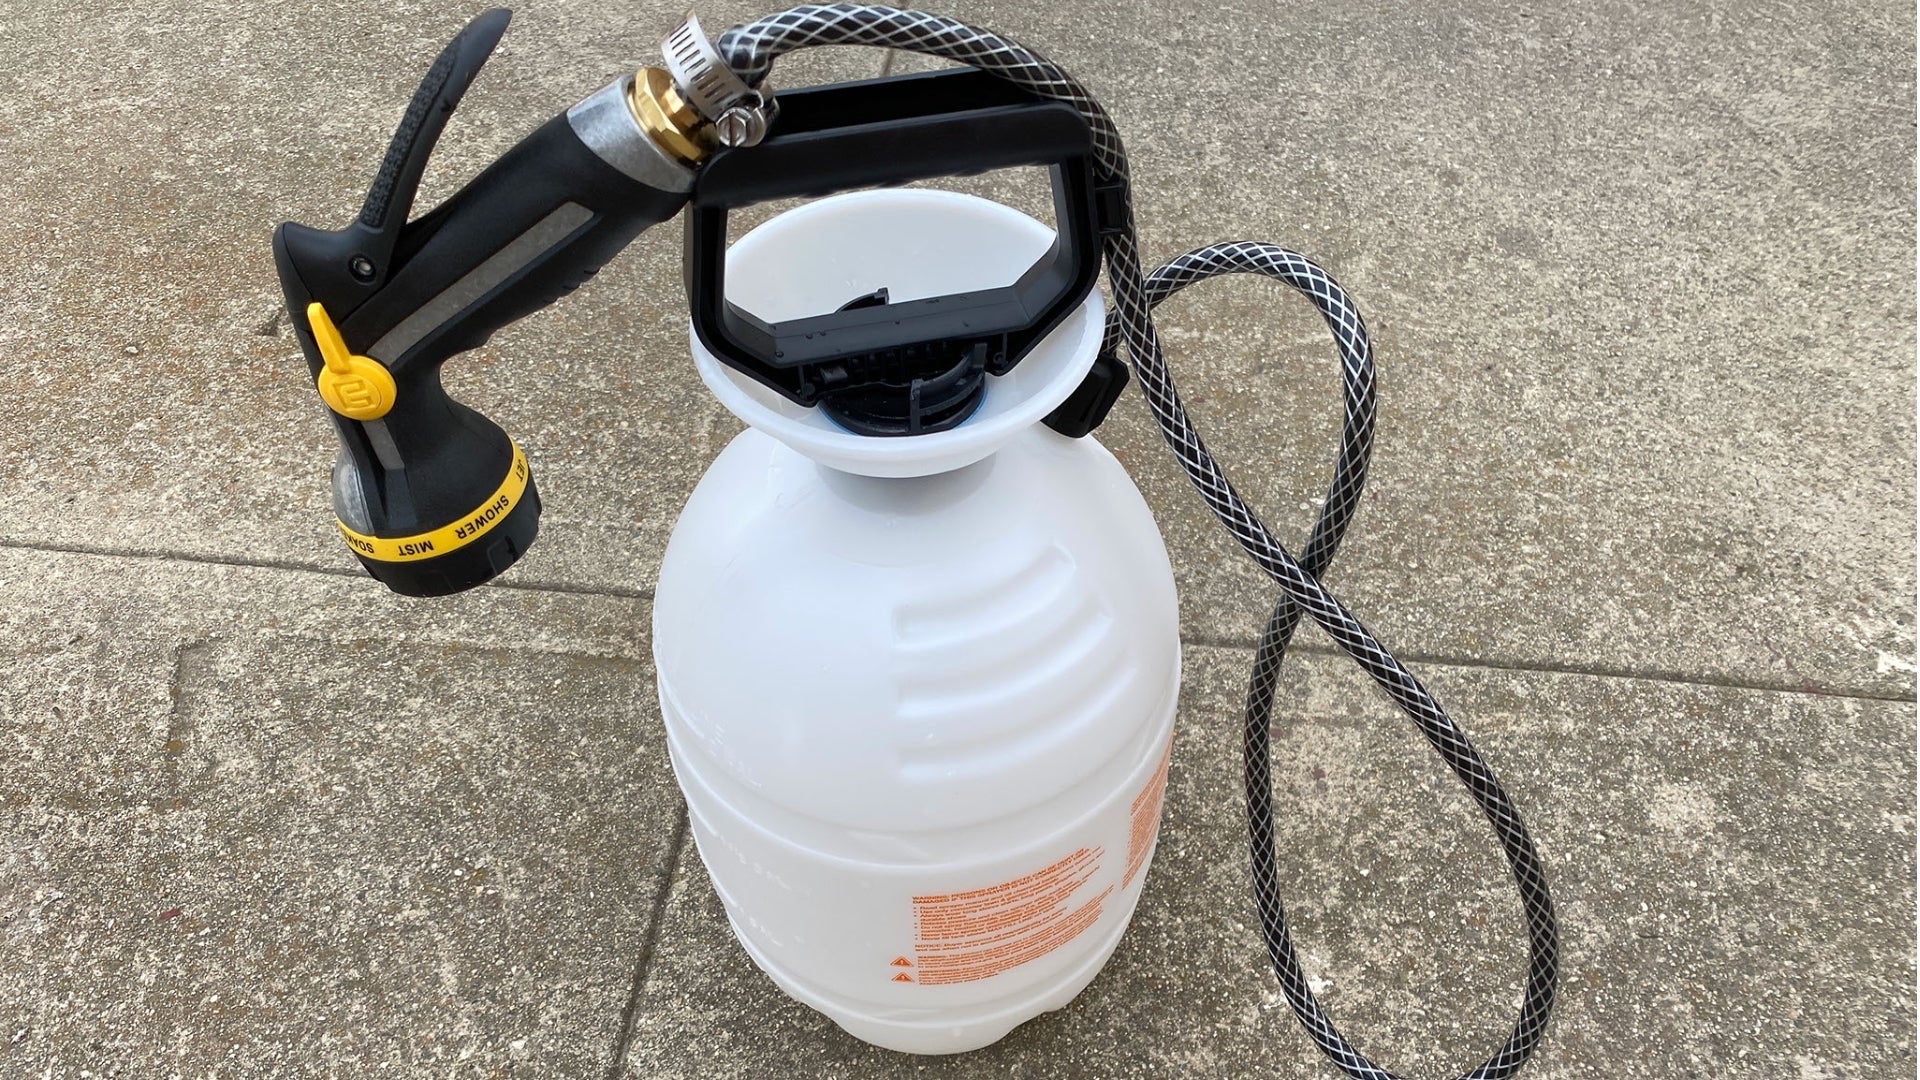
A look at a complete DIY portable shower.
Triathlon is a messy sport, and few things can get more messy than our triathlete bodies. Not only that, but new rules around pandemic living have made post-workout cleanliness a little bit of a question mark—whether it’s hitting the gym shower after a strength-training session or rinsing off after a swim in the pool or open-water. It seems like getting clean in a time when we need to be clean more than ever is tougher than it should be. This season as you strive to spring clean everything from your wetsuit, to your garage, to your goggles, to your bike, your water bottles, and more, be sure not to forget about cleaning your own body. Below we’ve got step-by-step instructions (with pictures) on how to make your own DIY portable shower system that’ll help you get clean after a workout or after a race. And if you’re not the DIY type, we’ve also included one of our favorite products for showering down wherever you are.
DIY Portable Shower: What You’ll Need
- 2-gallon Pump Sprayer ($15 for Home Depot’s HDX version) – The bigger, the better, but 2 gallons will give you about two minutes of spray time.
- Knife or scissors – To cut hose
- Needle nose pliers – To widen hose
- Multi-pattern hose nozzle ($10, Melnor Rear-Trigger 8-Pattern Nozzle) – You can definitely get one cheaper, but not all patterns work well with the sprayer. We liked the “cone” setting on the Melnor nozzle.
- 1/2-inch barbed male metal hose mender with clamp ($5) – The smaller the diameter mender, the better—don’t get a 3/4-inch mender, as it’ll be too hard to fit into the hose.
- Hair dryer – To help stretch the cut hose
- Hand or dish soap – To help slide the hose onto the mender
DIY Portable Shower Step-By-Step Instructions:
Step 1: Trim the hose
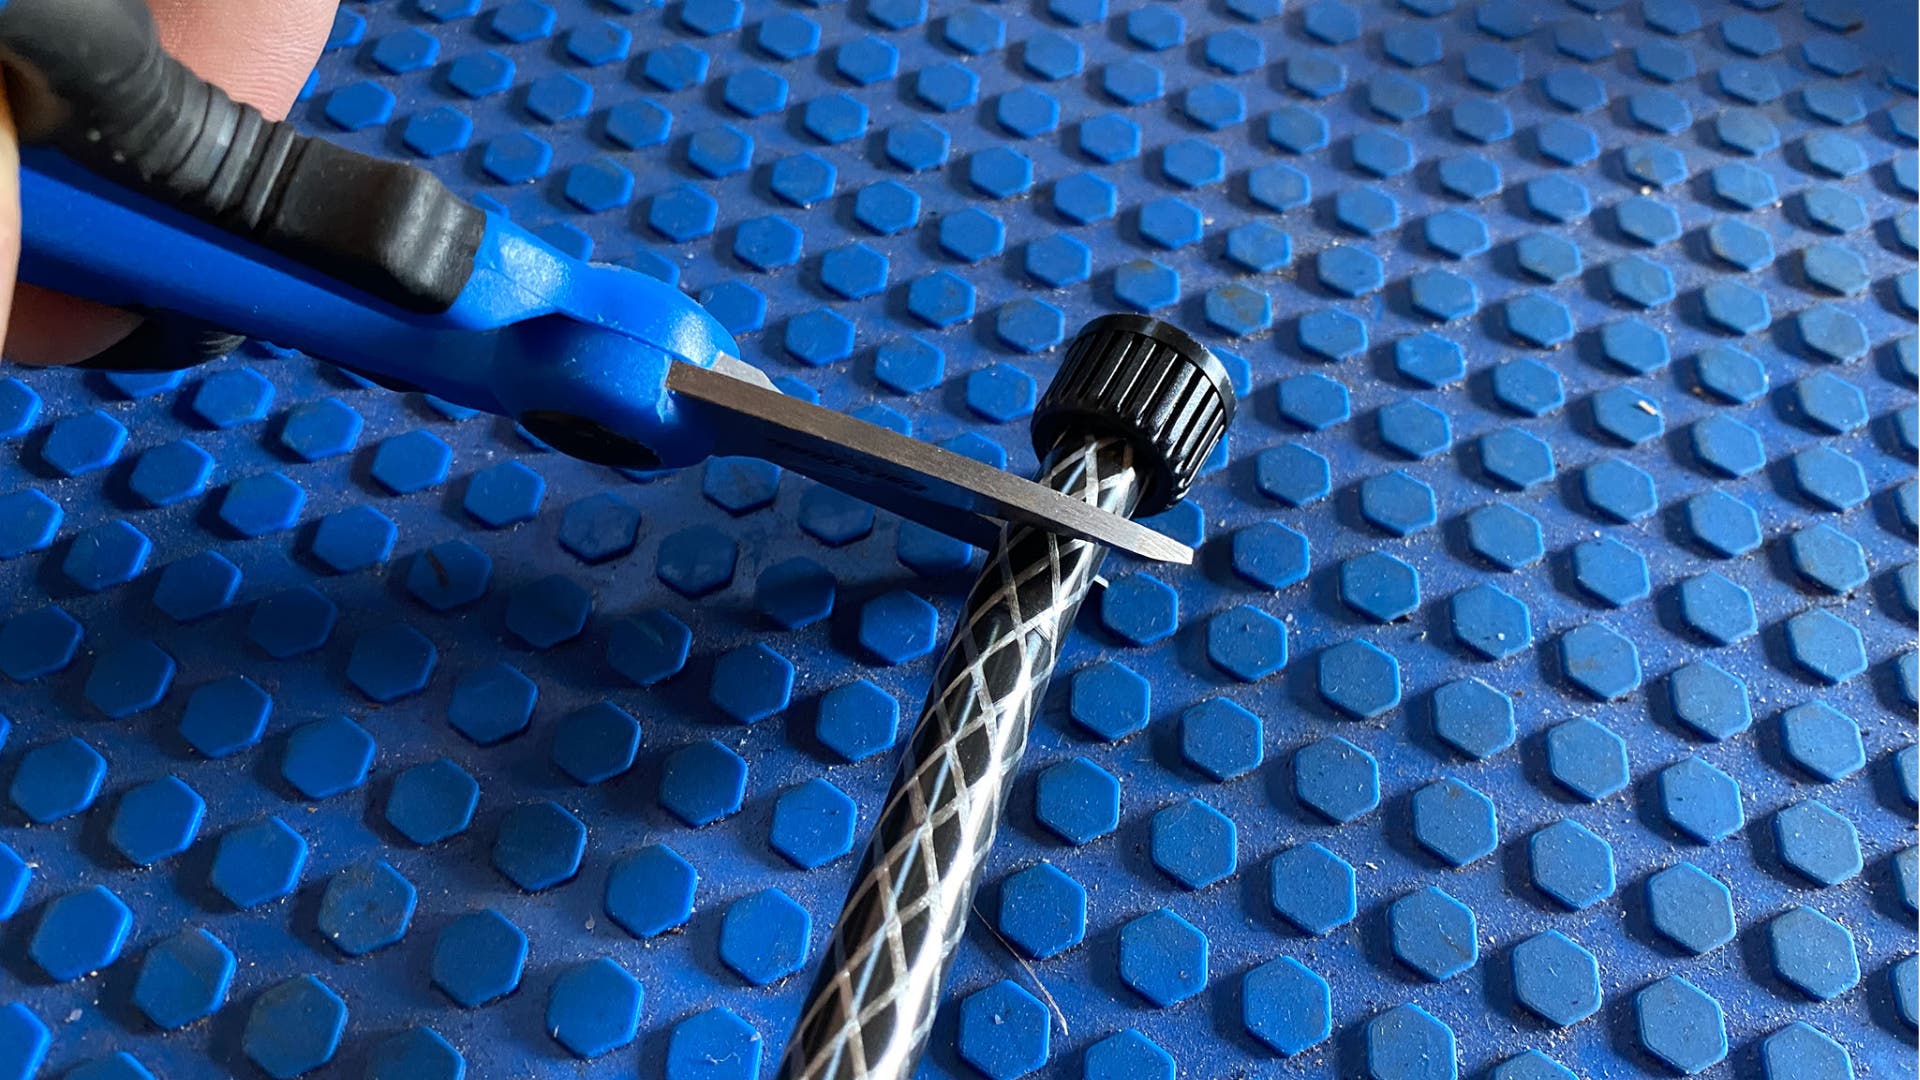
Cut off the sprayer wand connector from the garden sprayer—trust us, the wand will be too fine of a mist to actually clean you off. Save the sprayer if you want, but many of the wands won’t be able to reconnect after you cut off the connector.
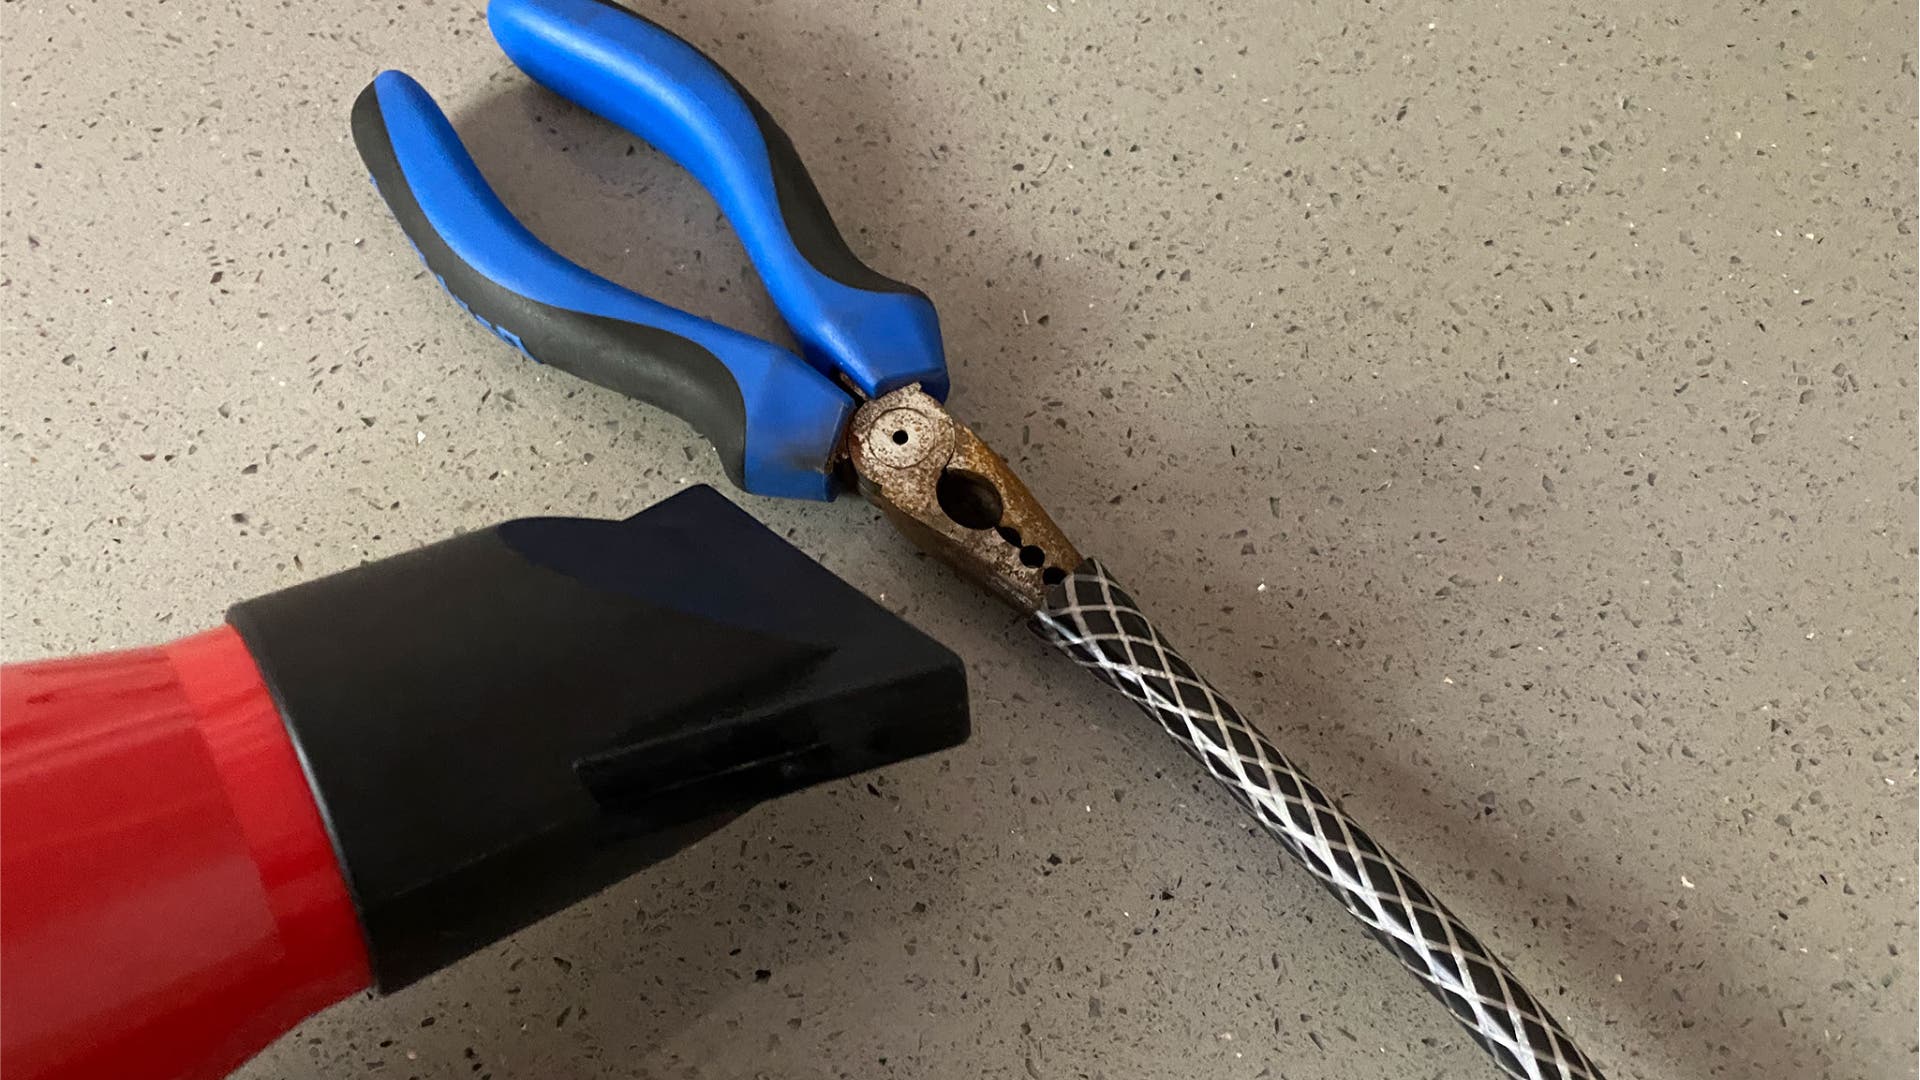
Step 2: Widen the hose opening with needle-nose-pliers
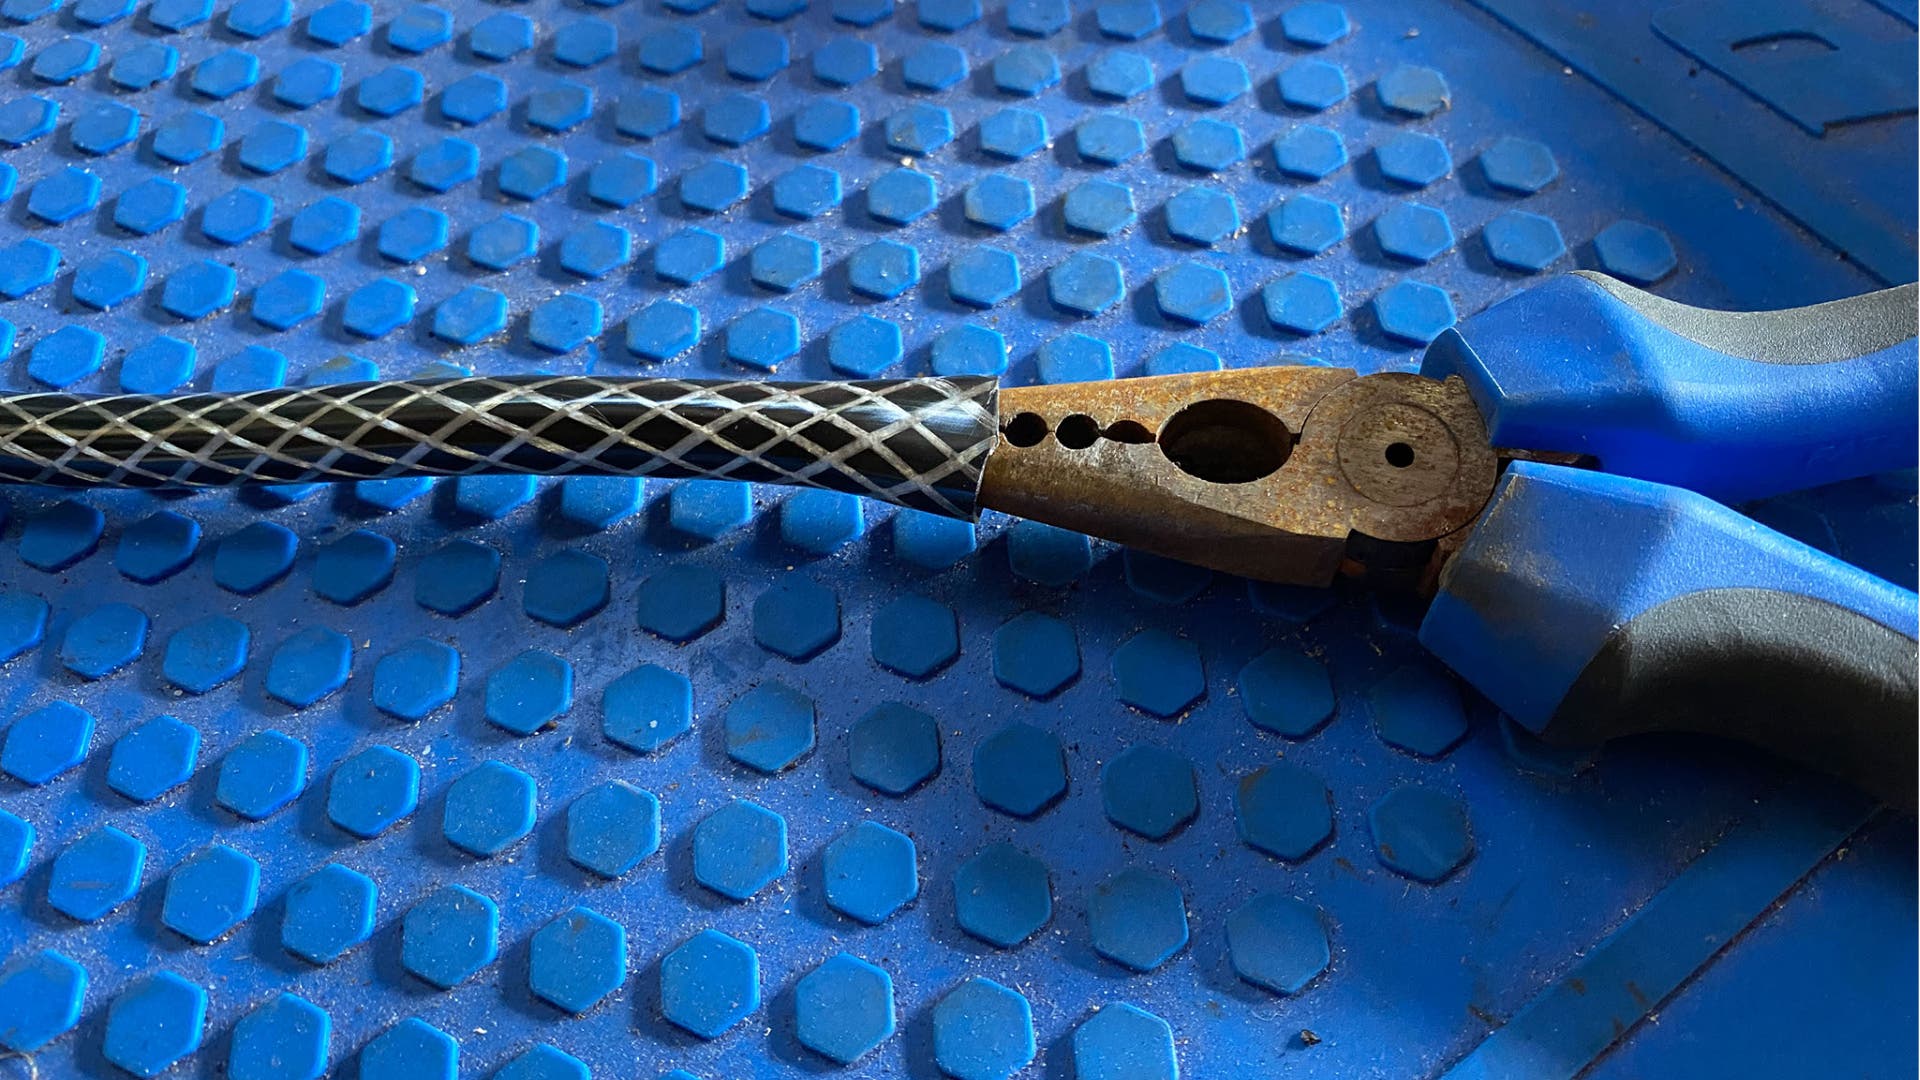
Squeeze some needle-nose pliers into the small hose opening and pull the pliers open while pushing in. This will widen the hose opening bit by bit.
Step 3: Use a hair dryer on high to help widen the opening
The heat from the hair dryer will soften the hose so you can push the pliers in while pulling them open as you go. Do this longer than you think you need to, as it can shrivel back to shape.
ADVERTISEMENT
Step 4: Lube the hose mender
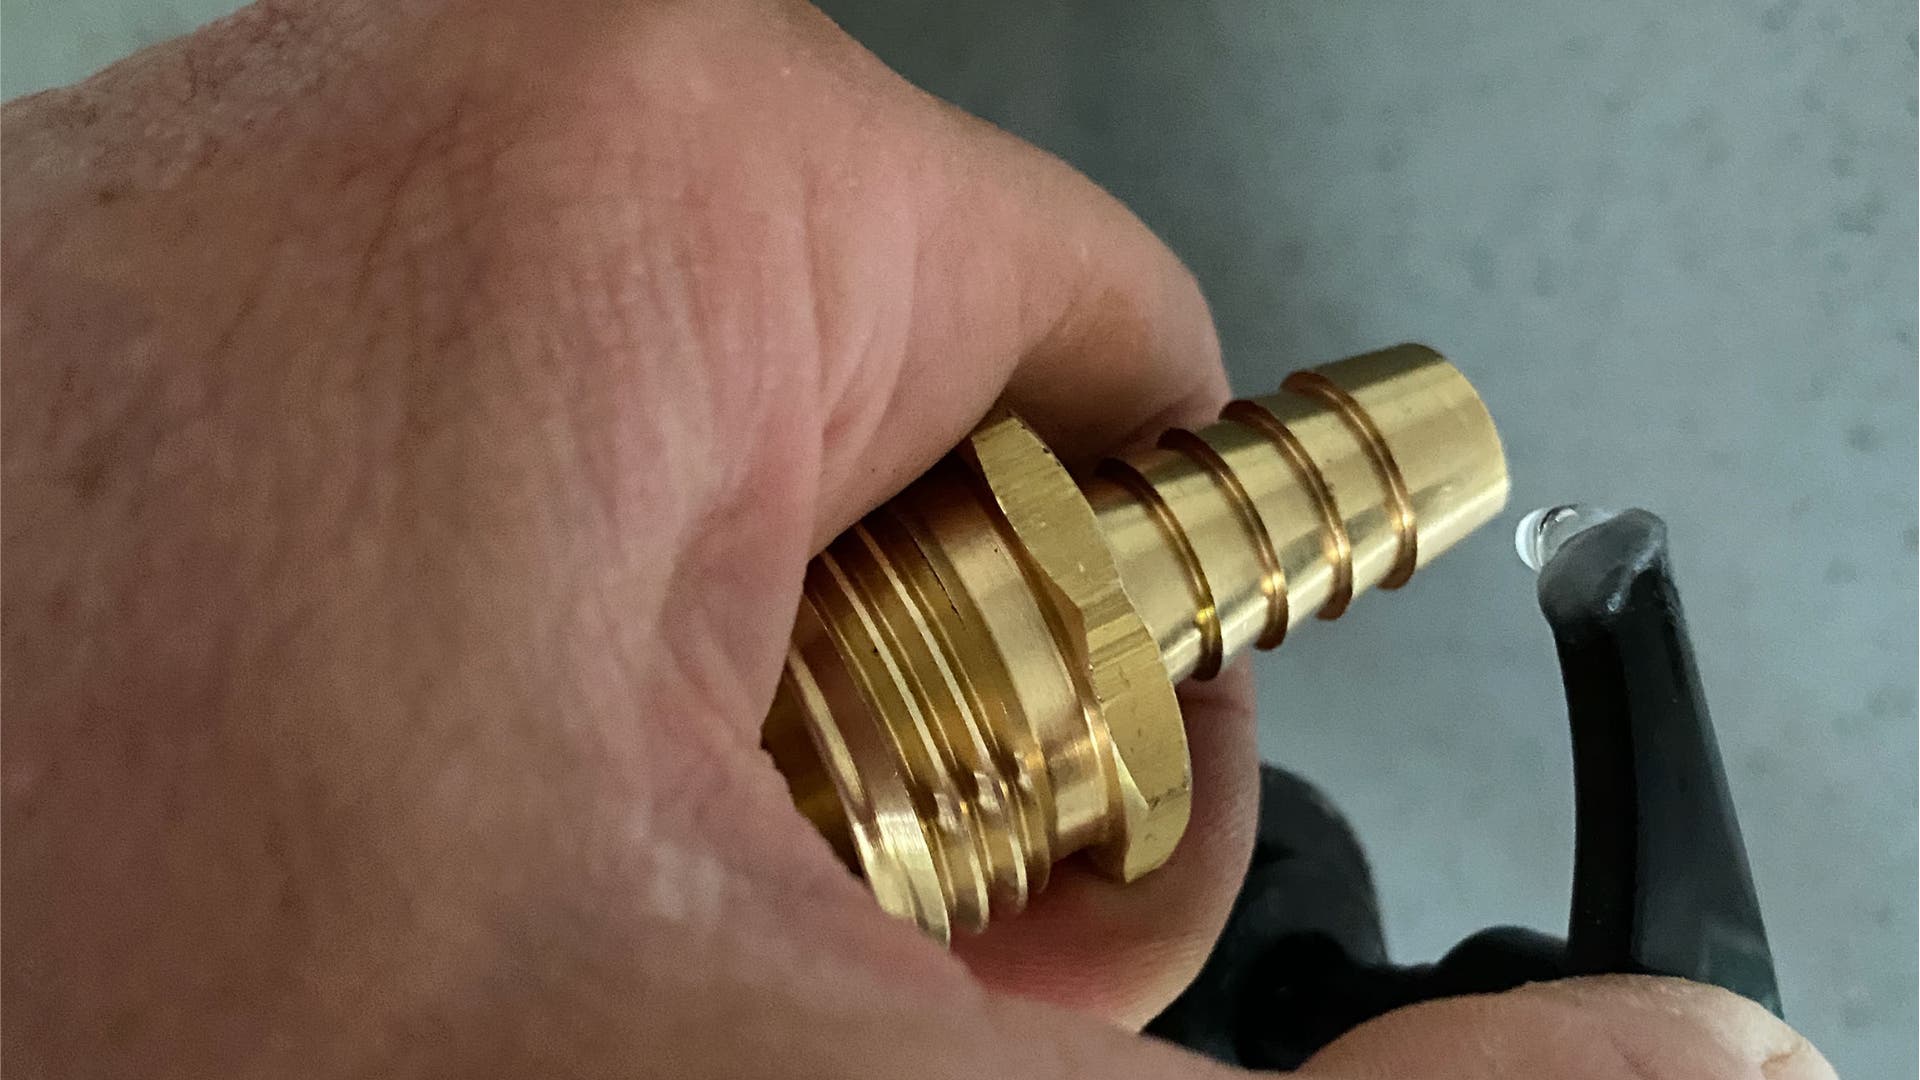
Putting a touch of hand or dish soap on the small end of the mender will help get the mender as far as possible onto the sprayer hose.
Step 5: Push the mender onto the hose
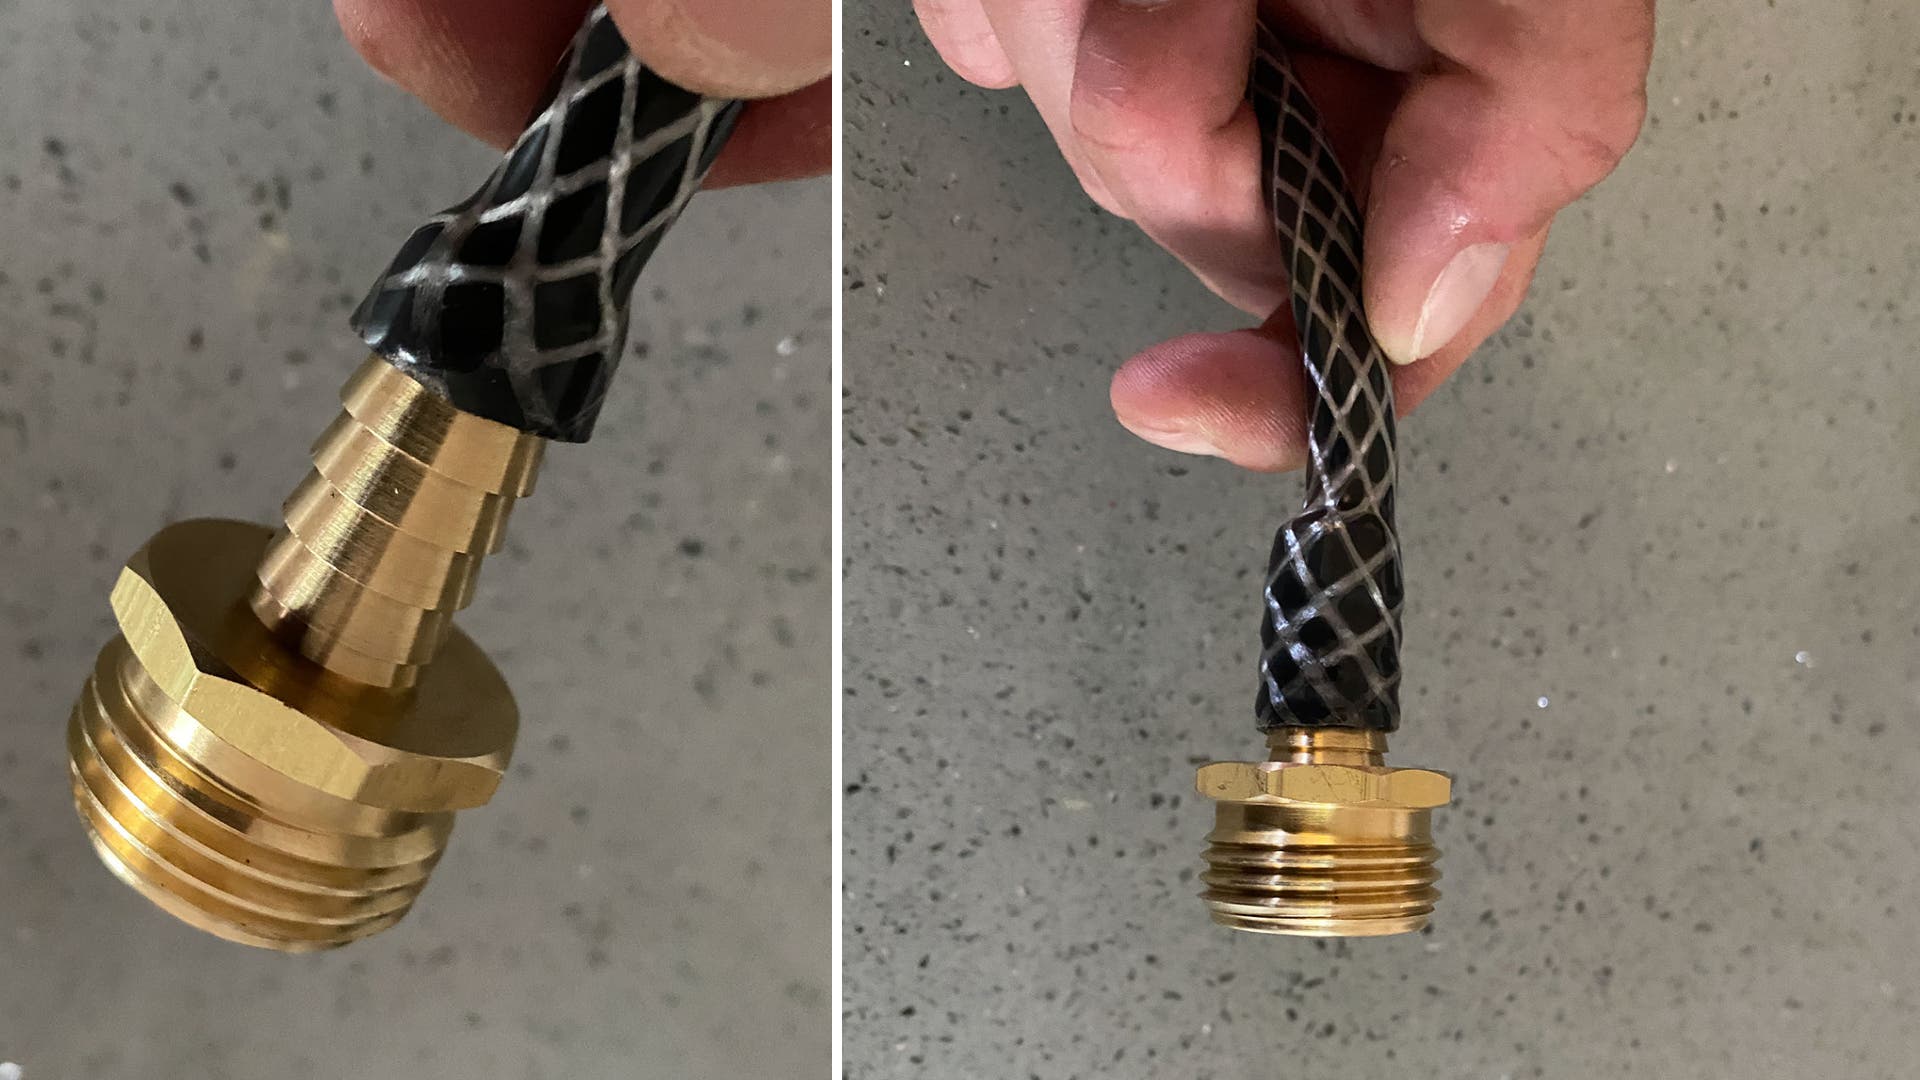
This might take some playing with (and you might need to widen the hole a few more times with the plier/hairdryer combo), but it can be done. Push the hose as far up the mender as possible.
Step 6: Tighten the hose clamp
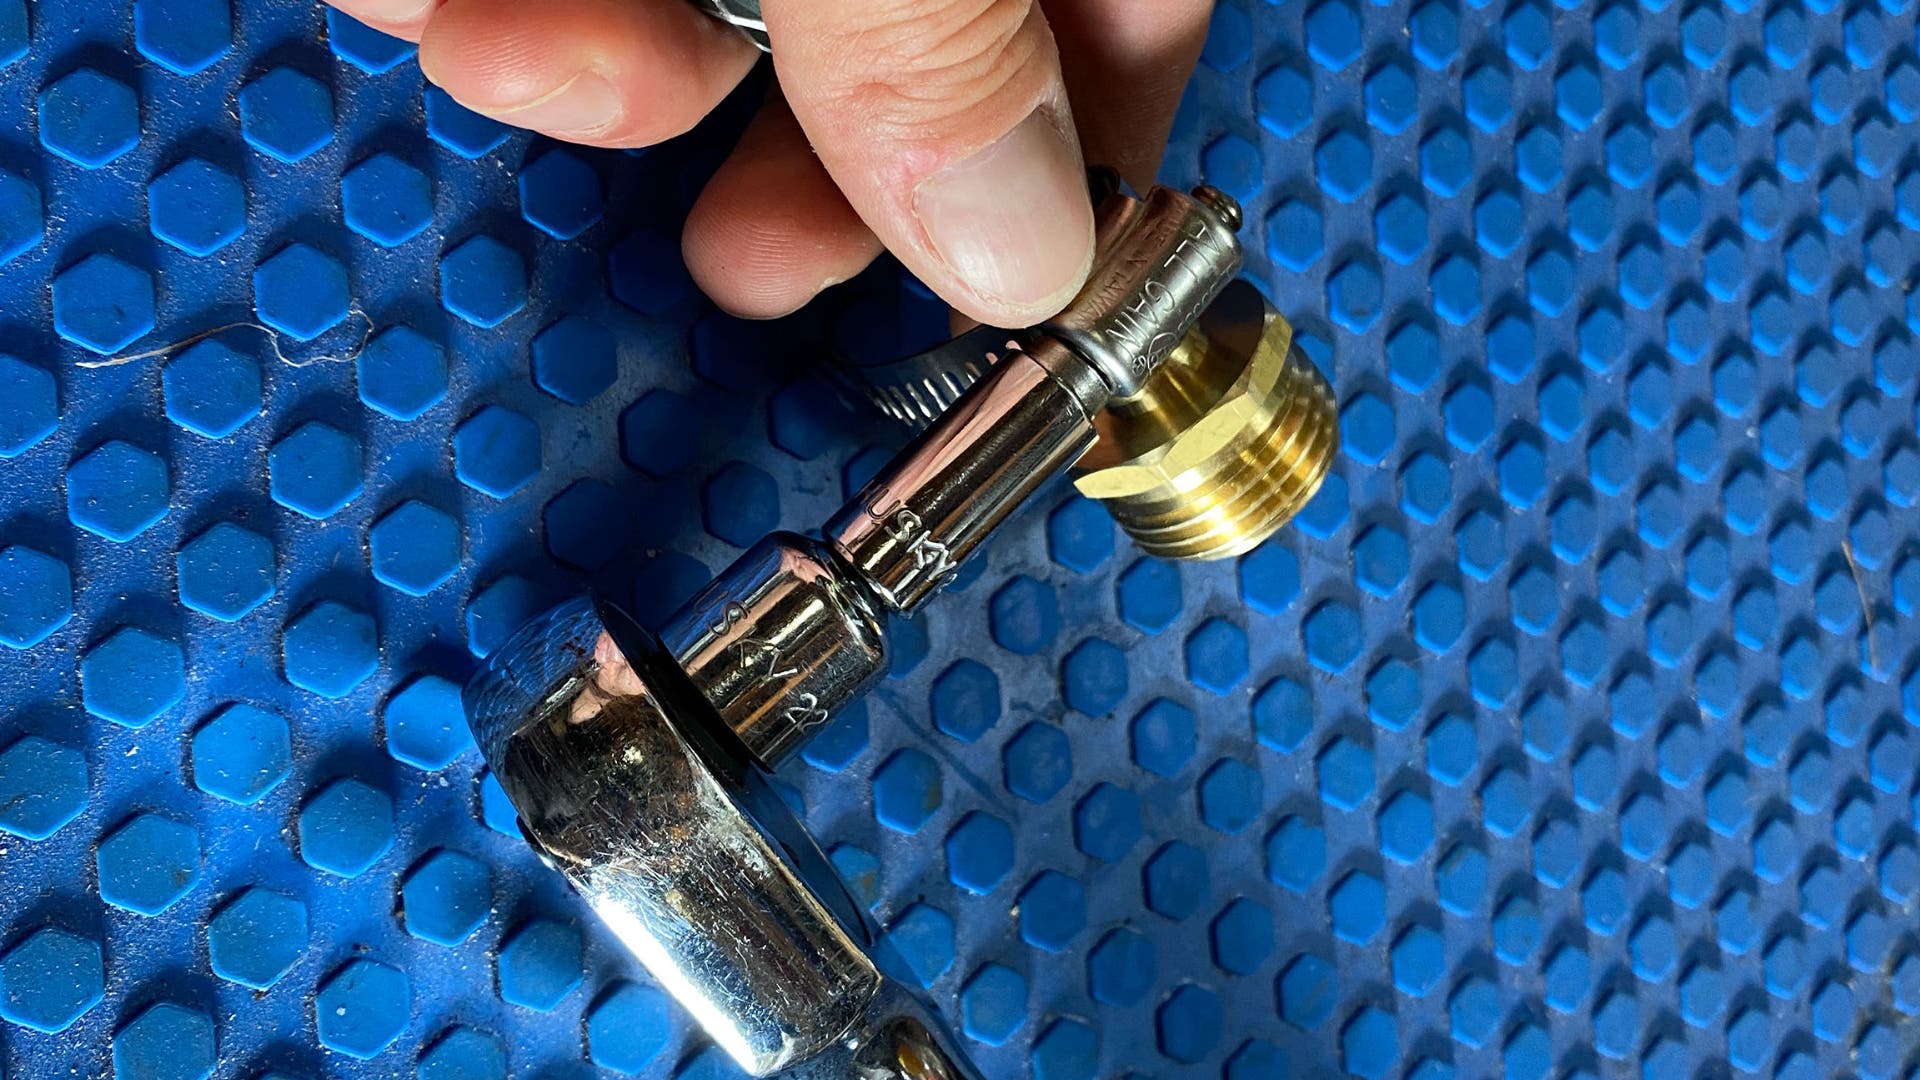
You may need to use a ratcheting socket wrench as the clamp will need to go very very tightly around the hose—and the hose is often much smaller than what the clamp is made for.
ADVERTISEMENT
Step 7: Attach the nozzle to the hose
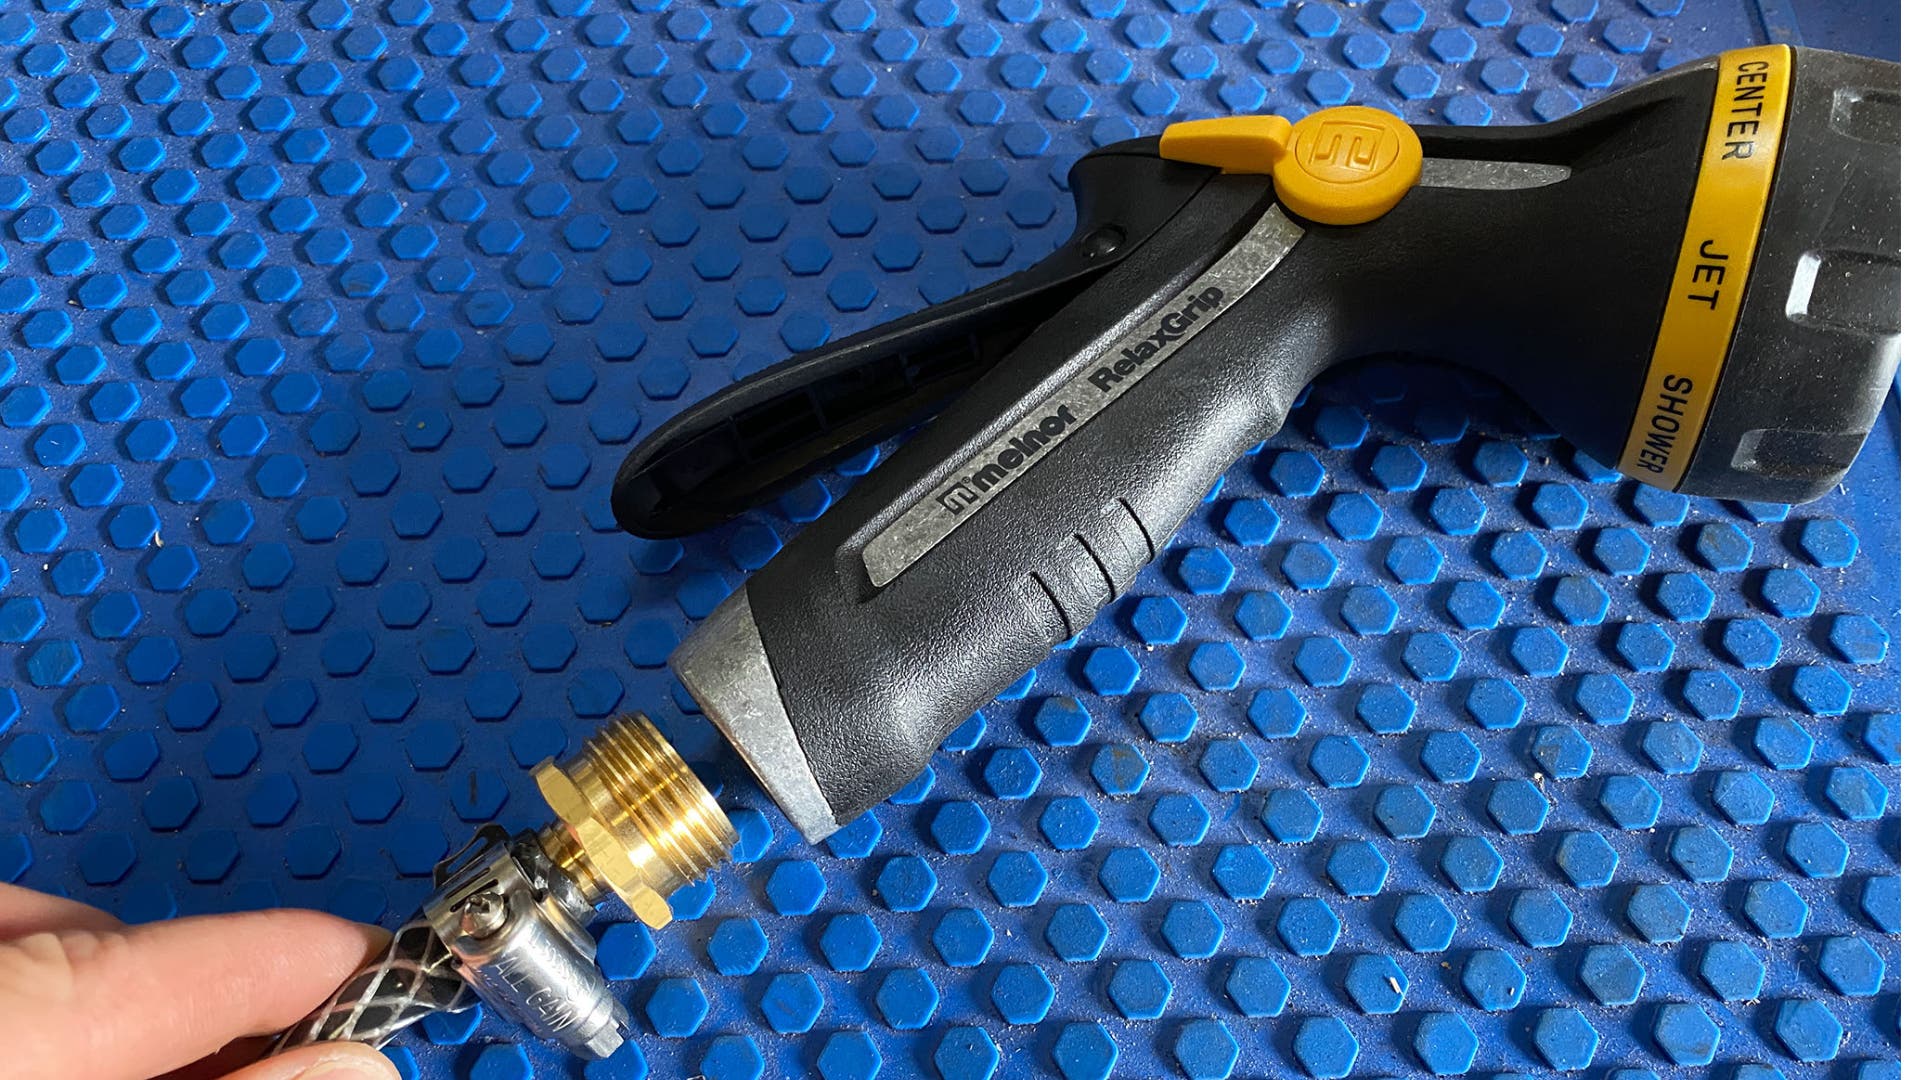
Just like any garden hose, screw the nozzle onto the male mender threads.
Step 8: Attach the other side of the hose to the sprayer reservoir

Following the printed directions in the sprayer, attach the hose to the reservoir—be sure the “straw” is inserted as well.
Step 9: Fill the reservoir
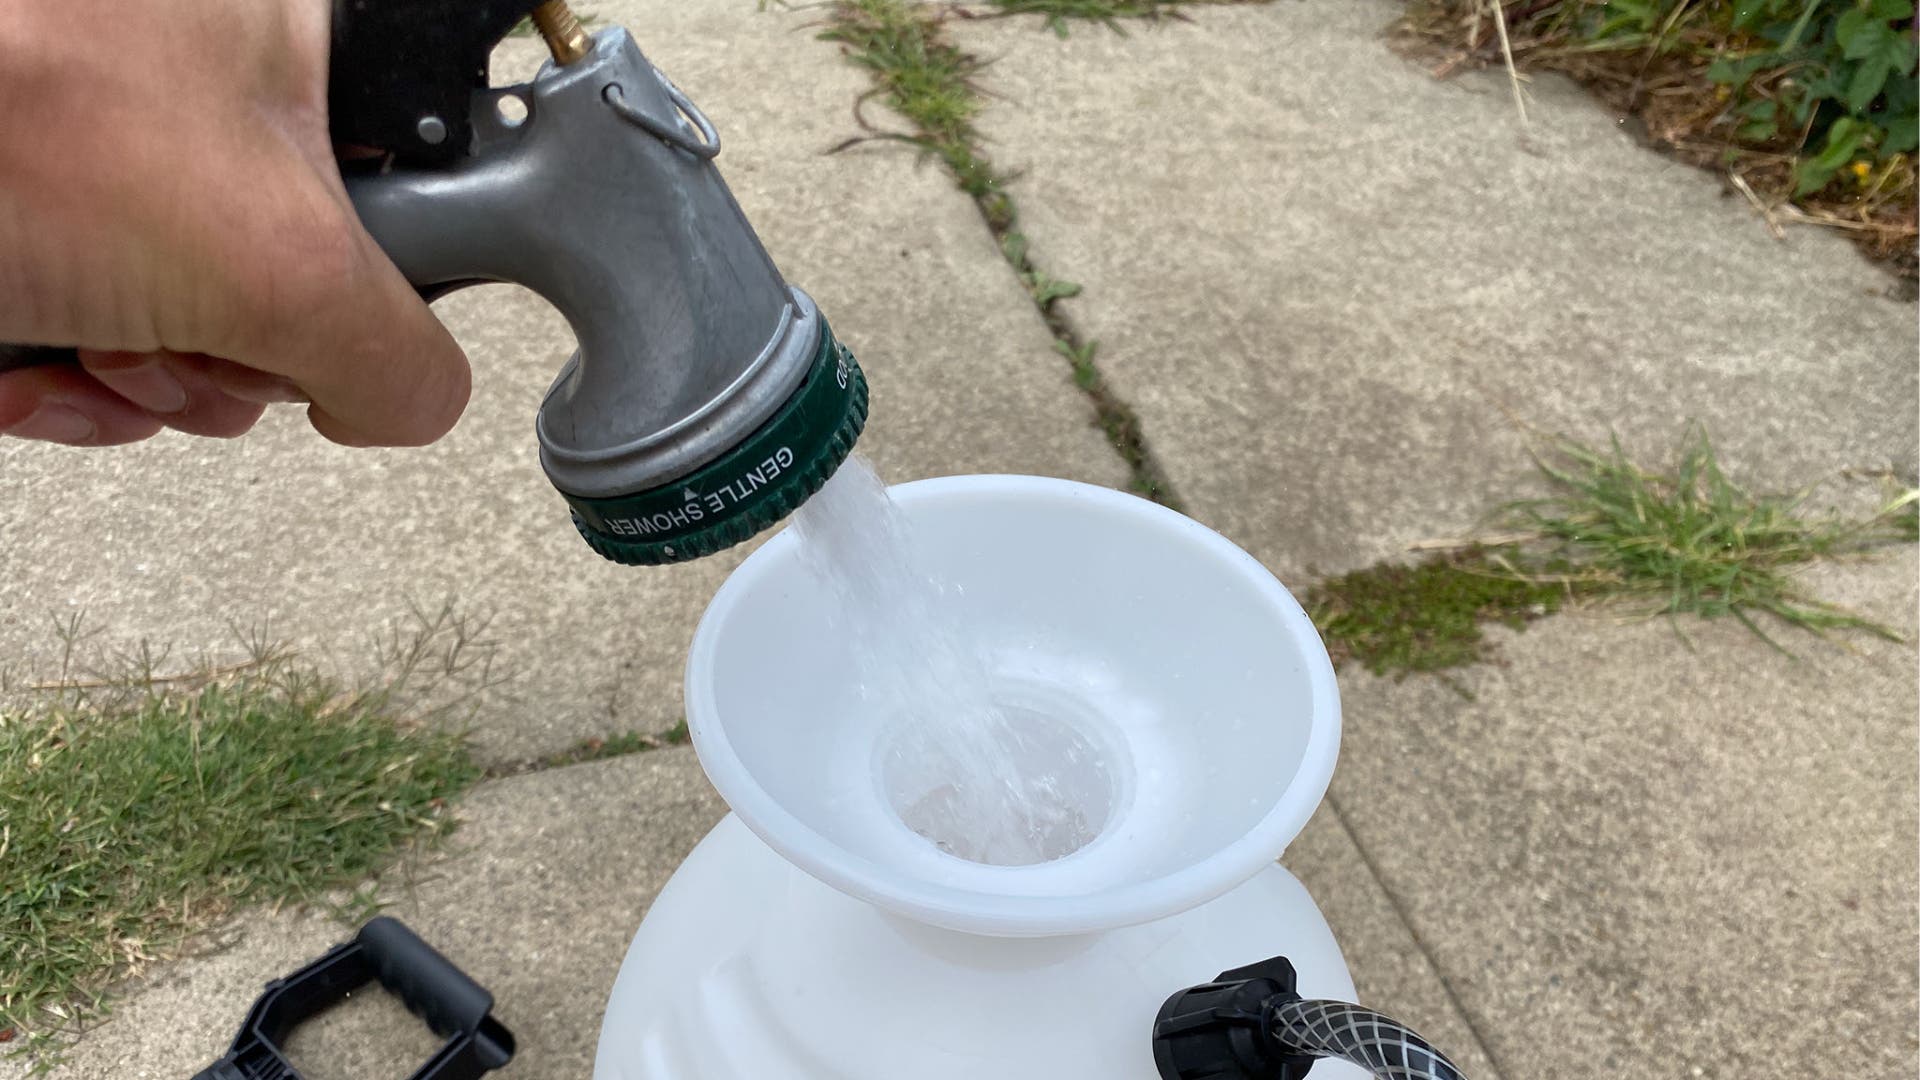
Use a garden hose or sink (or submerge it in open water) to fill the reservoir to the fill line indicated on the side. Don’t overfill.
ADVERTISEMENT
Step 10: Pump and spray your new portable shower!
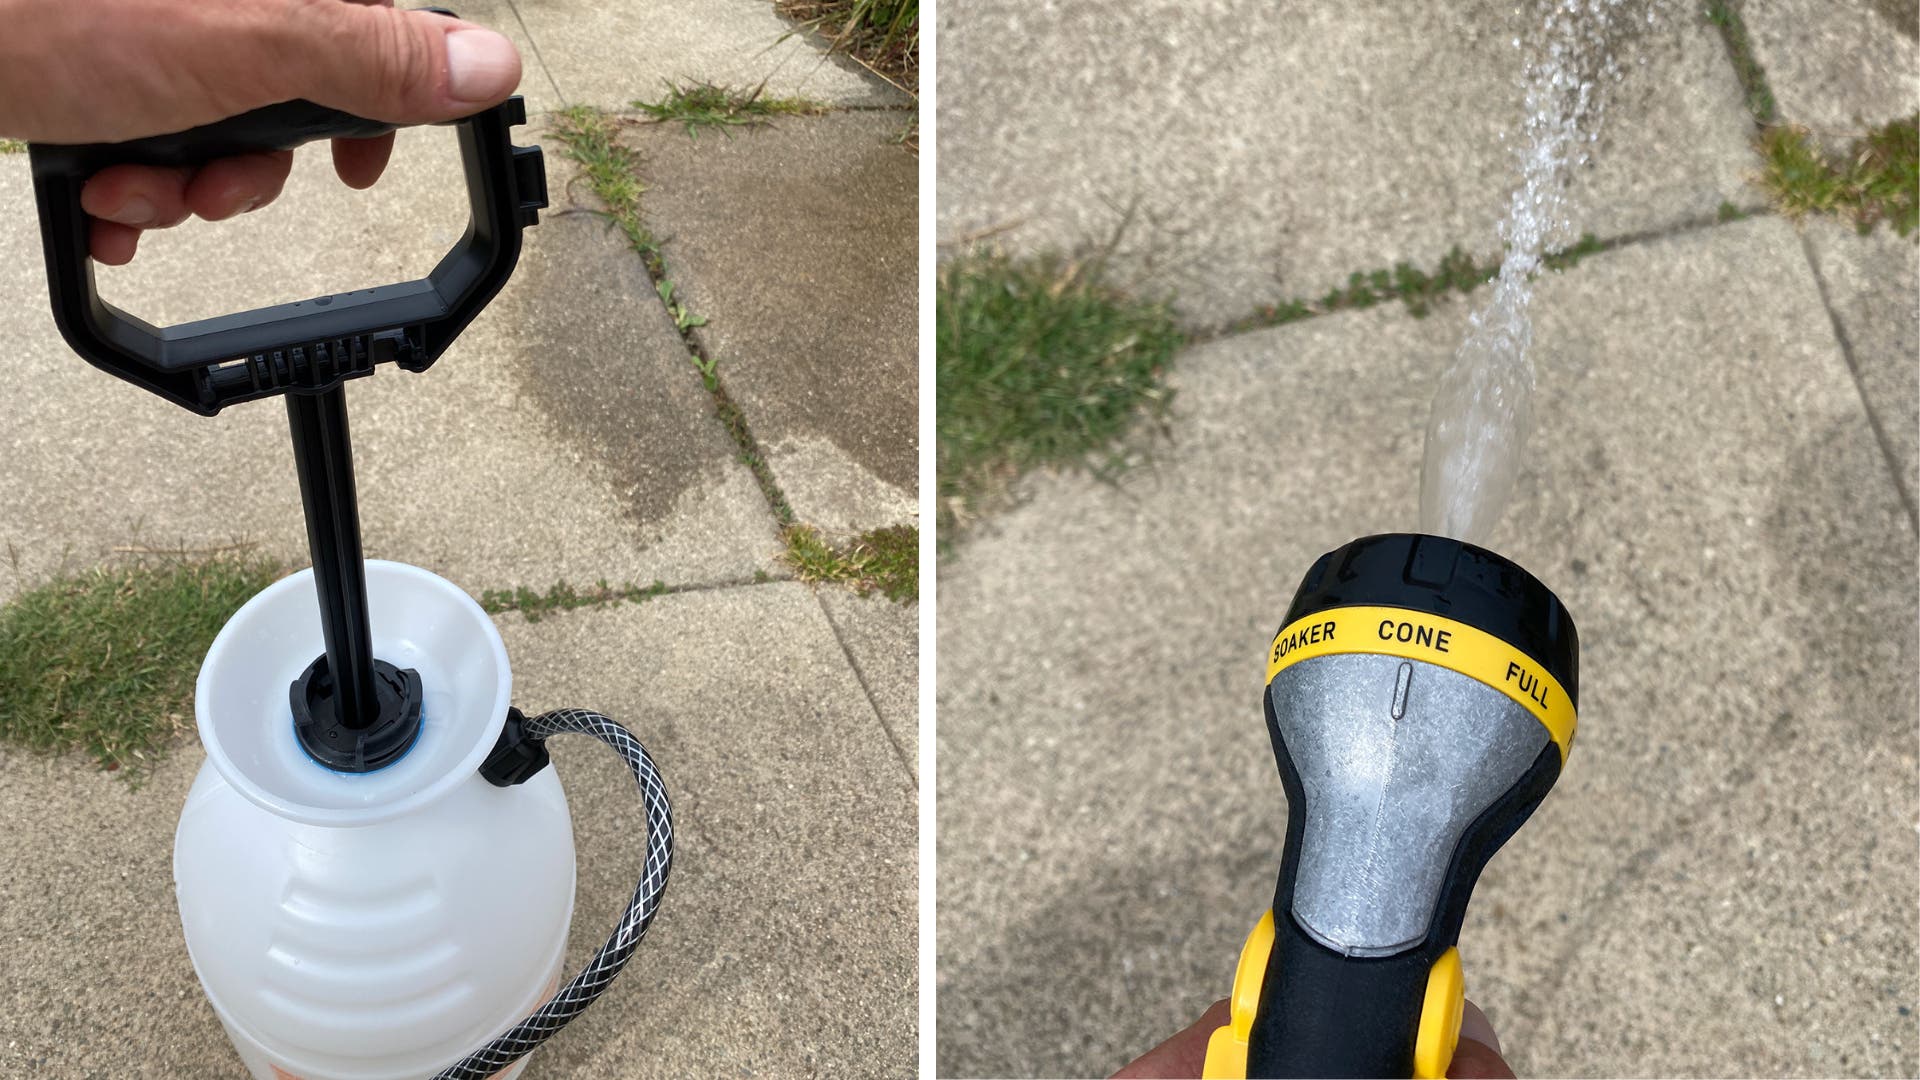
Attach the pump handle, tightening it down well, and pump the sprayer until it gets difficult. Use different nozzle patterns to find what works best with the pressure, and keep pumping to keep the pressure going. Expect to get about two minutes of spray per fill.
Non-DIY Portable Showers
Not into wrestling with a small hose for 30 minutes? There are more than a few portable showers on the market right now that range from full-on rack-mounted van-life level stuff to more camper-focused products that need to plug in to heat and pump. Below are some popular options (our pick is the RinseKit):
Yakima RoadShower
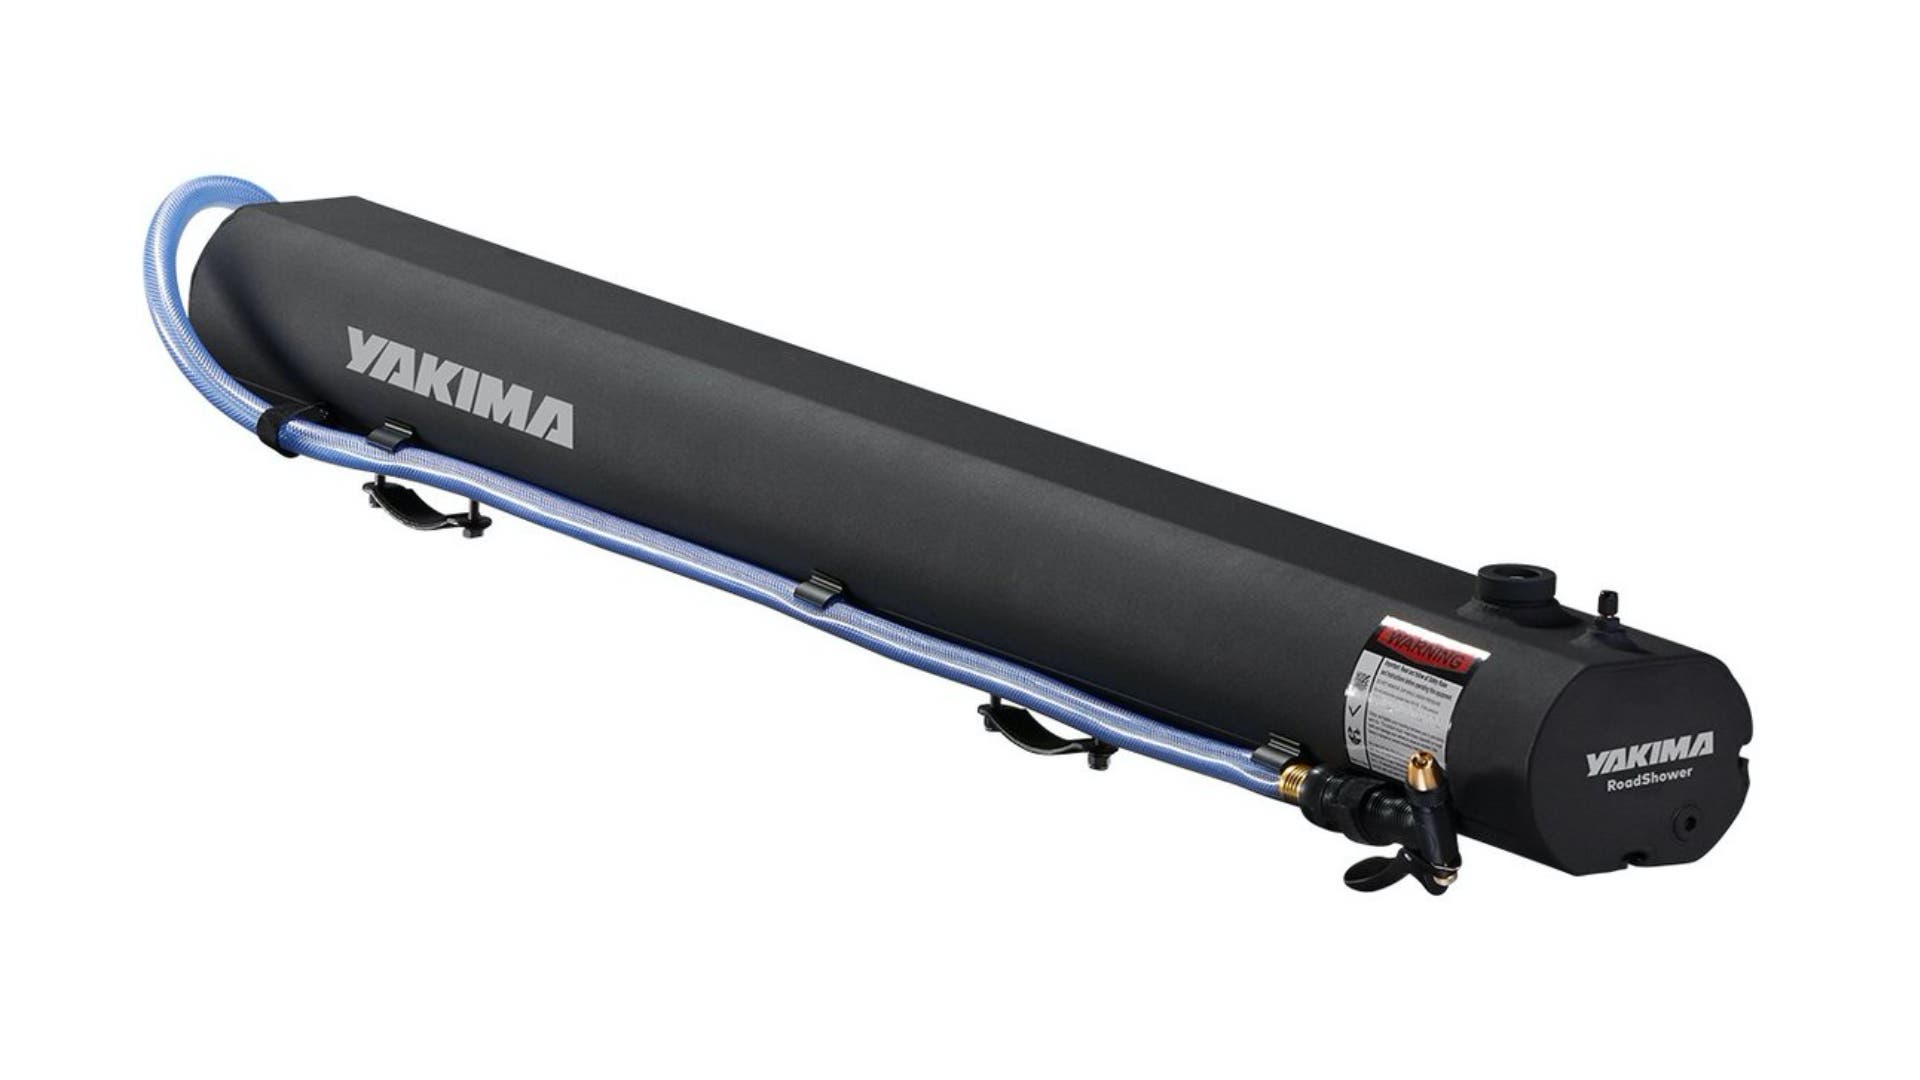
Starting at $350 for 4 gallons (also available in 7- and 10-gallon versions), backcountry.com
This shower system mounts onto your roof rack (not included) and gives you pressurized water thanks to either a garden hose or another filling option combined with a hand pump with a Schrader valve. The upside to this setup is the water stays outside and top top of your vehicle, while (ideally) warming in the sun. The downside is the price and the fact that they’re hard to find.
ADVERTISEMENT
RinseKit Plus Portable Shower
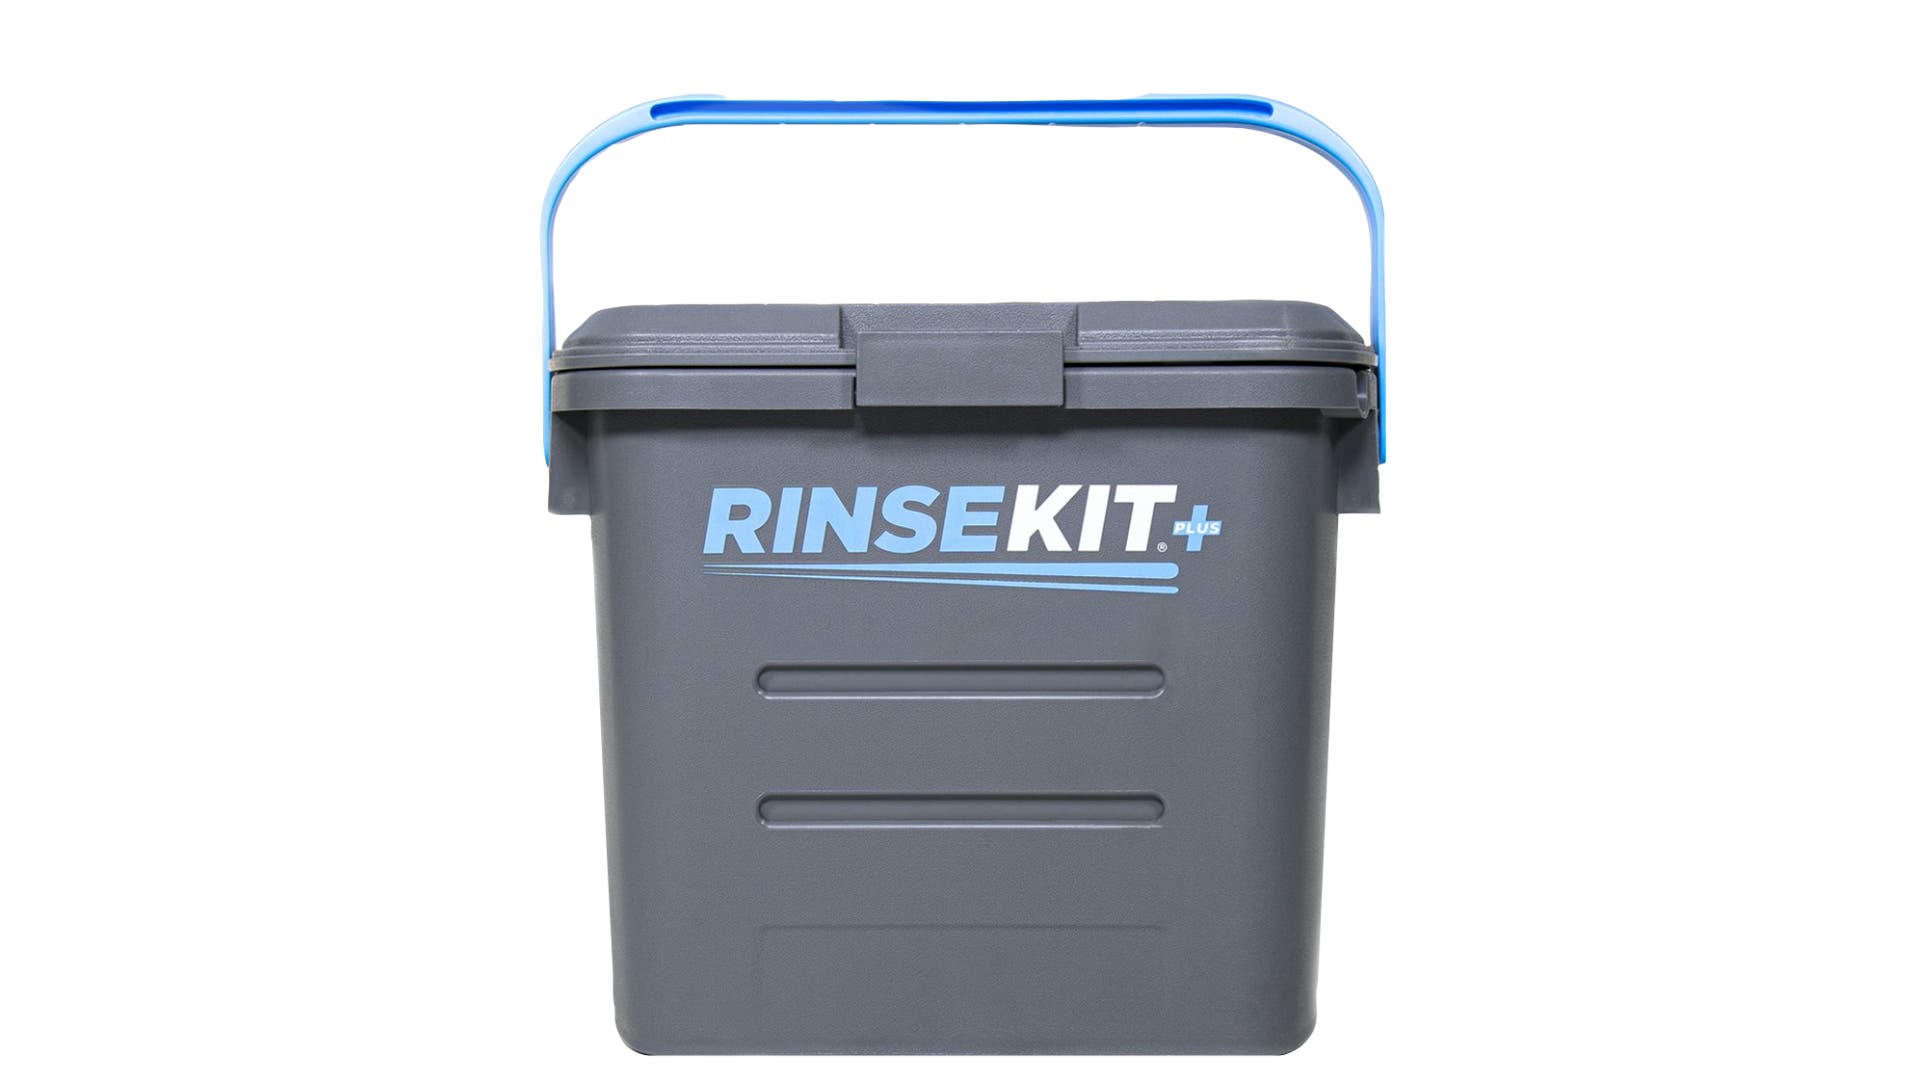
$180, amazon.com
This portable 2-gallon kit uses pressure from your garden hose or the included hand pump to deliver a couple of minutes of water via a garden-style nozzle. It fills quickly and stores the pressurized water for about a month. The case itself is easy to carry and put in your vehicle, and we love how easy and quick the kit is to refill. In terms of cost vs. use for triathletes who use a portable shower for a post-workout refresh or rinse, this is our top choice.
Ivation Portable Outdoor Shower
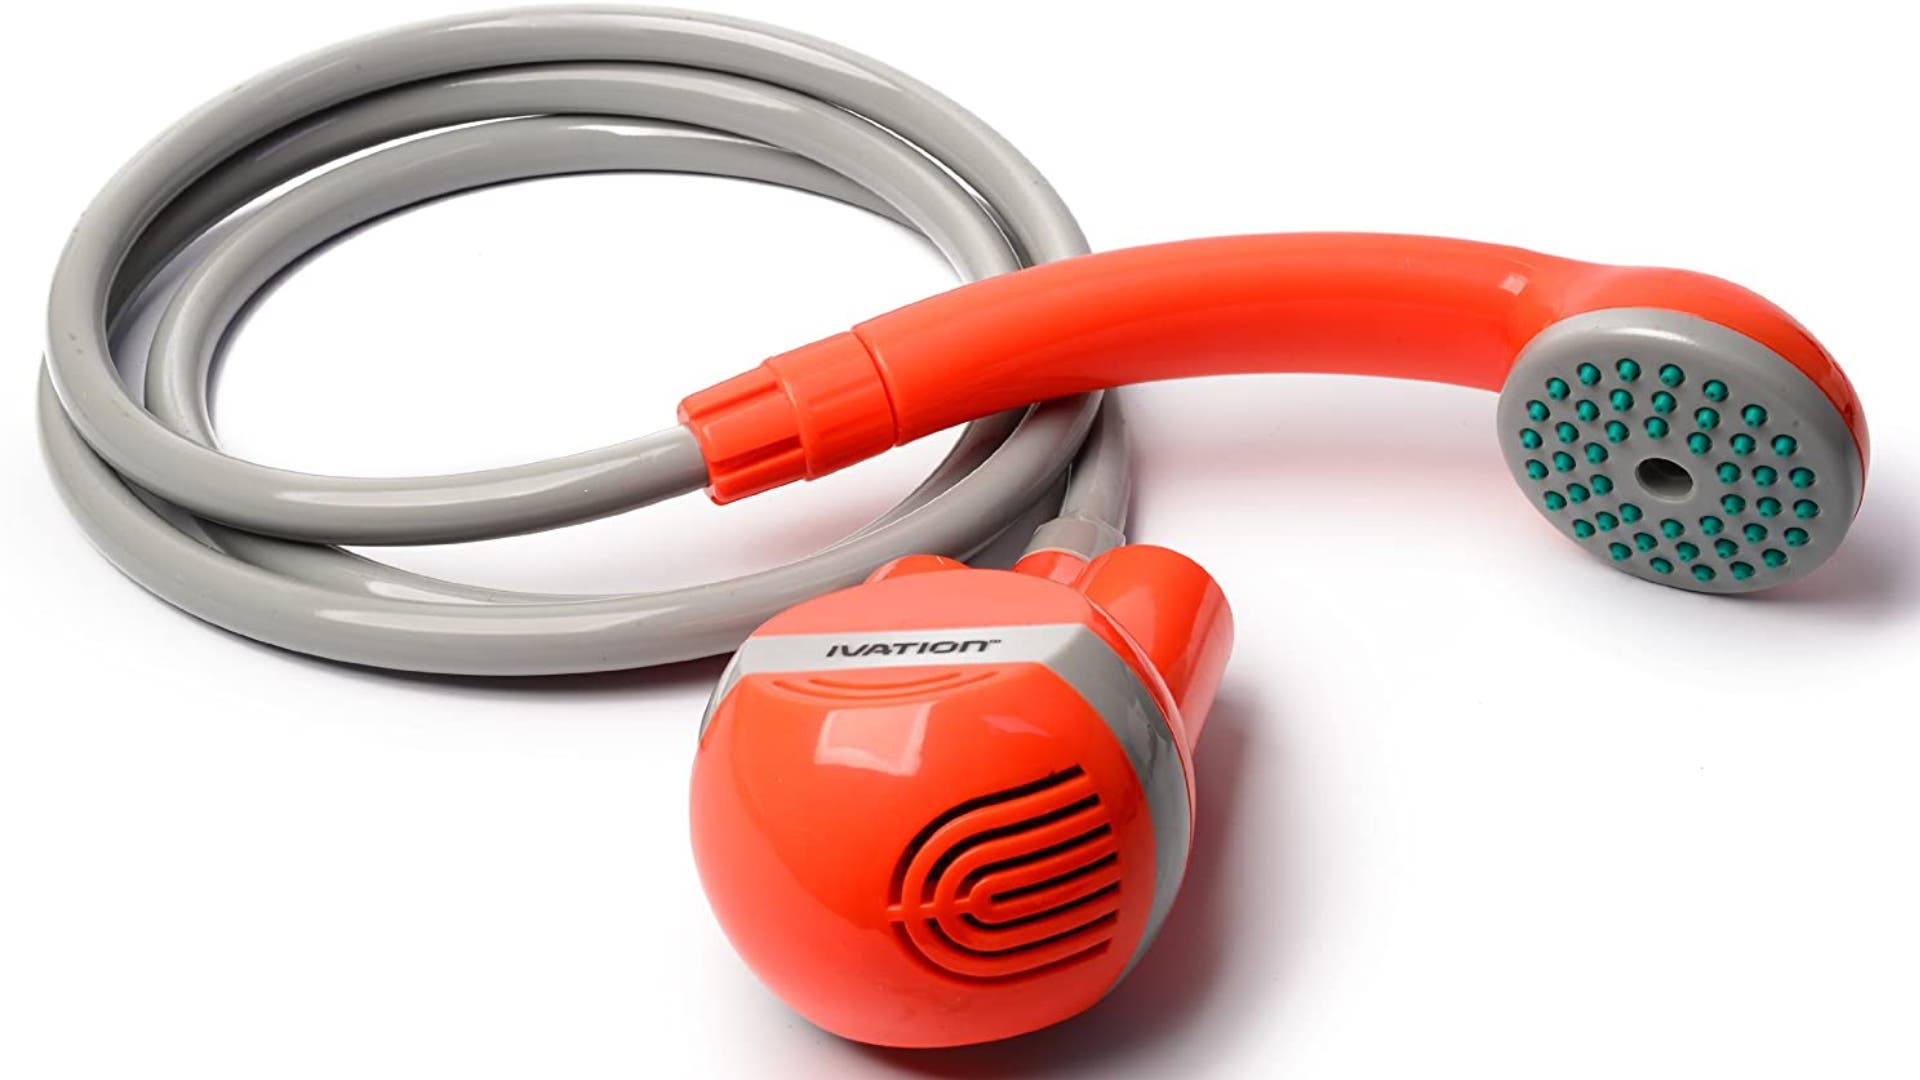
$40, amazon.com
ADVERTISEMENT
This style of portable shower doesn’t actually hold any water, but rather relies on a water source to pump out the spray. It uses a rechargeable USB, car power jack, or wall mount plug to power the pump itself and can be placed in a bucket or tub. This is a good option if you’re using it to rinse off at an open water spot (salt water is not recommended) and you have a bucket. Otherwise, look at the options above.