Updated May 8, 2024 08:57AM
Your Guide To Setting Up A Road Bike for Triathlon
Since a dedicated tri bike might not be in every triathlete’s immediate future, we break down the steps (and the caveats) for using a road bike for tri.
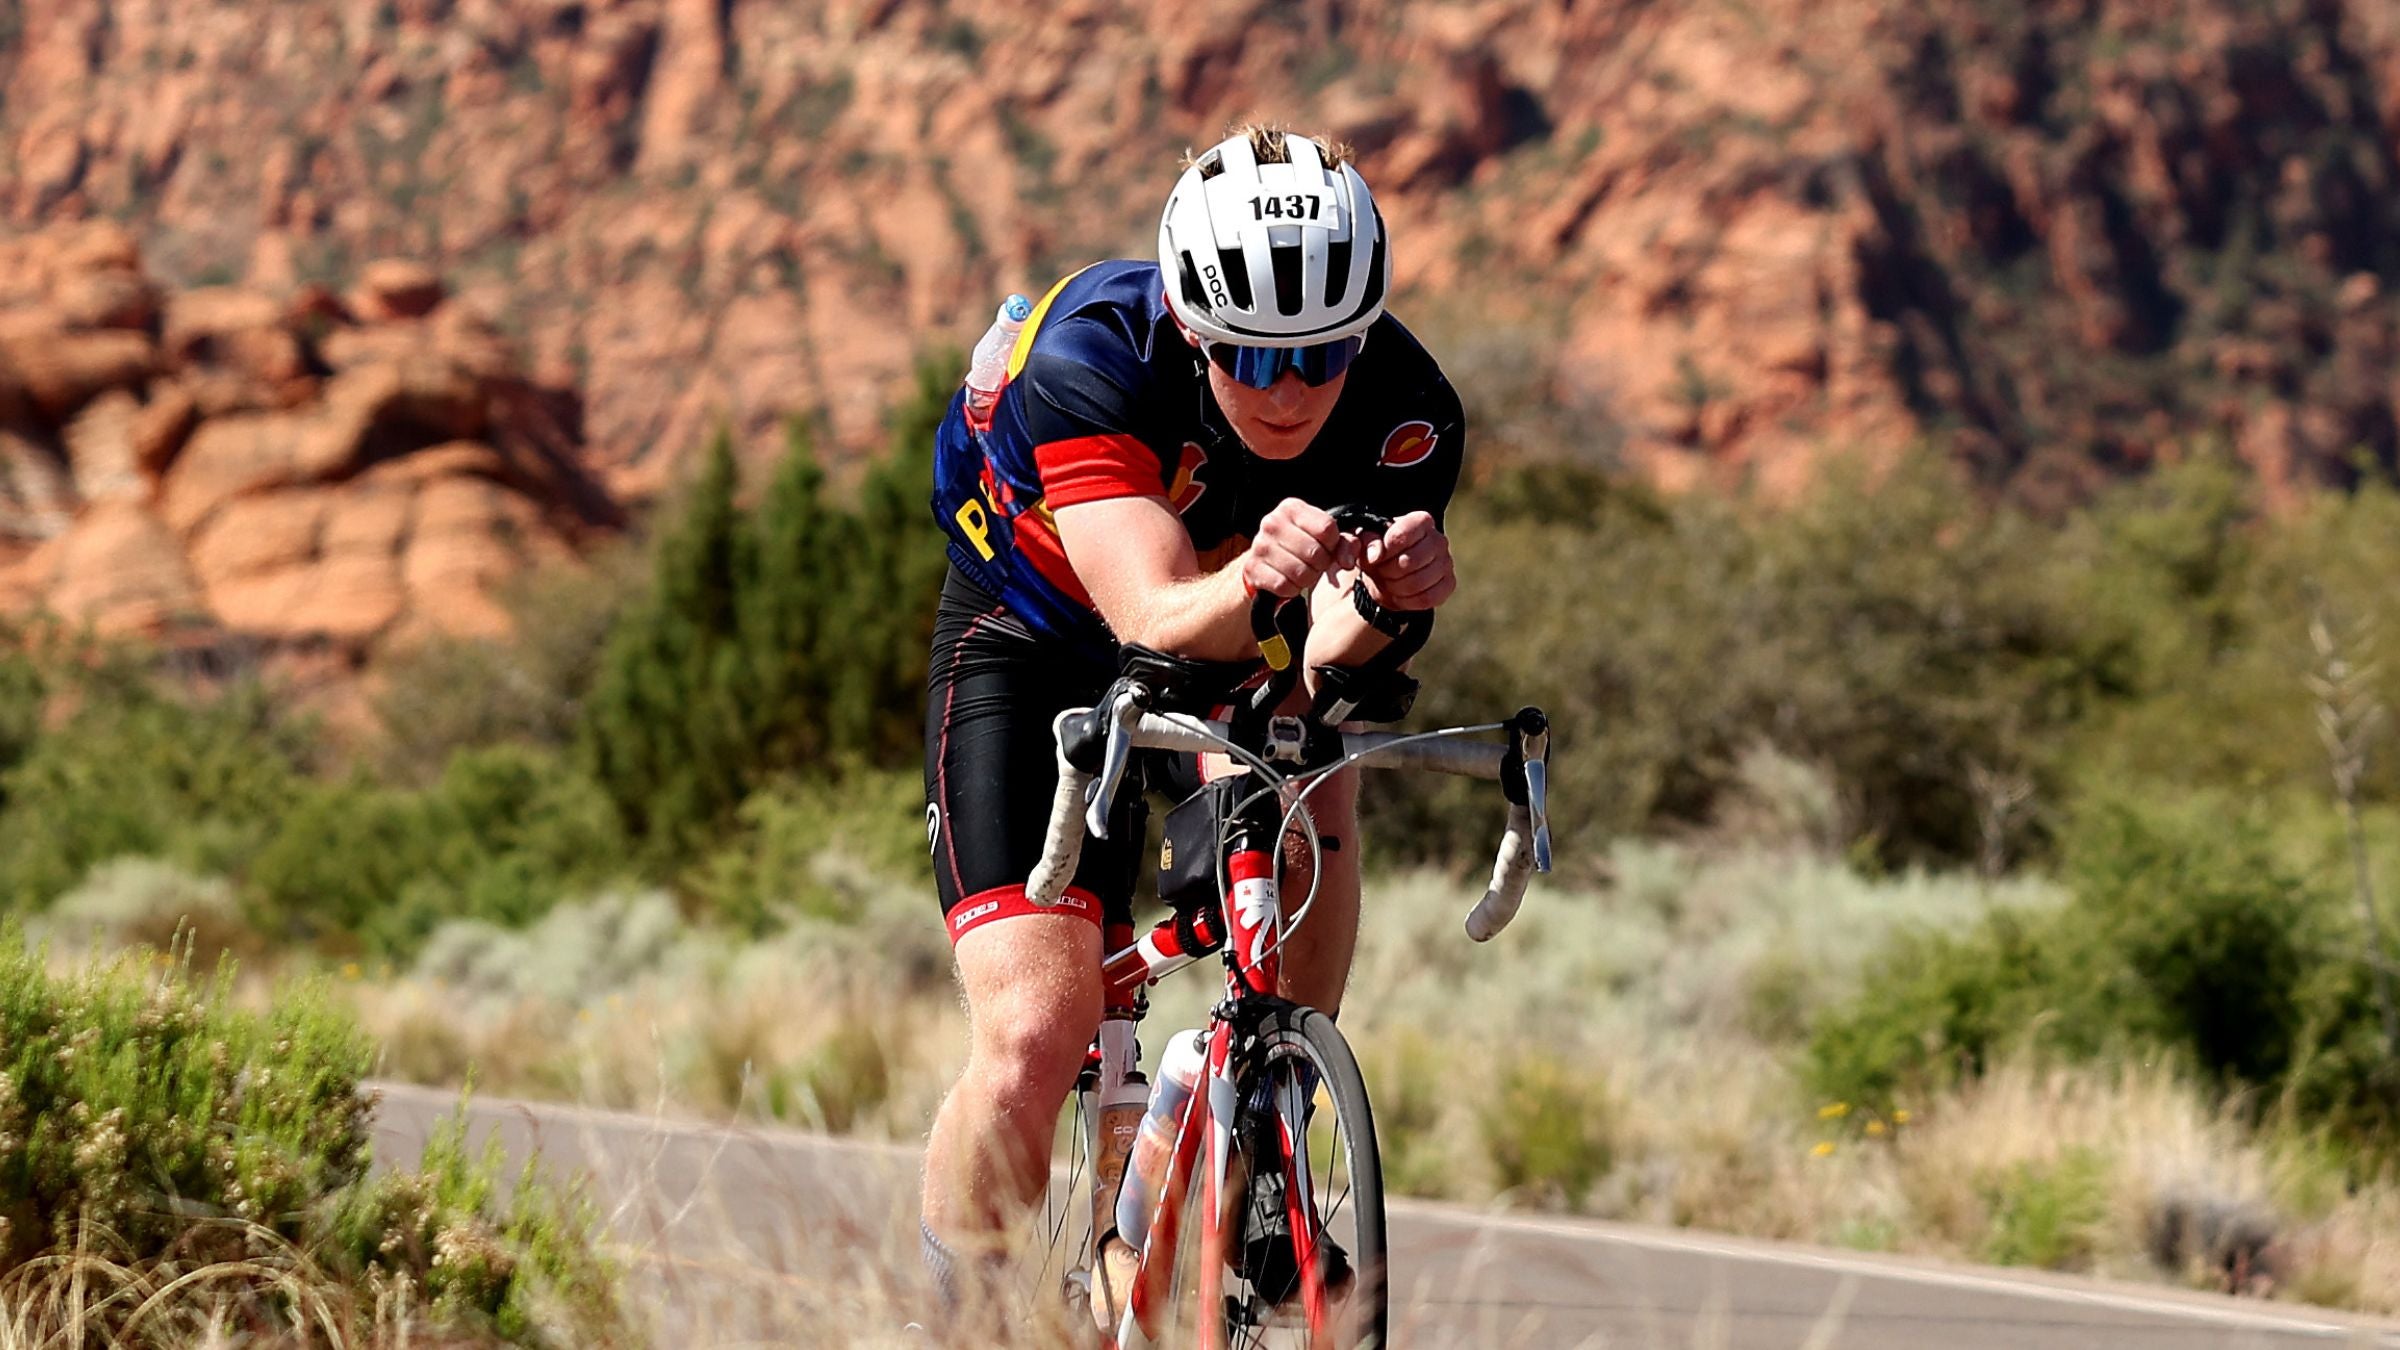
Curious about how to set up a road bike for triathlon? Use this guide. (Photo: Ezra Shaw/Ironman)
Most triathletes begin their triathlon journey with an entry- to mid-level road bike before ultimately taking the plunge and committing to a dedicated tri rig with a tri-specific position and aerobars—among other things. Road bikes are less intimidating to ride, more comfortable, and more versatile so they are more practical for the casual or new triathlete.
I’ve always believed that every triathlete should own a road bike but not every triathlete should own a tri bike. Even still, a newbie triathlete can’t help but to feel a bit of bike envy as riders with sleek and streamlined bikes whoosh past them. A newer athlete may not be ready to fully take the plunge into buying a dedicated tri bike but certainly they wonder, how can I set up my road bike for triathlon?
Like most things, it might look simple at first, but there’s some important nuance to get the most out of it and some big caveats to be aware of as you go.
What’s the difference between a road bike and a triathlon bike?
We’ve written a whole primer on how triathlon bikes are fundamentally different from road bikes, but the short version: Triathlon bikes are made to complement an aerodynamically optimized bike position for the rider. The aero position places the rider in a more forward position than on a road bike, with the rider’s upper body supported by the aero bars rather than by the rider’s core strength. This aero position allows the rider to punch a smaller hole through the air than a traditional road bike position, and it does so in a relatively comfortable and biomechanically sound way. The aero position creates less aerodynamic drag than a road bike position which equates to greater speed given the same rider power output.
Triathlon bikes are also designed to handle differently than road bikes. Triathlon bikes are typically made with steeper seat tube angles than road bikes and with a longer reach (horizontal distance from the bottom bracket to the top of the head tube) and lower stack (vertical distance from the bottom bracket to the top of the head tube) than road bikes in order to allow for an aero rider position.
Since more weight is over the front wheel of a tri bike, they are designed with less responsive steering qualities than road bikes in order to favor stability over quick-and-nimble handling. This works out favorably for triathletes since triathlon courses tend to be not too technical and riders are supposed to keep a reasonable distance from each other, given the anti-drafting rules in place.
Setting up a road bike for a triathlon
Setting up a road bike to resemble a tri bike is a nice stepping stone in between owning a dedicated tri and road bike. However, it is worth understanding a few of the shortcomings and limitations of doing so before you take out your torque wrench. It will be hard to establish a position on a road bike that is quite as aero, comfortable, powerful, and sustainable as what could be established on a pure tri bike, so manage your expectations for what you’ll be able to achieve.
ADVERTISEMENT
Also, realize that while you make changes to your road bike to make it more like a tri bike that there will be compromises to your nice road bike position, and you will likely lose some of the comfort and versatility of the road bike. And finally, unless you’re using electronic shifting you will not be able to shift gears from within the aero position, forcing you to either stay in a gear longer than you might like in order to maintain the position or forcing you to break from the position in order to shift gears.
What do you need to make the change?
According to Ian Murray, an accomplished bike fitter and head coach of the L.A. Tri Club, road bikes are great “for a triathlete, who in their second year of racing is looking [to take] a few minutes off their local races. When paired with a tri-specific saddle and (clip-on aero bars), [road bikes] can really have an impact on speed and endurance.”
Not all aero bars are created equally however, and choosing the right bar is important. Adjustability is the name of the game with clip-on bars, and you want to use a bar that is adjustable in every direction. Two nice bars for this purpose are the Zipp Vuka Alumina and the Profile Design Sonic Ergo. Both of these clip-on bars allow independent adjustment of the extension from the arm pad and allow you to move the arm pad around in all three directions.
If you are going to be spending a lot of time using aero bars, you should most certainly consider the saddle that you will be sitting on, as Murray points out. Riding in the aero position for a long period of time may require a saddle change since your hips will likely be rotated a bit further forward than you are used to, and road bike saddles will put too much pressure on your perineum. This can lead to genital discomfort, numbness, or more serious issues. Consider incorporating a split-nose saddle such as the ISM PN 3.1, Specialized Sitero, or Bontrager Hilo which are tailor made for this purpose and designed to load areas of your pelvis that can sustain the pressure better.
Before you start wrenching, consider your typical riding environment and just how far you want to take this conversion. Setting up a bike for race day is one thing, but you also have to ride it many more times in the months leading up to the race. There are essentially two ways to transform your road bike to be more tri ready—a mild conversion or a more extreme one:
ADVERTISEMENT
Road bike to tri bike conversion 1: Dip your toe into aero
The simplest way for a road bike to be better optimized for a triathlon would be to leave the road bike positions the same and adjust the aerobars to allow them to complement your road bike position. This would give you another position to rest your upper body if your arms get tired, and it would allow you to ride slightly more aerodynamically. If you live in a busy area and find it hard to ride your bike far and away from others, then this is for you. If you are an unsure bike handler, then this is definitely for you as well.
A mild transformation will hold onto many of the nice qualities of your road bike, so when you aren’t using the aero bars, the bike will still fit and handle well. In order to set this up, the aero bars will likely need to have the arm rests about as far back as they can go, and the extensions will likely have to be drawn back in as well so that you don’t have to overreach. Your shoulder angle should be at about 90 degrees when this is done correctly—minimizing the amount of muscular strain in your arms needed to support yourself.
With a mild transformation like this, you will also probably need to add risers between the aero bars and the handlebar itself in order to keep your hips open through the top of the pedal stroke—this not an afterthought and will actually make a big difference when done correctly. Most aerobar brands make horseshoe-shaped spacers which are used for this purpose; though the set up can be a little time-consuming, but very much worth it. Be sure to get a bar that can accommodate these spacers, and don’t be afraid to experiment with different spacer heights until you are able to pedal smoothly. If you have tight hips, you may need a large stack of spacers to ride comfortably. If you do plan to use the aerobars for any extended period of time, a tri-specific saddle is a must. When installing a saddle like the ISM PN3.1, you will likely need to slide this saddle relatively far back on the saddle rails to maintain more or less your original bike position, as riders are intended to sit towards the front of these split-nose saddles.
ADVERTISEMENT
Road bike to tri bike conversion 2: The full monty
If you are on the daring side, you can try a bit more of an extreme conversion to your road bike to make it almost as good as a tri bike. A more extreme conversion will undoubtedly alter the way the bike handles however—and not for the better. Use caution with this if you ride on crowded roads or a mountainous area with technical descents. If you have a competitive nature, ride and race on relatively flat courses, and/or do most of your rides solo, then a more serious transformation may be for you.
ADVERTISEMENT
With a transformation like this, you would be not only altering a few of the contact points on the bike (mainly the saddle and adding the clip-on bars), but you will be shifting your body forward on the bike at the same time. Rather than sliding the saddle far back on the rails like in the mild conversion, set up the saddle at the middle of it’s rails or slightly biased forwards.
You might still have to position the arm pads far back in order to get the correct shoulder angle, but it should be more easily achieved. With a slightly more forward body position, you will likely require less spacers under the aero bars to ride comfortably in them, meaning that you can sustain a more aero position. Don’t forget the aero helmet—if you are going this far then the speed savings of the aero helmet are easily justified as well.
Taking it a step further
If you are looking to gain even more out of a position like this, then definitely consider shortening the crank-arm length of your bike as well. Road bikes still come with relatively long cranks and adding aero bars to your road bike will bring out the worst in them. For more on crank length, check out our piece on the debate.
Ultimately, most triathletes will own a road bike with aero bars on it for some portion of their triathlon career. Triathlon bikes are not only a bit more challenging to ride but they also tend to be pretty expensive, so testing the waters of the aero position in a less daunting and more affordable way is a great option. Some triathletes will never own a tri bike, and that is totally fine. As with all aspects of bike fit, if you are struggling with comfort, performance, or trying to work around an injury, be sure to reach out to your local bike fit professional for help. Enlisting some experienced eyes to help you out could mean the difference between loving your bike and hating it.