Updated July 10, 2025 02:51PM
Maintenance Tips For Taking Your Bike From Trainer to Road
Your bike deserves some special care after a season of serving you well indoors. Don't ride outside until you go through these steps.
(Photo: Brad Kaminski/Triathlete)
When spring ticks around on the calendar, it comes time for many of us to pull our bikes off the indoor trainer and get back out onto the road. The trainer is a pretty magical place where hours and hours can be spent without ever getting a speck of mud or grime on the bike. That can often lead us into the false sense that the bike is clean, safe, and ready to roll. It is not, and it deserves some specific attention before hitting the streets.
RELATED: How to Tune-Up a Bike: A 5-Step Checklist
How to prepare your bike to go from trainer to road
Wash your bike
Start by washing the bike. Set the bike up outside and spray it down with a garden hose. Then use some warm water and a bit of eco-friendly detergent. You don’t have to get fancy or expensive here – you probably have something appropriate beside or under your kitchen sink. Just a few drops of soap in a small bucket will do, then dip in a rag and wipe down every surface on the bike. Then rinse the bike, towel dry the major surfaces, and you are ready to start a closer inspection of your now-clean machine.
RELATED: Ask A Gear Guru: What Are The Best Products For Cleaning My Bike?
ADVERTISEMENT
Check for corrosion
No matter what type of device you’re using indoors – smart trainer, dumb trainer, or rollers – it’s probably covered in sweat. Even with fans blowing in our faces and covers on the bike, indoor riding means sweat all over the machine. The minerals in our sweat lead to corrosion of critical bike parts.
If you’re riding with aluminum handlebars, unwrap the bar tape and look for the rough and often grey oxidization of corroding aluminum. This can occur in an aluminum stem as well, so remove the face plate that holds the bars onto the stem and check the interior of that clamp, and the inside of the stem (if visible). Even if you’re riding with carbon bars, stem, frame, and fork, check all connections, as every metal part of the bike can be affected by months of dripping sweat.
ADVERTISEMENT
Check the bolts for rust or corrosion: the stem bolts, the bolts holding your water bottle cages onto the frame, aerobar bolts (if you have have them), and especially the headset top cap bolt. For those of you who sweat a lot, have the bottom bracket inspected by a mechanic – your fluids can seep all the way into that hidden zone, and it’s best to clean this out before it can do real damage.
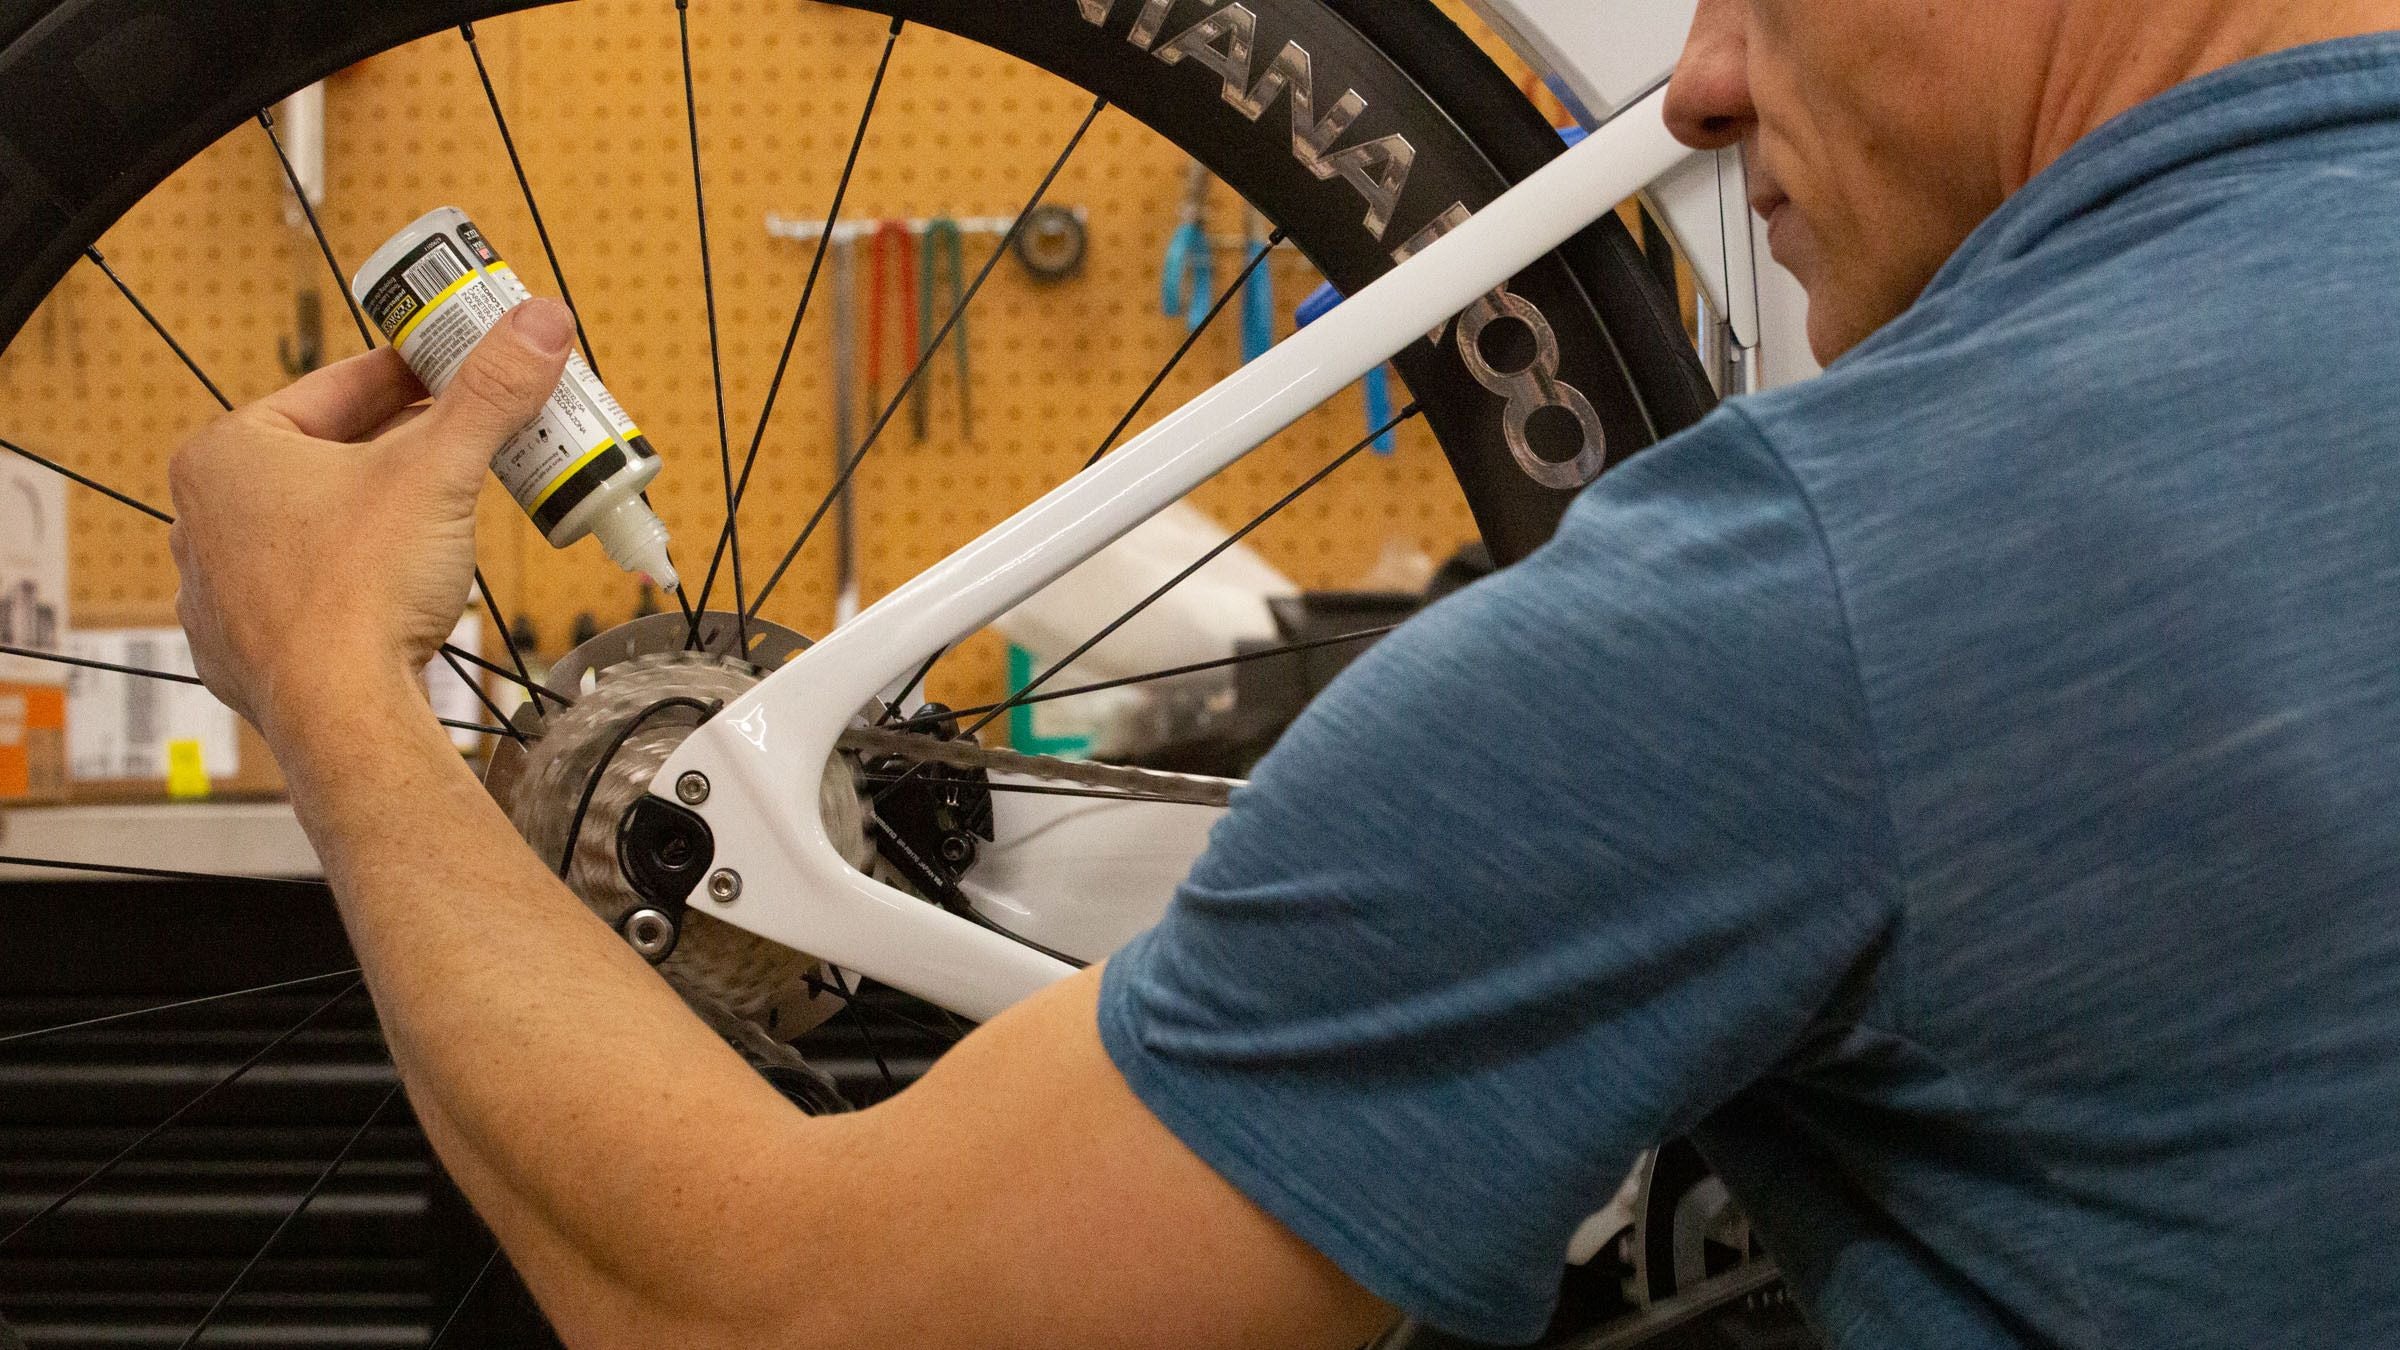
Clean and lubricate the chain
Chains also need care, even after riding indoors. They can dry out, get noisy, be less efficient, and worst of all, wear out more expensive parts quickly. Use some degreaser to first clean the chain – yup, sweat falls there too! Then drizzle some lubricant on the rollers at the center of the chain and let it slide into all the nooks and crannies of each link. Finish by wiping the chain gently so that the surfaces are dry and less likely to collect dust while outside.
While you’re working around the drive chain, direct a thin layer of lube to the all the pivot points of the front and rear derailleur. This gives them a chance to slide easily when shifting. Be sure to wipe those surfaces free of excess lube as well.
RELATED: Ask A Gear Guru: What’s The Best Way To Clean A Bike Chain?
ADVERTISEMENT
Check your brakes
Brakes also deserve a quick assessment, since they’ve probably gone untouched while sitting on the trainer. Rim brakes are rarely affected, but you should still check a few things. After taking your bike off the trainer, put your wheels on. Are they fully seated all the way in the frame and fork? Is your quick release or through-axle properly secured? From there, check the alignment of your brakes to ensure nothing is rubbing. This is also a good time to check the status of your brakes, from the pads to the pull when you squeeze the brake levers. If anything seems off, consult the mechanic at your local bike shop.
Hydraulic disc brakes should follow the same steps above, but with the added knowledge that this brake setup can soften, requiring a bleeding to ensure proper, safe operation outside. If you’re not sure how to bleed your disc brakes (it’s not super easy), consult the mechanic at your local bike shop.
ADVERTISEMENT
RELATED: Rim Brakes vs. Disc Brakes: Which is Better?
Scan the frame
As you ready your ride to go outdoors, take extra time to look over the entire rear triangle of the frame. The rear triangle is made up of the seat stays (frame tubes that extend from the area near the seat post clamp down to back of the frame), the chain stays (frame tubes that extend from the bottom bracket back to the rear of the frame), and the drop-outs (the place where the “stays” meet and your rear wheel is connected to the bike). Clamping from the trainer (particularly magnetic and fluid trainers) has, on the rare occasion, damaged a carbon frame in these areas, so look closely for any cracks. If you find any, have an expert give their opinion on the integrity and safety of your frame.
Put on some fresh tires
Hours and hours of your rear tire grinding against the resistance wheel of a magnetic or fluid trainer can wear your tire down to thin skin – which could blow at the first grain of sand you encounter outdoors. If you see threads exposed at the center of the tire, or even a drastically flat area on the tire, it’s time to replace it. Even if it won’t cause a blowout, the flat section can cause some very funky handling. Some triathletes like to start their season with a fresh set of tires regardless – plus, it’s a good time to practice your tire-changing skills before you head to the races.
Your bike deserves some care after a season of serving you well indoors. Cleaning, lubricating, and inspecting your bike after all that time is mandatory to ensure a safe and fun transition to the natural wind blowing through your helmet vents. Once your bike is ready, you still need to take the first few rides easy and with great awareness. The winter on the trainer means our skills of steering, braking, leaning – even basic balancing – have to be gently awakened from hibernation. But don’t worry about getting your wheels back under you quickly – this part is just like riding a bike.
ADVERTISEMENT
RELATED: 3 Things to Check Before Every Ride
Ian Murray is the Head Coach of the LA Tri Club’s Performance Program, a USAT Level III Coach, and master bike fitter.