Published January 23, 2018 03:20PM
How to Wrap a Handlebar
Wrapping a handlebar with tape is a task that sounds simple enough—until you try to do it.
Use this guide from the book Bike Mechanic: Tales from the Road and the Workshop and learn how to wrap a handlebar. (Find more bike maintenance tips here.)
How to Wrap a Handlebar
Before you start:
- Brake lever hoods can be fragile, especially if they’re getting old, so take it easy when pulling them clear of the taping area.
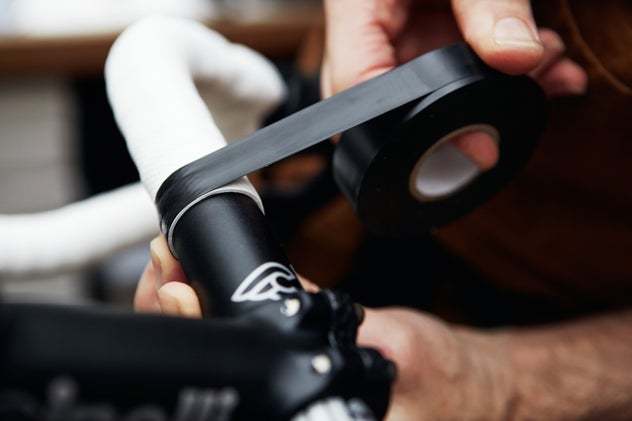
- Wrap the bar tops with electrical tape; this neatens up the cables and also protects the bar from sweat damage.
- Add an extra layer of tape for riding the rough stuff, or use pipe insulation on the tops.
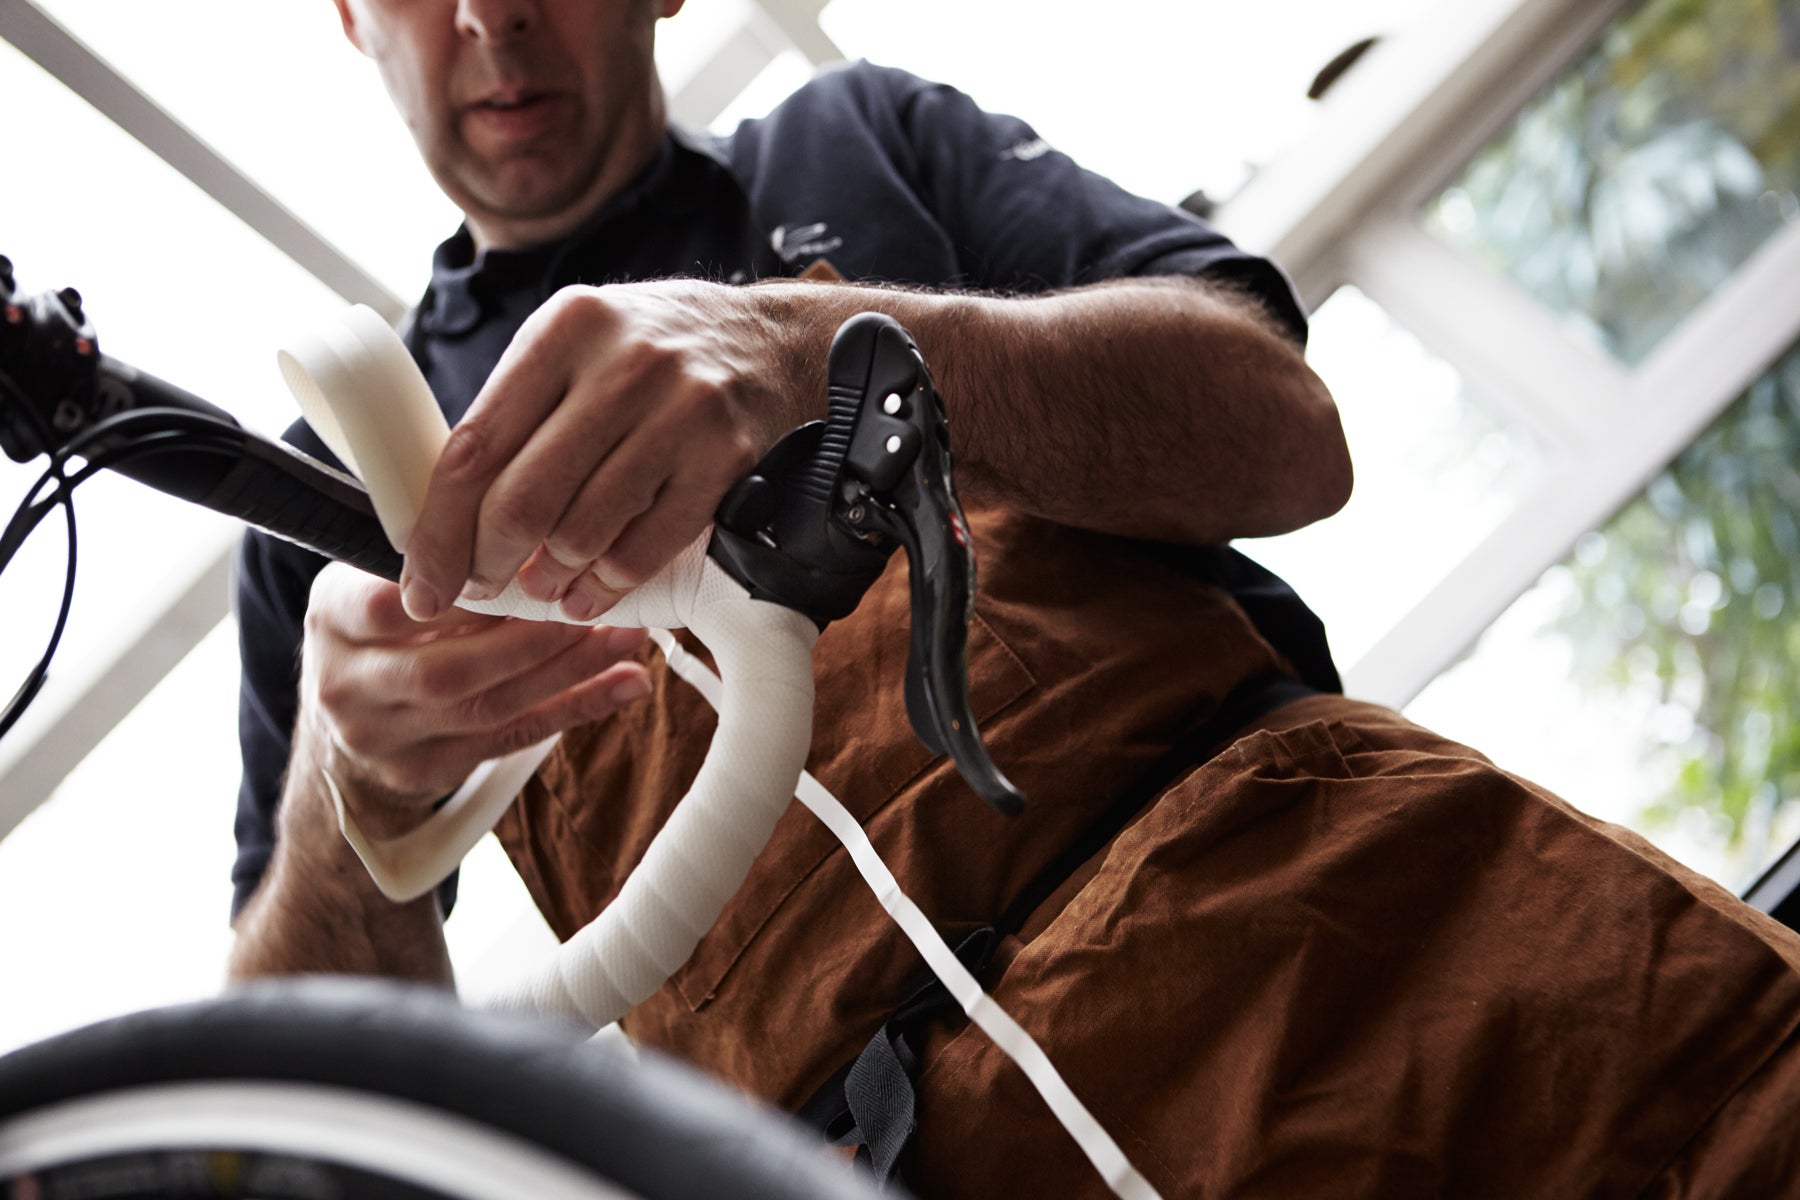
Step 1
Start with a small overhang at the open end of the bar of between 5mm and 10mm, depending on the thickness and flexibility of the tape. Too little and the end plug will never stay put; too much and you will never get the end plug in. Start inboard and wind to the outside. This applies to both sides of the bar.
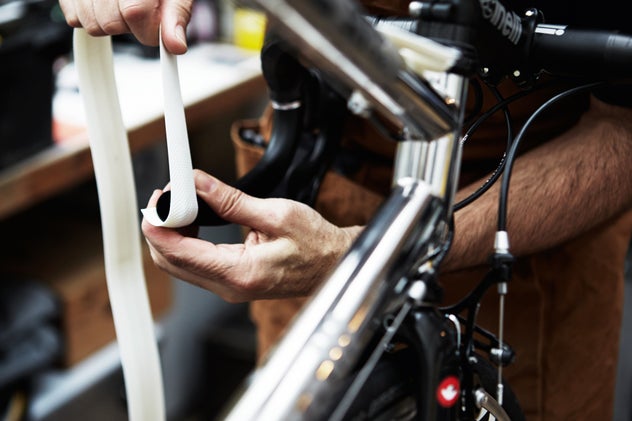
Step 2
Maintain an even tension and firm hold as you work your way up the bar. Take note of the tape profile. If you wrap the tape with too much overlap, it will be lumpy and you will run out. If you wind with too little overlap, it will also get lumpy and you will almost certainly have a bit of handlebar peeping through by the time you get to the radius of the bend.
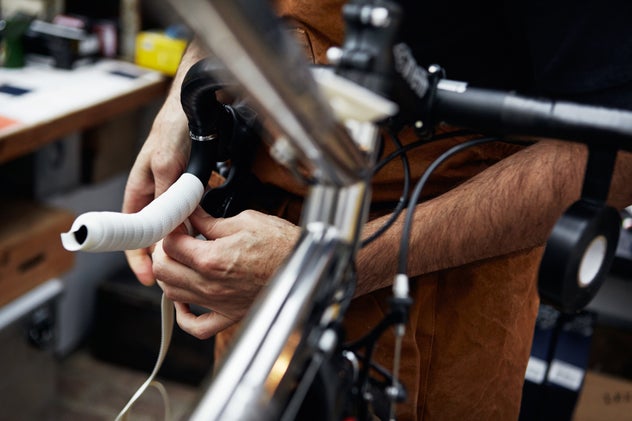
Step 4
If you use the cover strip for the brake lever clip, be careful not to let it fall off—otherwise you may find it stuck to the carpet or sole of your shoe by the time you reach the lever body. Better to stick it somewhere convenient until you get to this point.
ADVERTISEMENT
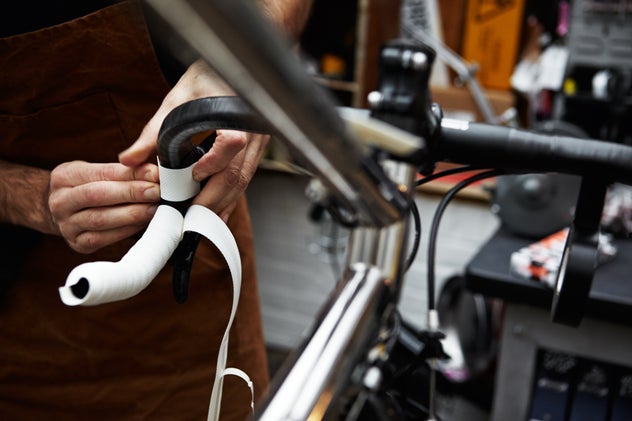
Step 5
The transition around the lever is one of the most difficult to complete successfully. If you haven’t put the brake lever clip strip in place, now is the time to do it. Maintain the tension and the angle of the tape as it passes behind the lever. This can be a real test of dexterity. Plan where the tape will meet the lever.
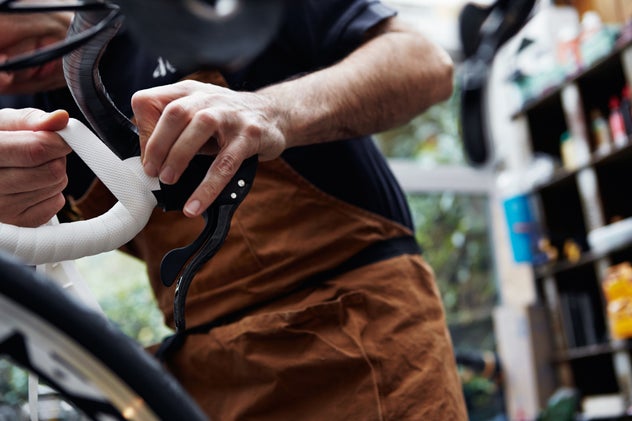
Step 6
The body of the lever and the clip should now be completely covered. The trick here is not to do things too slowly. Keep the tension even and regain the same spacing as your previous overlap. You are ready to finish off the job, but to do so well, it is essential to maintain a consistent winding angle. Do not try to straighten up immediately; maintain the tension to achieve the perfect finish.

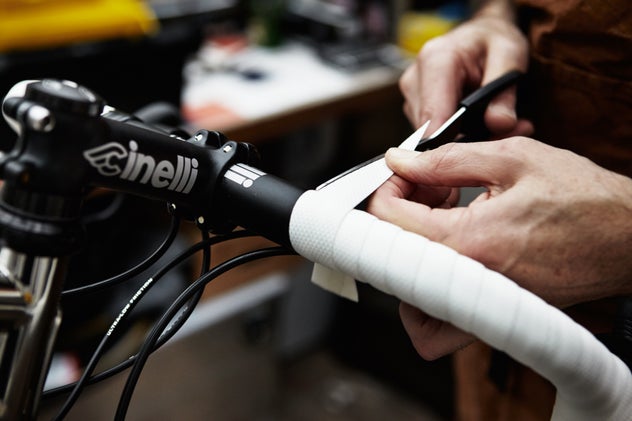
Step 7
With a sharp pair of scissors, cut the tape away at an angle, in effect mitering it, to create a nice crisp edge to terminate.
ADVERTISEMENT
Step 8
Most tape comes with its own finishing strips, but plastic tape generally works better. A particularly neat method is to superglue the mitered end, but this is not always possible as some current tapes will not stay glued.
Step 9
The orientation of the finishing plug should be carefully noted before pushing it fully in place. Some plugs are plain, so the position doesn’t matter, but if the plug carries an image or logo you may drop a style point here for sloppy workmanship.
