Updated November 13, 2025 07:49AM
If you buy through our links, we may earn an affiliate commission. This supports our mission to get more people active and outside.Learn about Outside Online's affiliate link policy
How to Tune-Up a Bike: A 5-Step Checklist
Once you make the initial investment in tools, knowing how to tune-up a bike will save you time and money in the long term.
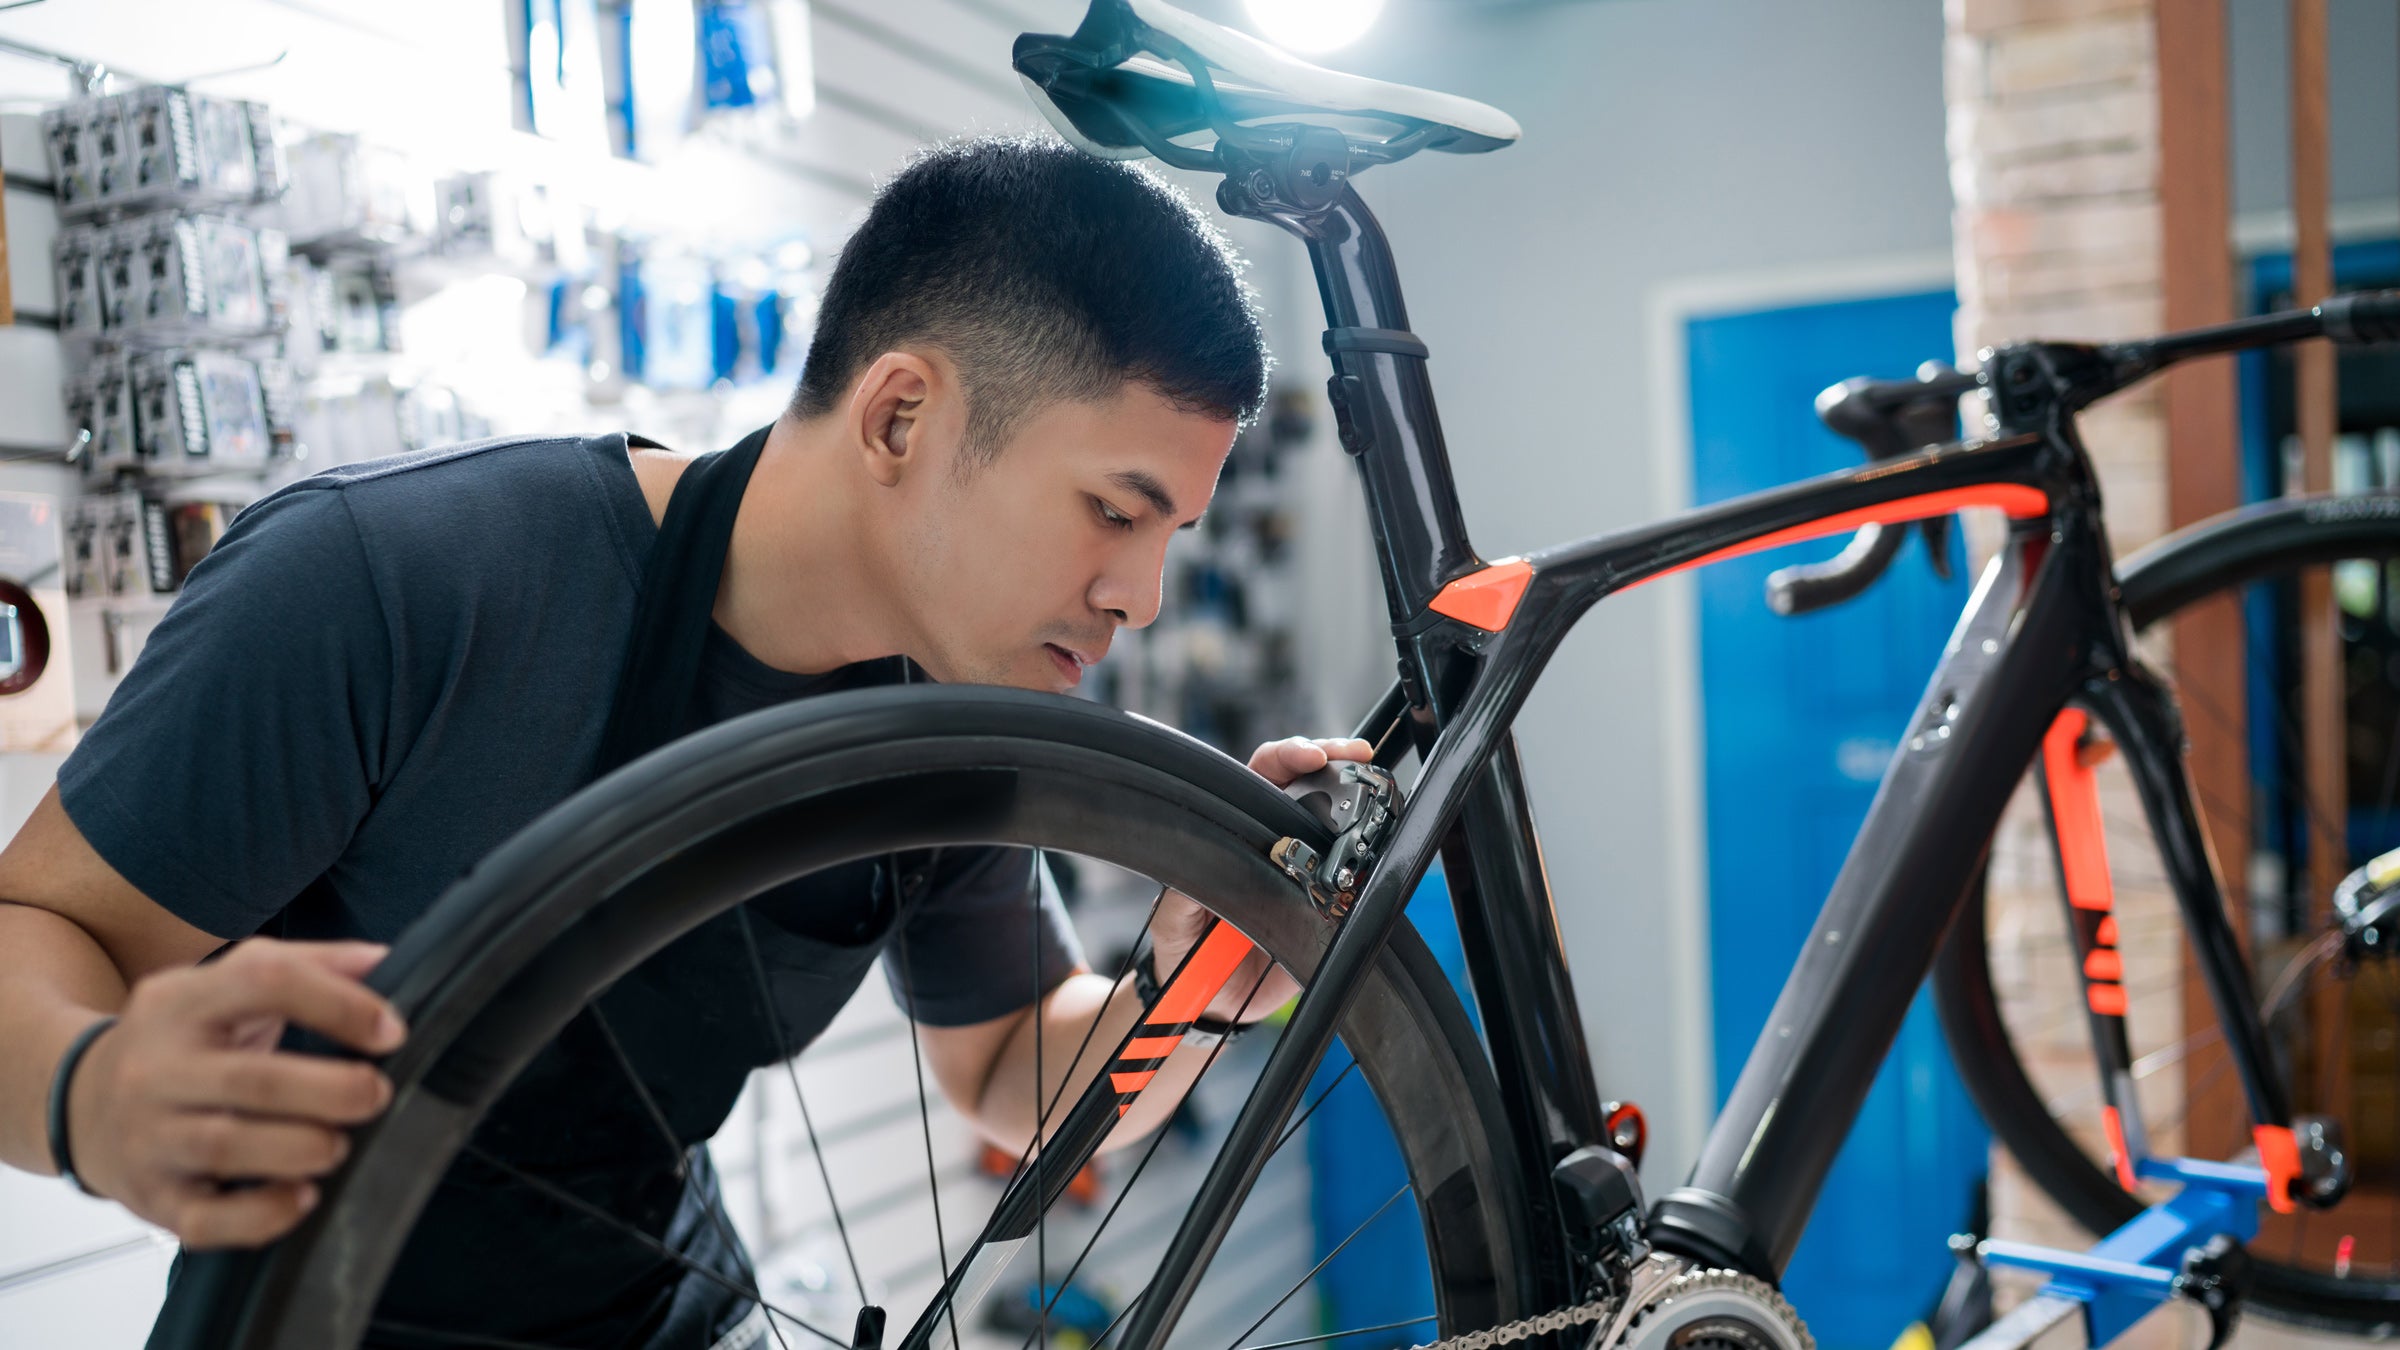
A bike mechanic does a bike tune-up on a bike in a shop. (Photo: ORWAISTUDIO/Shutterstock)
Maintaining your bicycle is a rite of passage for many cyclists. Knowing how to tune up a bike can also be a rewarding and empowering experience once you learn some bike repair basics.
During my years working in bike shops and as a mechanic for professional cyclists, I developed a tune-up process that’s efficient and effective. This five-step bike tune-up checklist covers the basics needed to keep your bike running smoothly.
How to tune up a bike
1. Clean and degrease
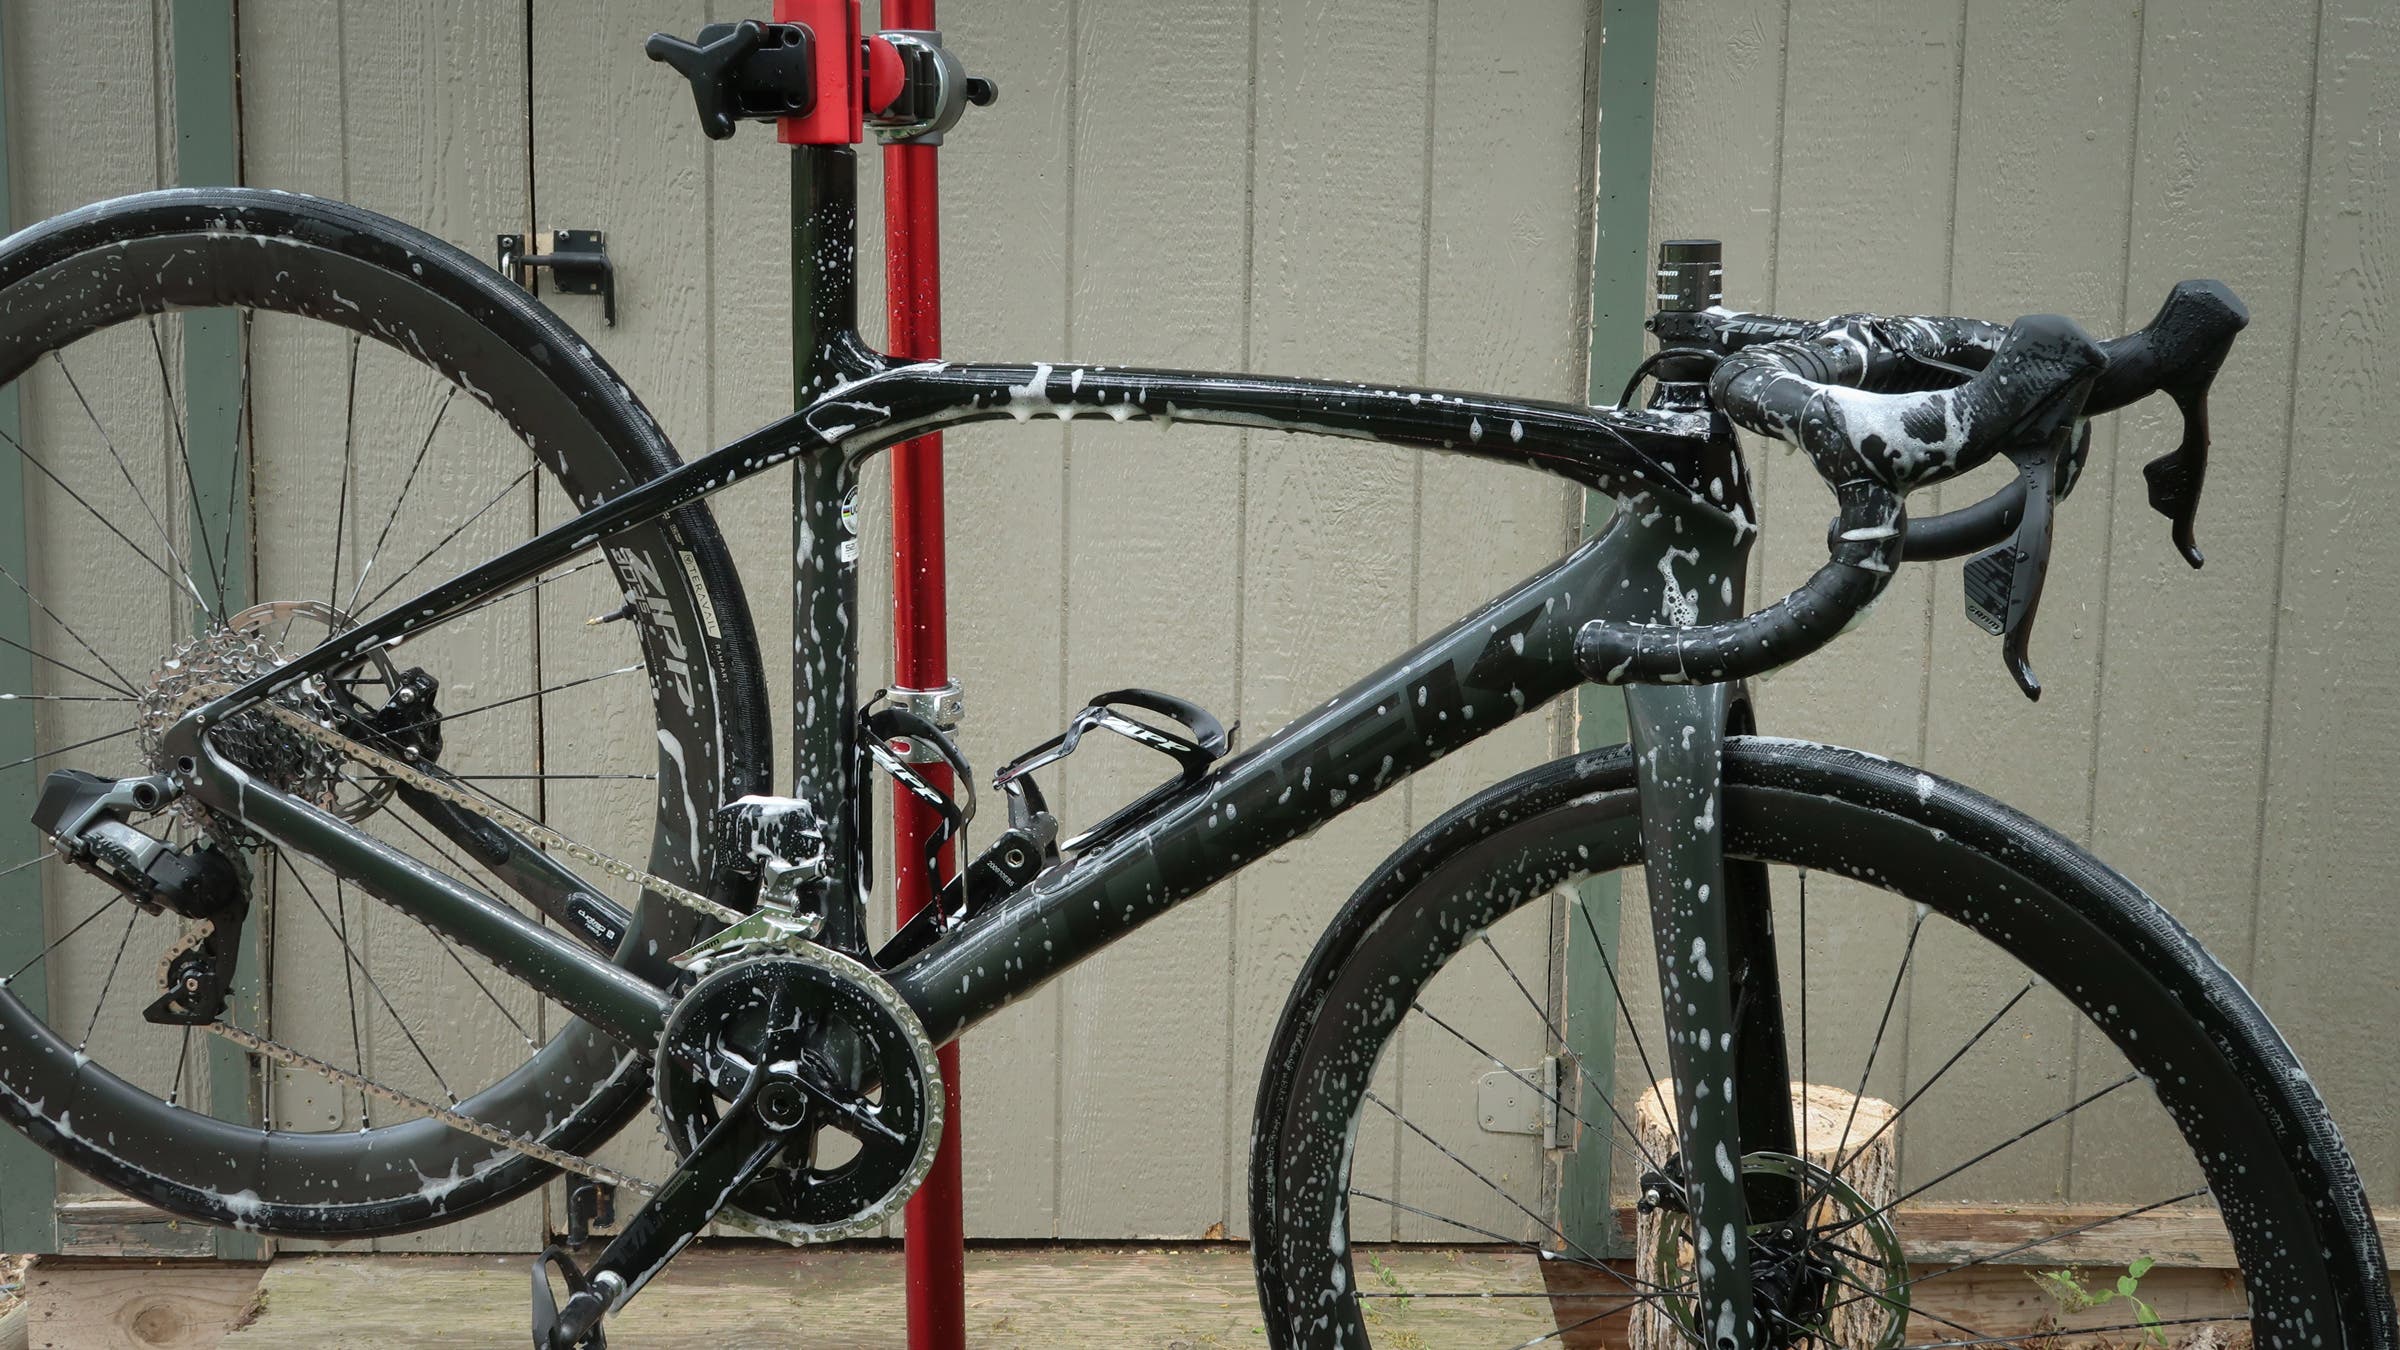
Before you start turning any barrel adjusters or tightening any bolts, you need to clean the frame and degrease the drivetrain. All the moving parts on your bike have been engineered to function when wet, but pressurized water can displace the lubrication that keeps your bike rolling and shifting smoothly. Use a garden hose with a nozzle set to a wide spray pattern to wet the frame. Be mindful to avoid spraying excessive water directly on the shifters, hubs, and headset bearings.
Once wet, use a soft-bristled brush, non-scratch dish sponge, or even an old t-shirt to wipe down the frame, working from front to back.
ADVERTISEMENT
There are many bicycle-specific cleaning products on the market, but household dish soap is my go-to. Dish soap is non-toxic, gentle on frames and components, but strong enough to break up most dirt, grease, and caked-on residue from spilled sports drinks and energy gels.
Once the frame is clean, focus your attention on the drivetrain. A dirty drivetrain will cause premature wear to your chain and cassette. Excessive drivetrain friction will also cost you precious watts, forcing you to work harder; ride smarter by keeping your drivetrain clean, fast, and efficient.
You might be tempted to use solvents such as Simple Green, but degreasers specifically formulated to clean drivetrains work faster and are the best choice for dirty chains and cassettes. These products won’t degrade the friction-fighting surface treatments found on high-end chains and cassettes. WD-40 Bike Degreaser and Pedro’s Pig Juice are two of my favorite drivetrain cleaning products.
In some cases, a complete drivetrain cleaning requires removing the chain and cassette to soak in degreaser. Nine times out of 10, you can achieve the same result by cleaning these components on the bike, especially if you clean your bike regularly.
ADVERTISEMENT
If spraying degreaser on the chain and cassette, take care to avoid contaminating the disc brake rotor and pads or braking track and pads if your bike has rim brakes. Let the degreaser sit for 5-10 minutes to do its work.
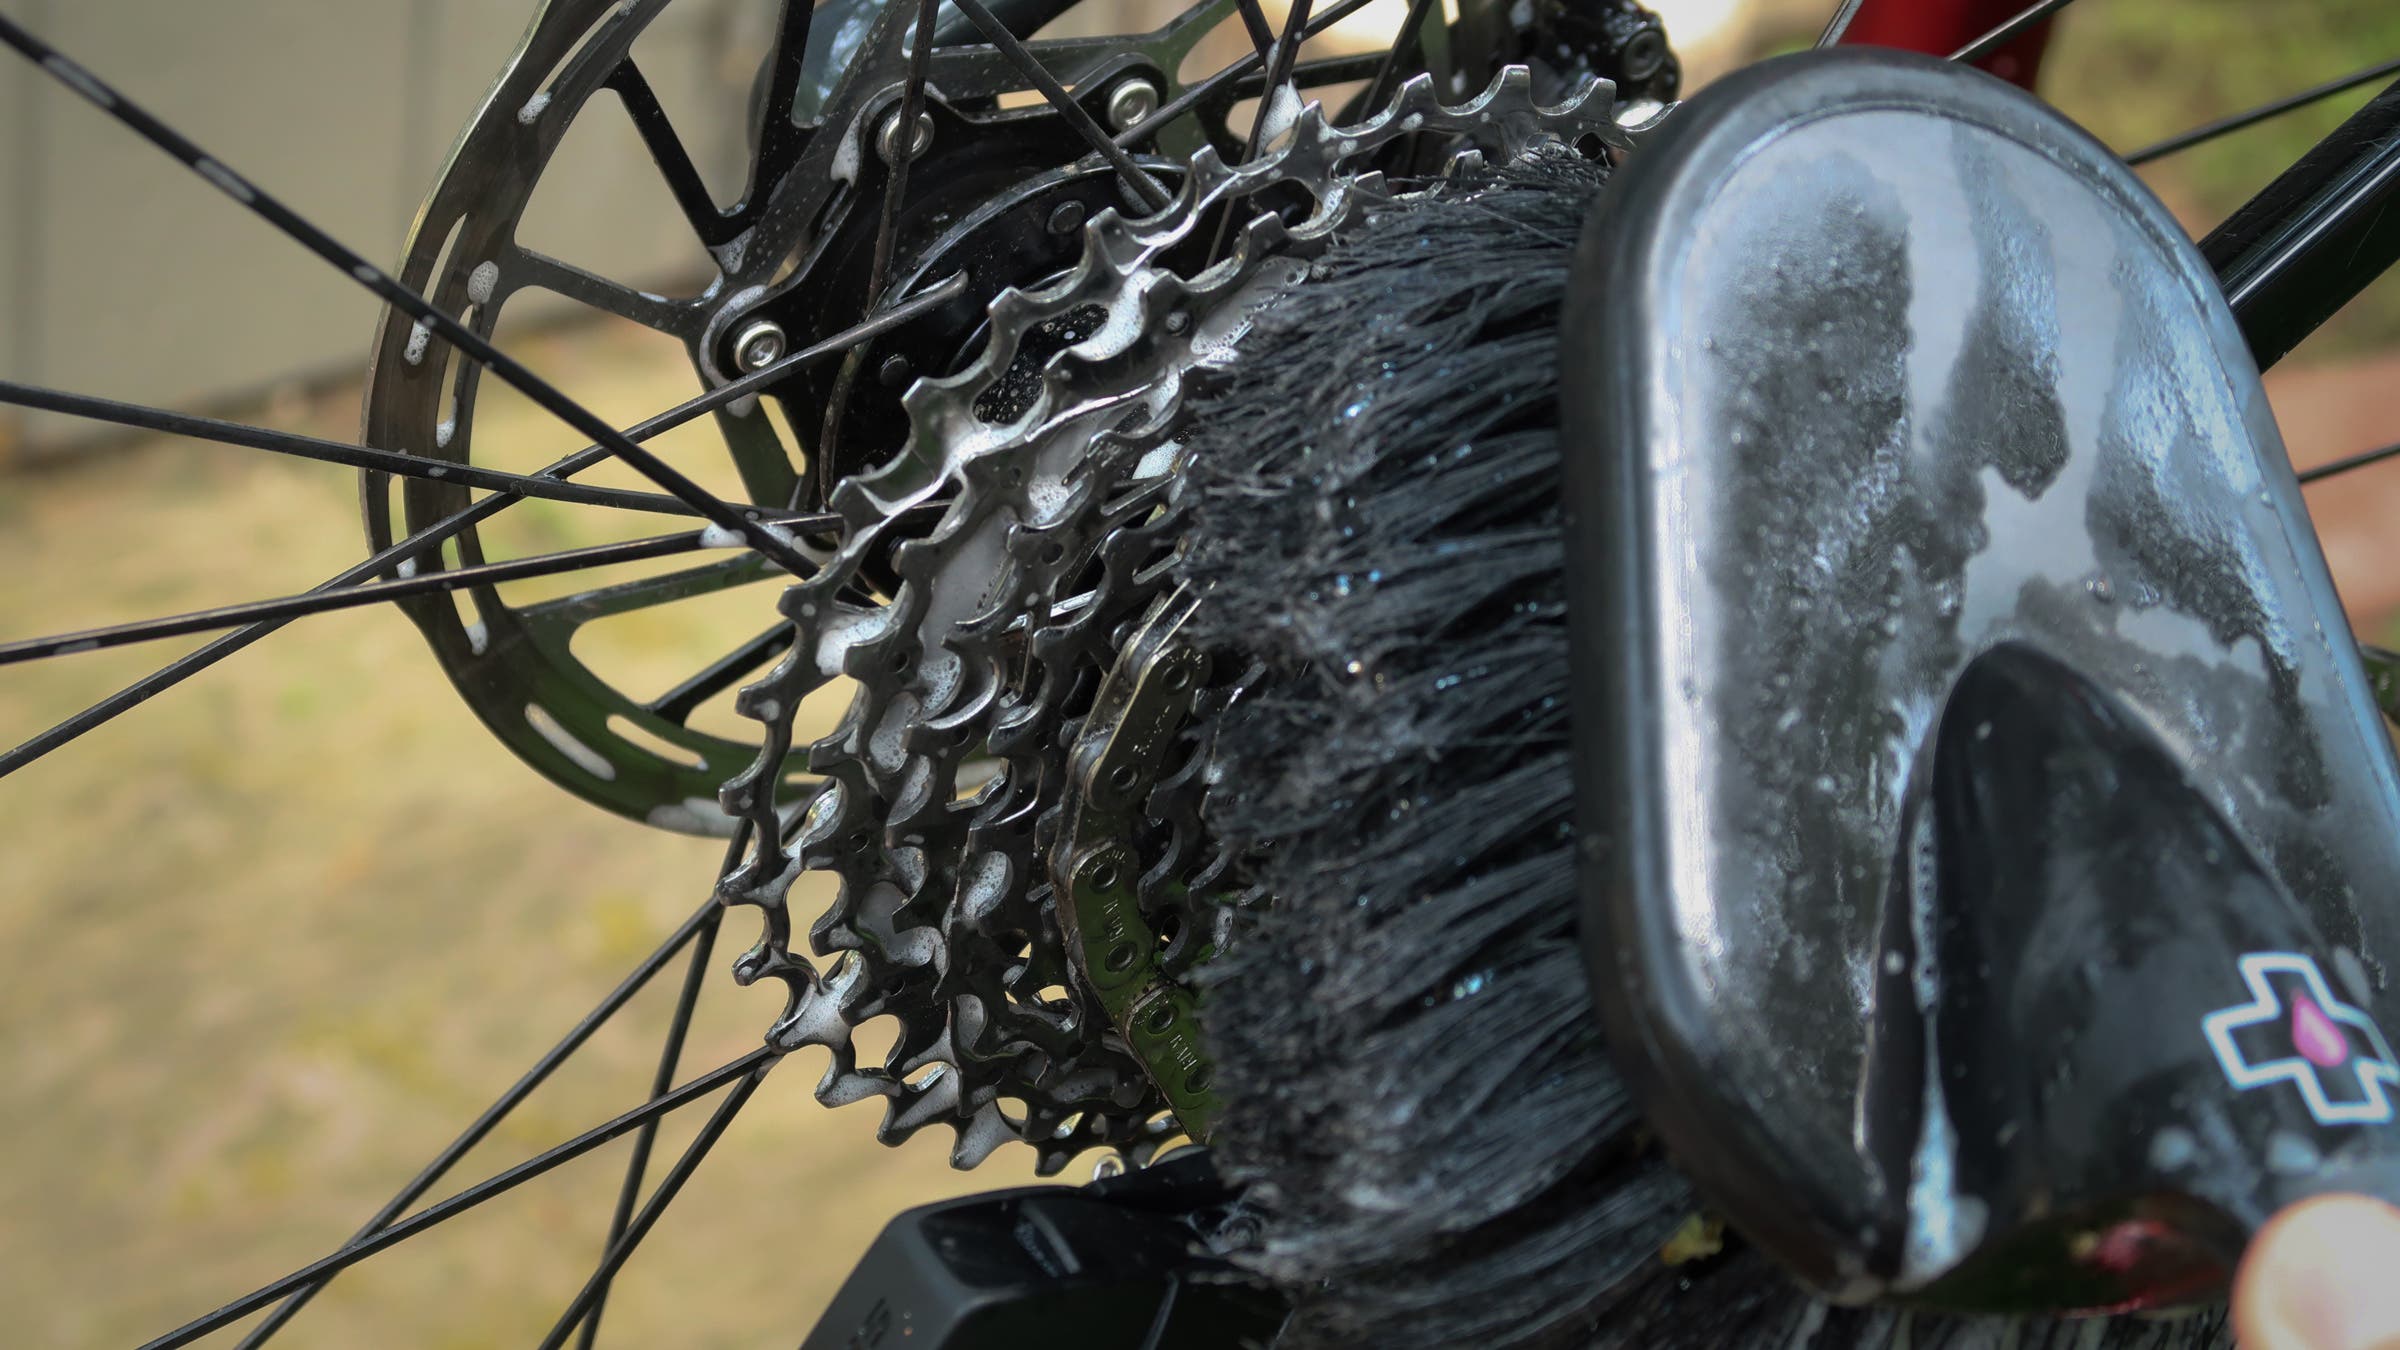
Once the degreaser has worked its magic, take a stiff-bristle brush such as Park Tool’s GearClean Brush or even an old toothbrush and scrub the cassette and chain. Spray the drivetrain with water to remove any residual grime and degreaser, then spin the cranks a few rotations to dislodge water from the chain.
2. Safety check

This is the most important step in every bike tune-up. The reason we cleaned the bike before performing a safety check is to ensure dirt and grime don’t hide any hazards, such as a crack in the frame.
The safety check is where we assess and take note of what needs to happen next. In general, I work from front to back when inspecting bikes, but let’s break it down by the five different parts of the bike for the sake of thoroughness.
- Frame and fork: Regardless of whether your bike is constructed from carbon, titanium, aluminum, or steel, cracks often form in the same high-stress locations. Start with the fork legs and work your way up. Inspect the junction of the head tube with the top tube and downtube, as well as the area around the bottom bracket shell and chainstays. These are all key locations where cracks frequently occur.
If you find chips or gouges in a carbon frame that might be deeper than the outer cosmetic layer of carbon, have the frame inspected by a professional.
- Cockpit: Look for hairline cracks in the handlebar where it meets the stem and on the seatpost where it meets the seatpost collar. These are the most common locations of seatpost and handlebar failures. Next, check the underside of the saddle to make sure the saddle rails aren’t bent or cracked.
This is the time when I also check the torque of all the critical fasteners on bikes, starting with the stem and handlebar. A torque wrench is one of the most essential tools in any home mechanic’s toolbox.
Most stems and handlebars have the recommended torque ratings printed on them. When in doubt, visit the component manufacturer’s website for more information.
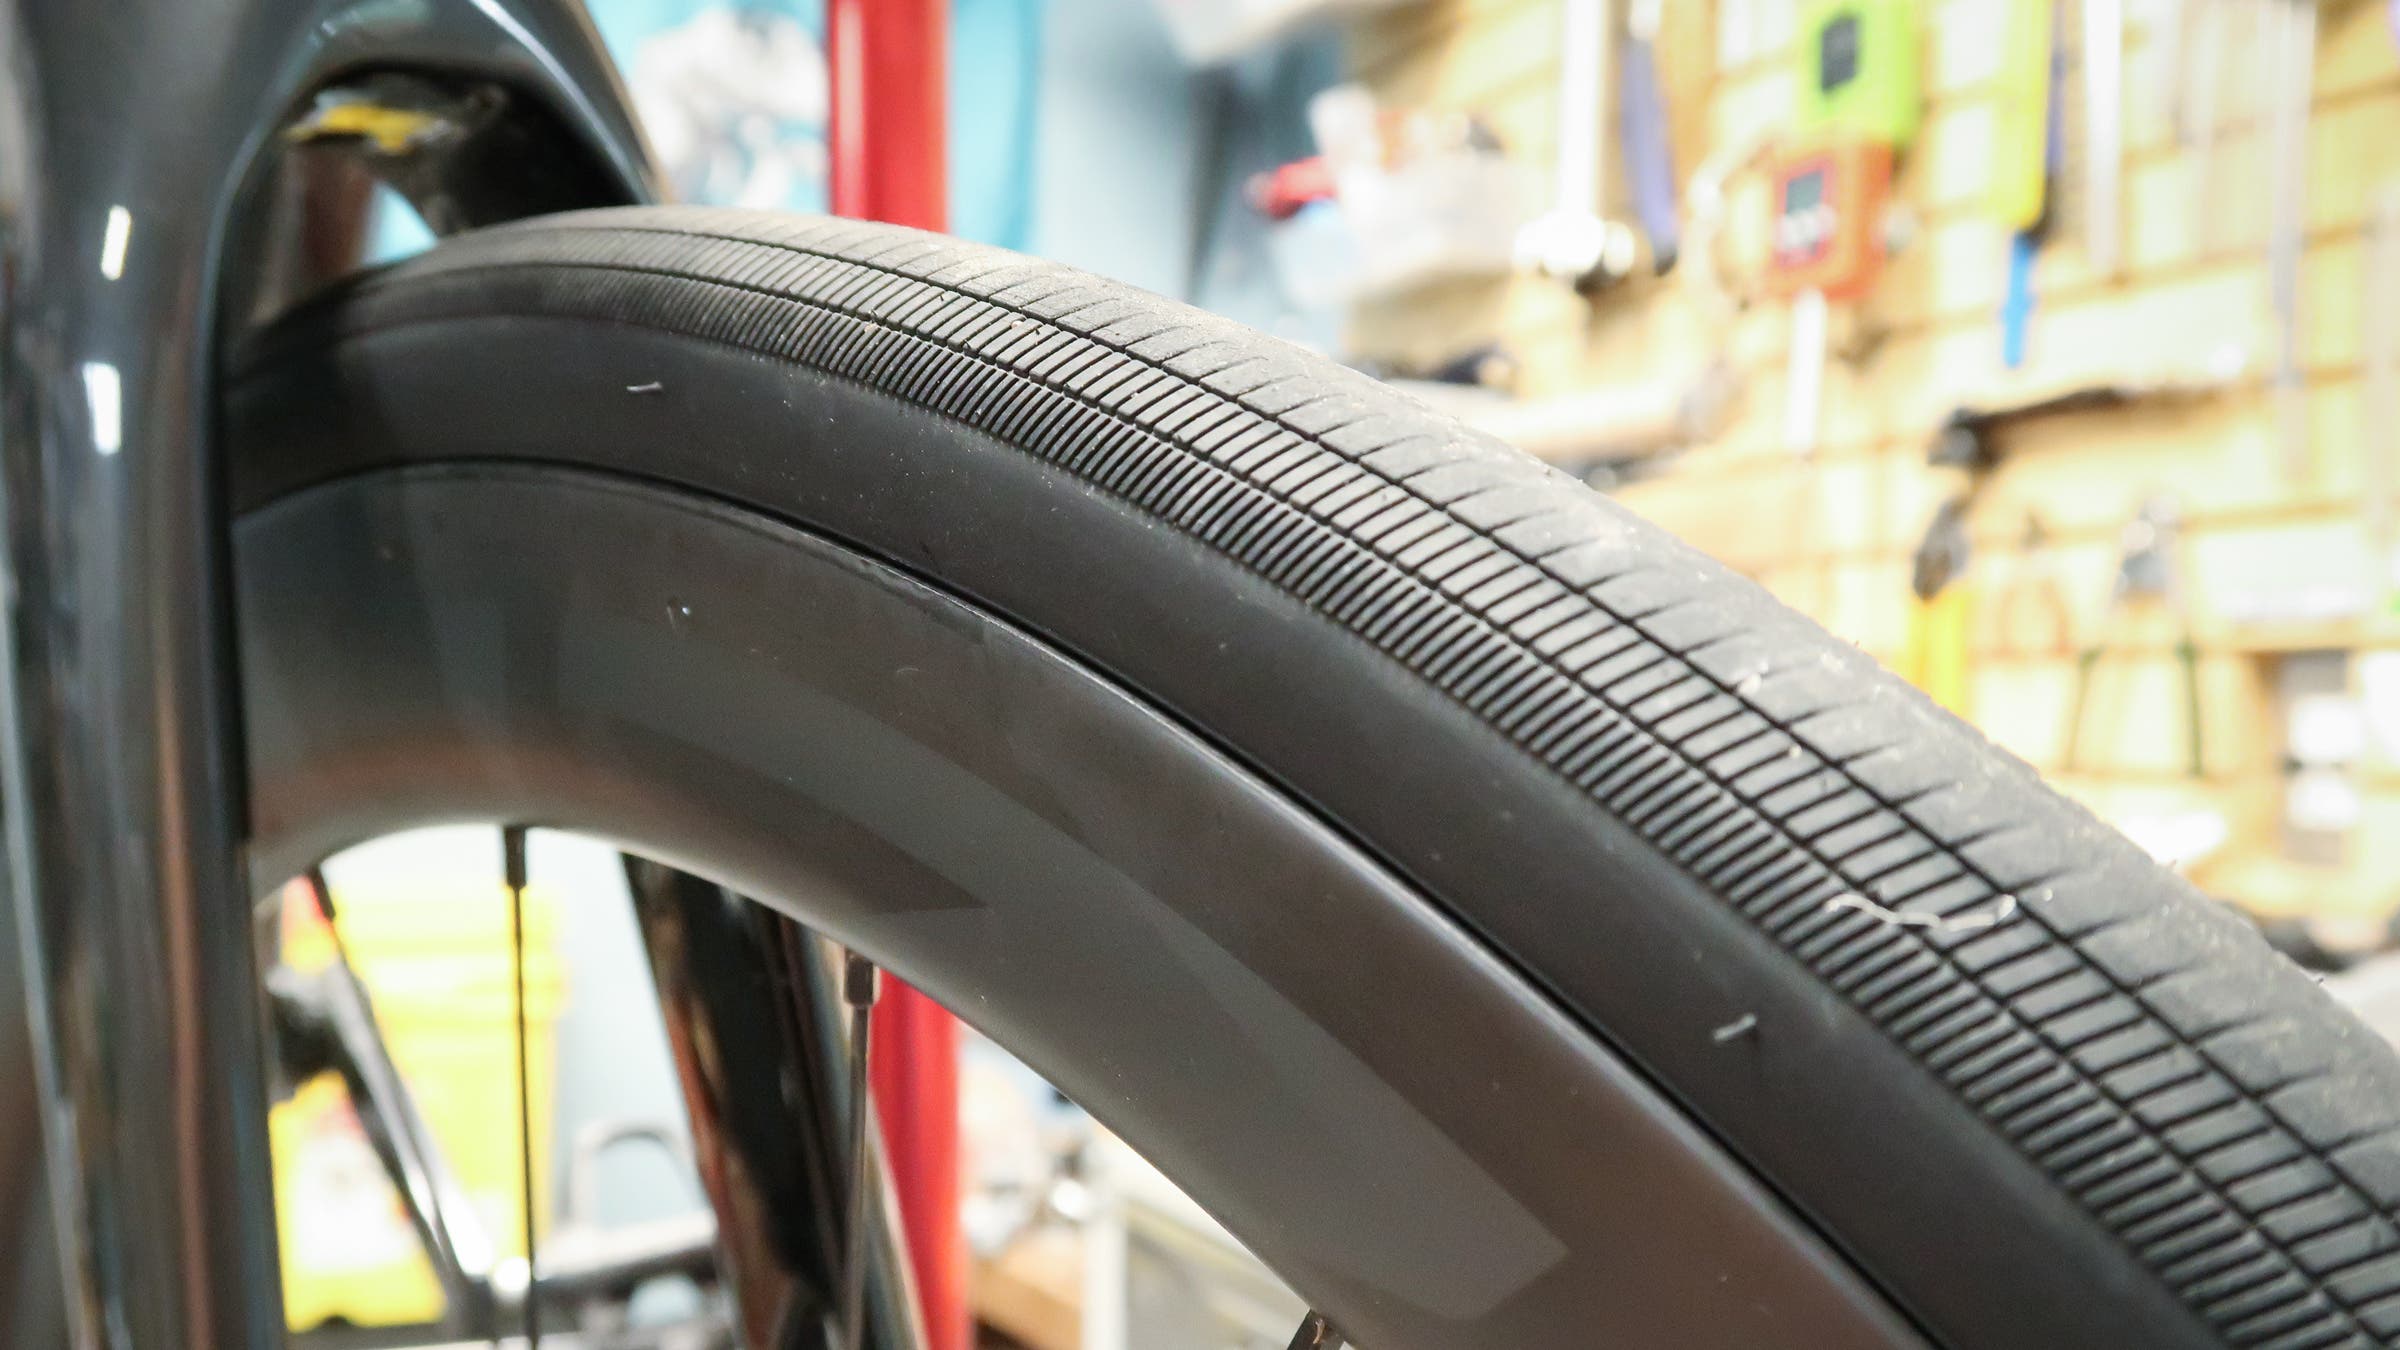
- Wheels and tires: Check the tires for small tears or embedded glass, the rims for wobbles, hops, and cracks in the eyelets, and feel for any loose spokes. Hold each wheel by the rim and attempt to move it side-to-side (perpendicular to the direction of rotation) to check for loose hubs. There should be no lateral play in the hubs.
- Brakes: Inspect the brake pads for wear and proper alignment. If your bike has cable-actuated brakes, make sure the brake cables aren’t frayed. This commonly occurs where the brake cable is fixed to the brake caliper. If your bike is equipped with hydraulic brakes, ensure that the brake lever stops before the lever contacts the handlebar. If you have to pump the brakes several times before they properly engage, you’ll need to perform a brake bleed to remove air from the system.
- Drivetrain: Now that your drivetrain is clean, you can check for worn teeth on the chainrings, cassette, and rear derailleur. As with the rims, attempt to move the cranks side-to-side. There should be no lateral movement. Shift through the gears and take note of any skipping or jumping between gears. This skipping could be due to a frayed cable or simply cable tension.
Using a chain checker, inspect the chain for wear. Chains and cassettes wear in together. Chain “stretch” is actually play in the pins and rollers that have worn down over time. If the chain is more than 50% through its lifespan, consider replacing the chain and cassette together to prevent shifting issues. A new chain matched with a worn cassette often results in misshifts.
ADVERTISEMENT
3. Wheels
Once the safety check is complete, we can start making adjustments. Start with the wheels.
If you found any wobbles or loose spokes during your inspection, use a truing stand and spoke wrench to re-tension the spokes and true the wheel. Park Tool’s TS-8 is an affordable truing stand for home mechanics.
Before reinstalling the wheels on the bike, replace worn tires if needed. Pedro’s tire levers are affordable and very effective when mounting stubborn tires.
If you’re running tubeless tires, now is a great time to add fresh sealant. Sealant dries out over time. Most tubeless sealants should be replaced every 4-6 months. I’ve tried more than a dozen sealants over the years. I recommend most riders stick with NoTubes or Orange Seal.
ADVERTISEMENT
4. Adjust the brakes
Once the wheels are straight and spinning smoothly, we can move on to the brakes.
The first step is to make sure the brakes are properly bled. Park Tool makes a range of excellent bleed kits for mineral oil and DOT-based brake systems.
If your bike uses cable-actuated brakes, make sure the brake cable is properly secured, unfrayed, and moves smoothly.
Replace the brake pads if worn. Once installed, or if your current pads have plenty of life left, spin the wheels to confirm the brake rotor (or rim in the case of rim brakes) is not rubbing against the brake pads.
Center the pads on the braking surface so that each side of the caliper makes contact with the rotor or rim simultaneously.
ADVERTISEMENT
5. Lube the chain and adjust the derailleurs
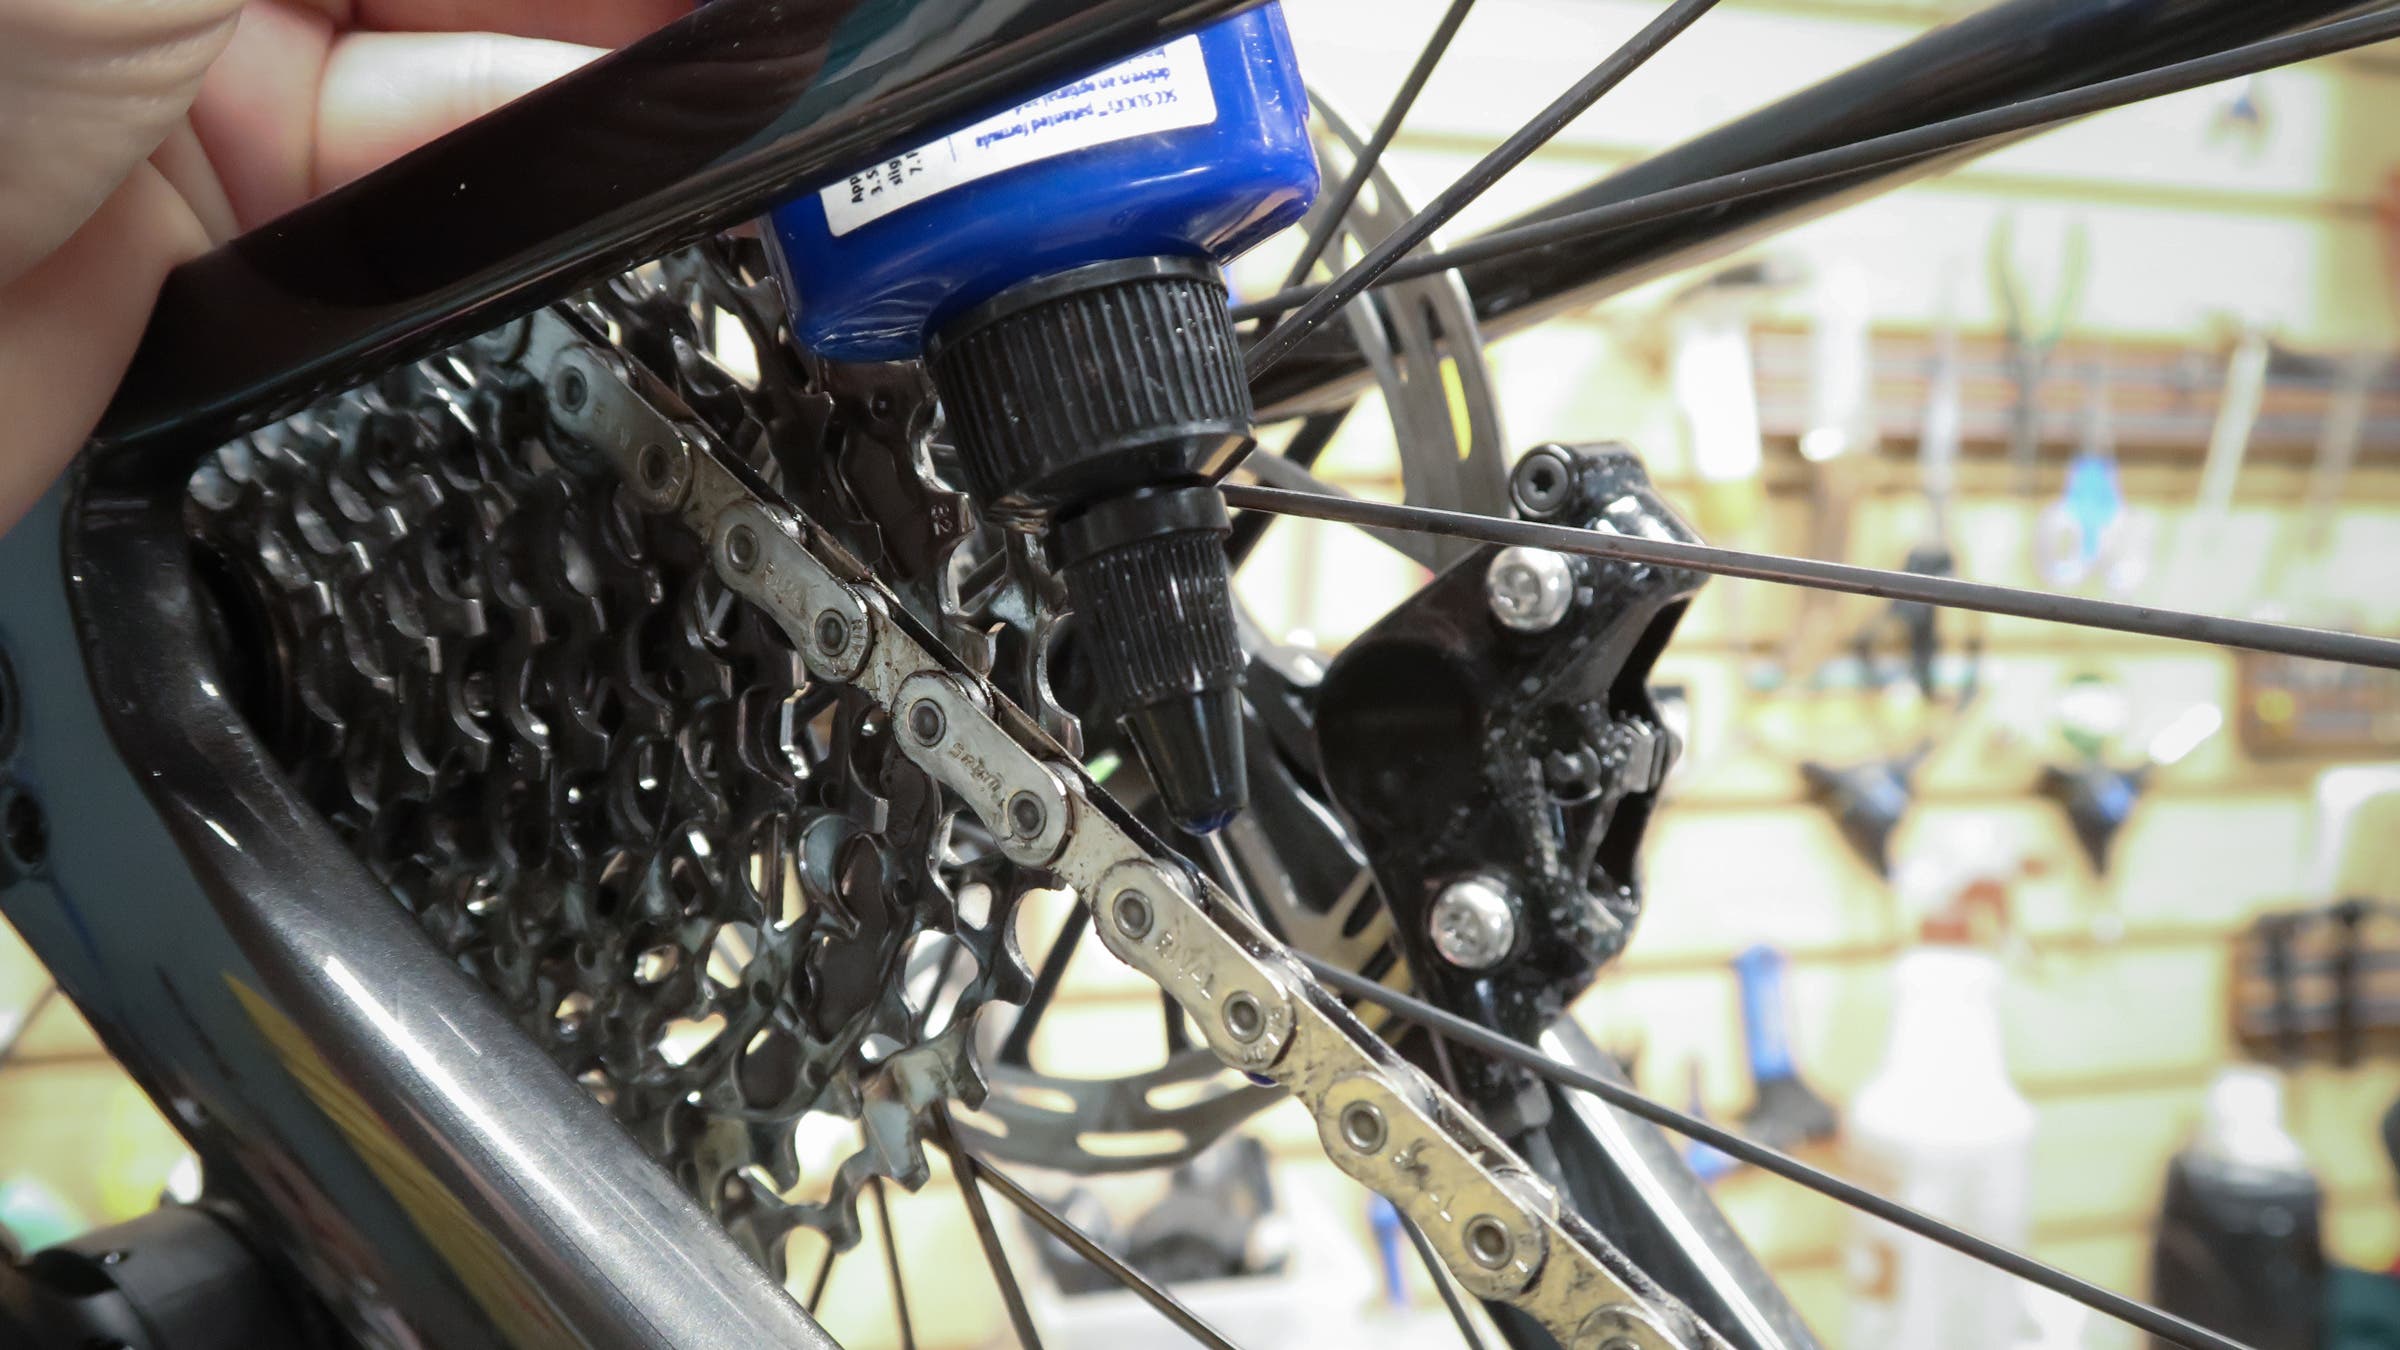
The pros and cons of the myriad chain lubricants available to cyclists are worthy of their own deep dive. In most cases, the application process is the same and critical to ensuring you have a clean, high-performing drivetrain.
You don’t slather the entire chain in lube. In fact, this will collect extra dirt and grime, slowing you down and wearing out your drivetrain. Take the time to carefully place one drop of lube on each roller. Once applied, spin the cranks a few times to ensure the lubricant is distributed evenly and wipe off any excess with a clean rag.
Once the chain is spinning smoothly, check the derailleurs to make sure they’re shifting smoothly up and down the chainrings and cassette.
Start with the front derailleur. Make sure the chain is picked up quickly when shifting into the big ring. Use the barrel adjuster to add tension if it seems to hesitate. If the chain is slow to shift into the small ring, screw the barrel adjuster in to reduce tension on the shift cable. Small adjustments can have big impacts on cable tension, so start by working in quarter-turn increments.
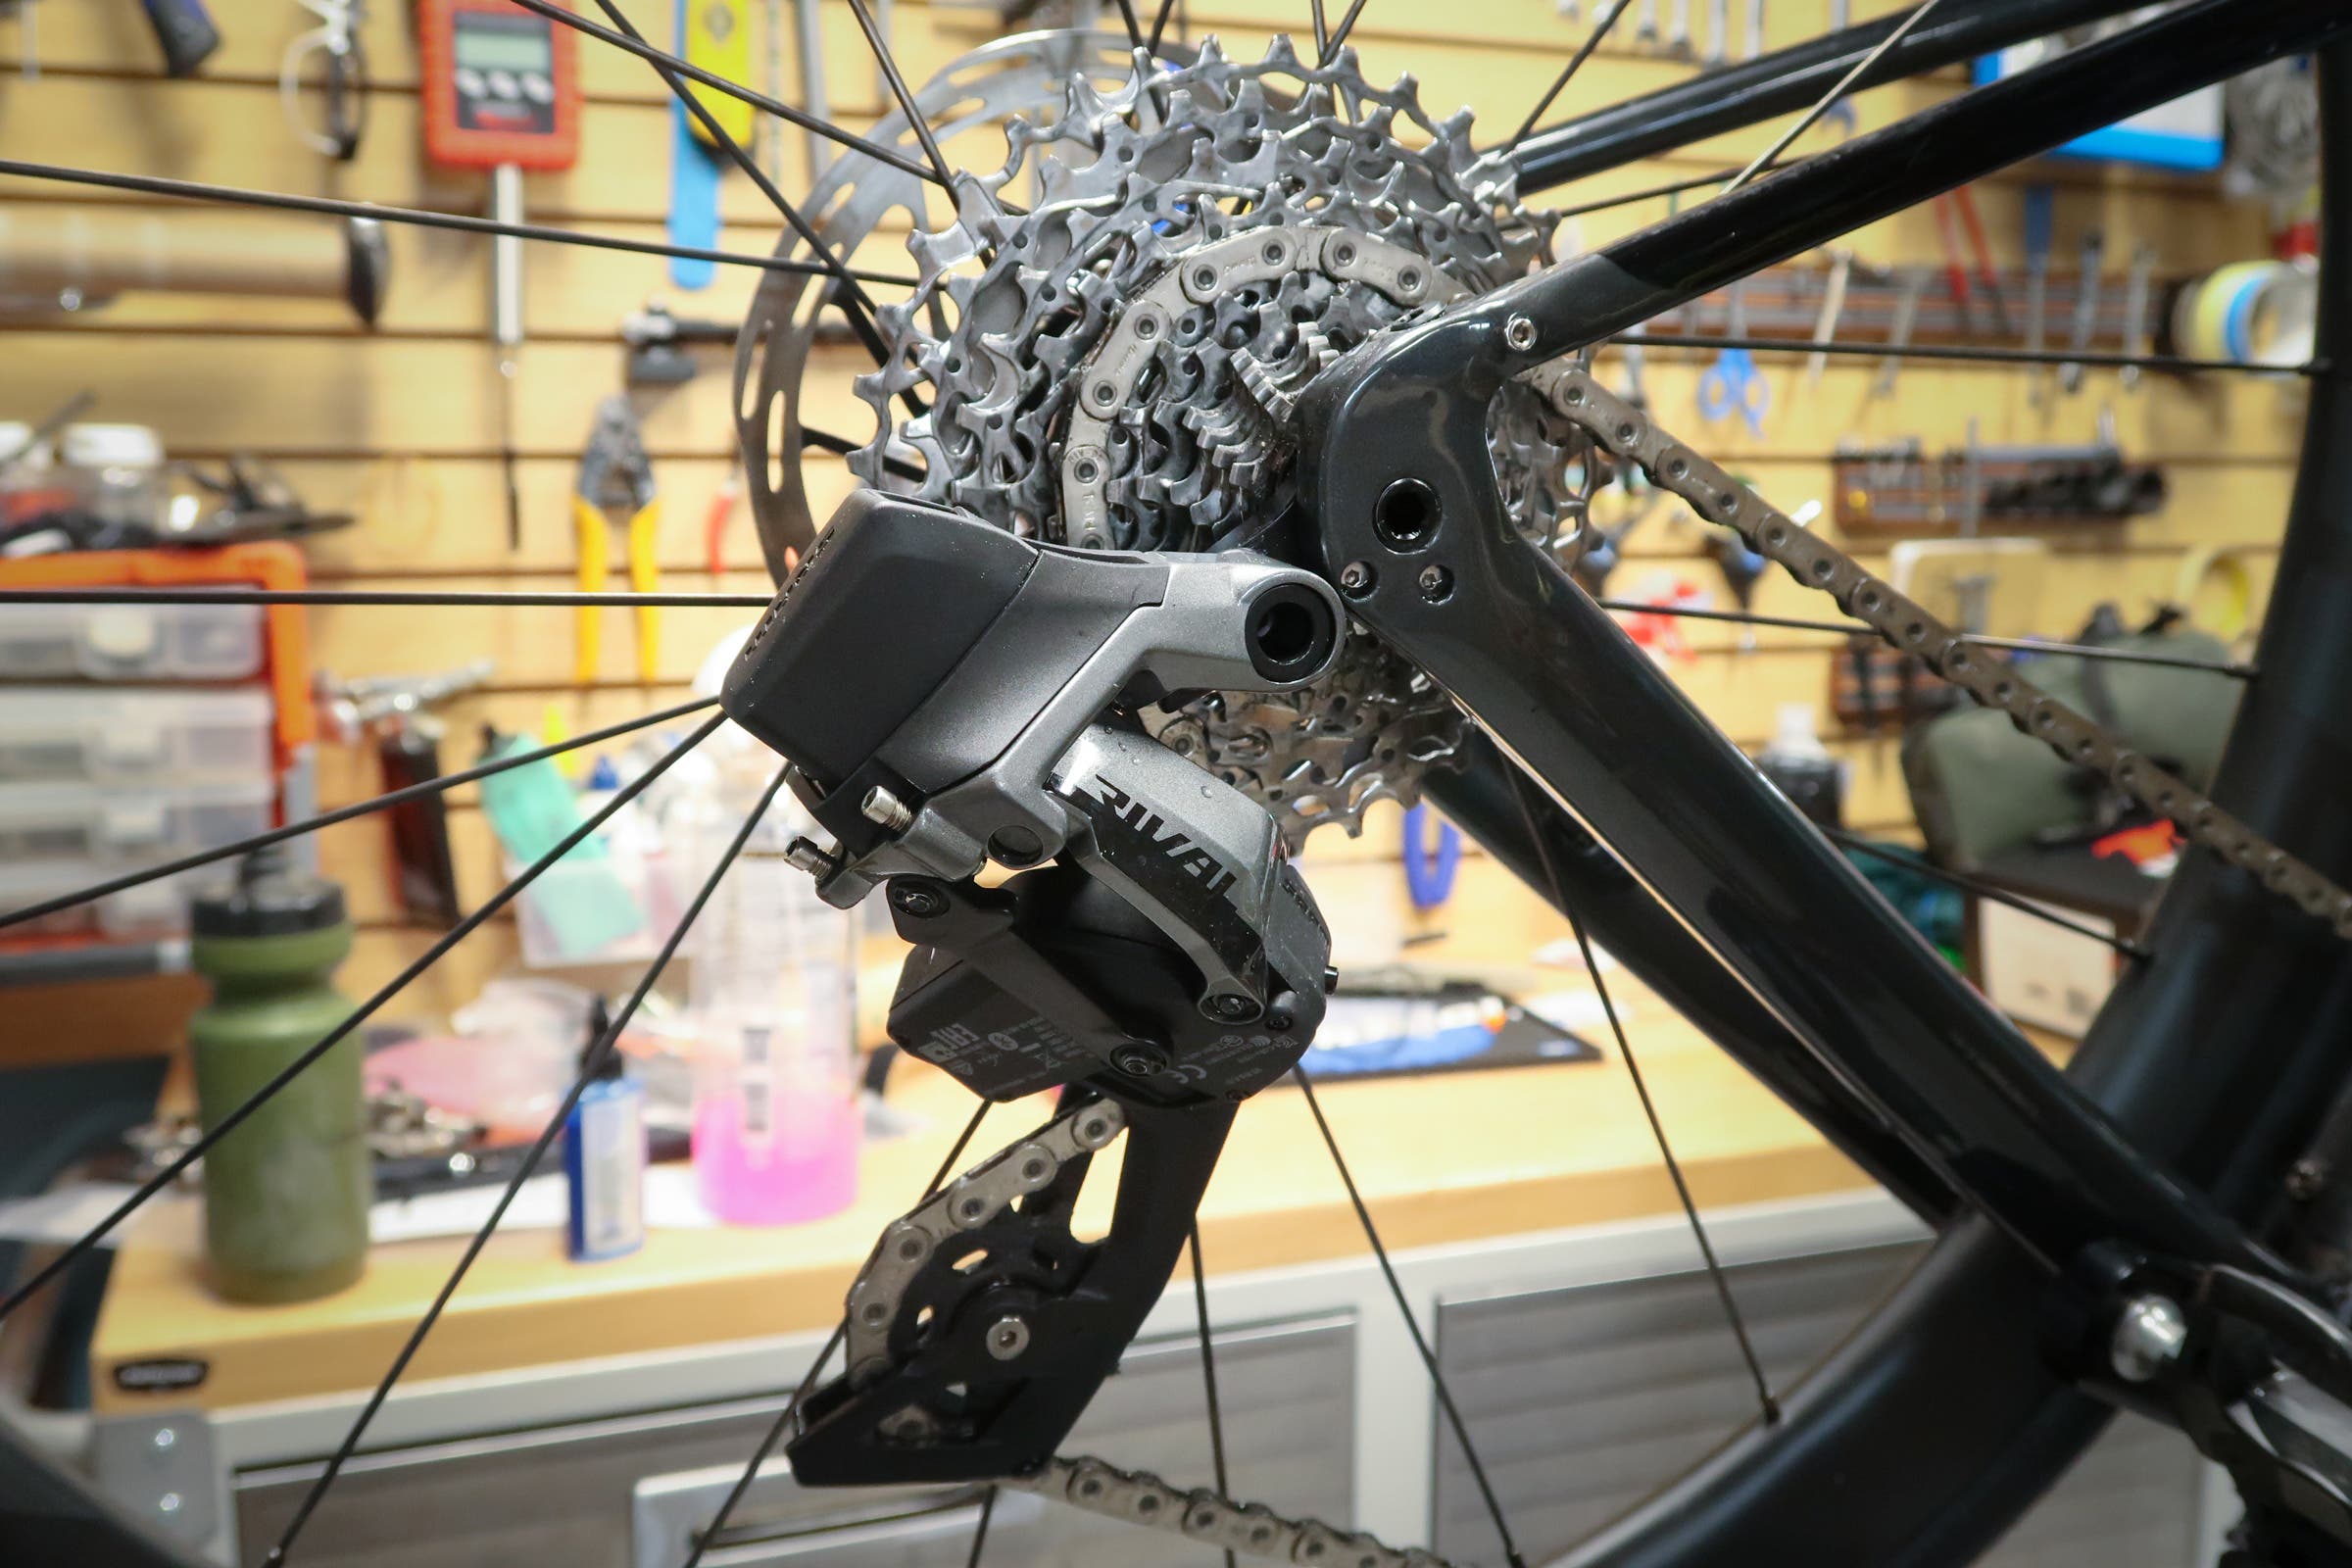
Once you’re satisfied with how the front derailleur is shifting, or if you only have a rear derailleur, run through the range of gears on the cassette. The derailleur should shift into each cog swiftly without skipping gears. Increase cable tension by unscrewing the barrel adjuster to speed up shifting into lower (larger) cogs. Decrease cable tension to speed up shifting into the harder (smaller) cogs.
These are the five basic steps on how to tune up a bike at home. Be sure also to check out this post on the best bike tools every triathlete should have at home.