Updated June 26, 2025 04:36AM
If you buy through our links, we may earn an affiliate commission. This supports our mission to get more people active and outside.Learn about Outside Online's affiliate link policy
How to Make Your Own Energy Gels at Home
Packaged energy gels are great, but have you tried making your own? Start with these five DIY recipes for homemade energy gels.
(Photo: Susan Lacke)
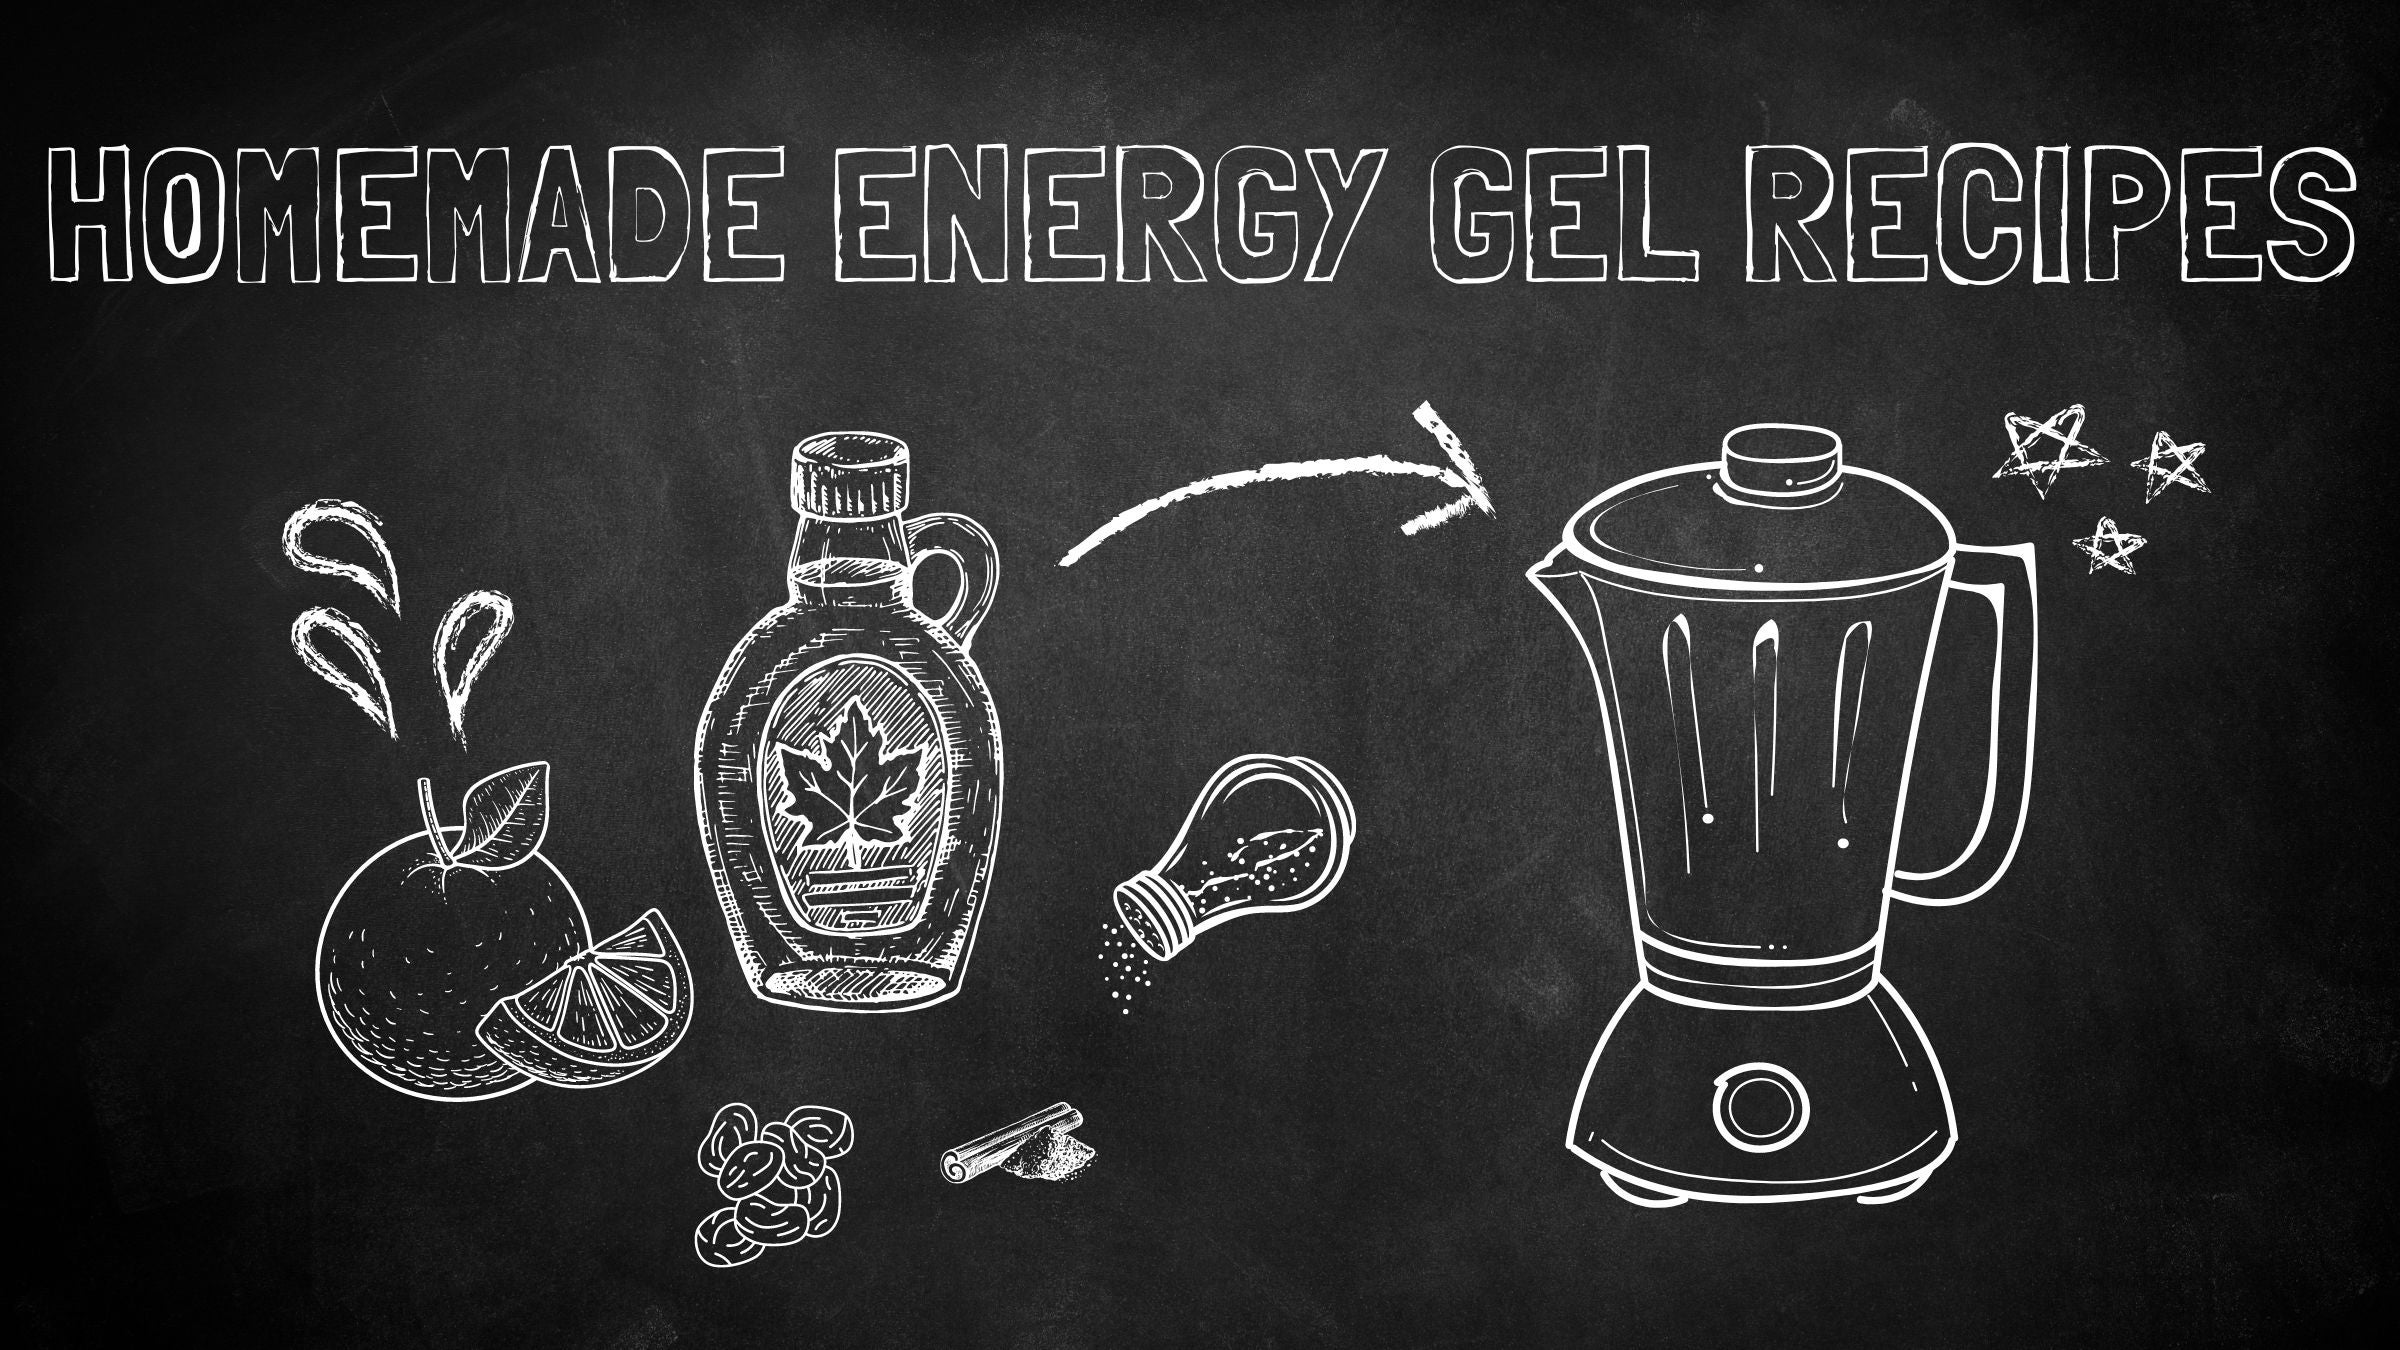
Homemade Energy Gel Recipes
When you are going hard for a long time, you need to adequately fuel the machine. That’s why energy gels are a go-to for many athletes when in need of a big shot of sugary energy pronto to stave off the dreaded bonk. Enter homemade energy gel recipes as a more affordable option.
Packaged energy gels can certainly get the job done and are convenient to purchase, but the cost can add up quickly if you are slamming down multiple packets with every workout. Plus they’re often a pain to deal with during a workout – nothing’s worse than sticky hands and pockets, and finding a trash can in the middle of your long run isn’t always easy. But there is a solution to these problems – and that involves blending up your own rocket fuel.
DIY energy gels are a solution to no-mess, less-waste fueling. They’re a good option for athletes who prefer to fuel more often with “real” food and less often with the cloying options in a packet. Plus, they let you create flavor flexibility to suit your tastes. You can also be in control of your intake, as energy shots from your kitchen make it easier to eat as much or as little as you want while you’re working out. (If you’ve ever tried to put a half-squeezed energy gel into your jersey pocket, you know why this is important.)
ADVERTISEMENT
Below are five easy-to-make, homemade fruity energy gel recipes (or more accurately less sticky energy syrup) that taste great, are easy to digest, and are guaranteed to keep you going strong. These gels can be made a day or two in advance and kept chilled until ready to use.
RELATED: 4 Homemade Energy Bar Recipes to Fuel Your Training
5 Homemade Energy Gel Recipes
PB&J energy gel recipe
Ingredients
- 1/3 cup dried cherries
- 3/4 cup boiled water
- 1 Tbsp. smooth peanut butter
- 1 tsp. honey or agave syrup
- 1/8 tsp. fine salt (omit if using salted peanut butter)
Instructions
Place cherries and boiling water in a blender and let soak for 30 minutes. Add peanut butter, honey, and salt; blend until as smooth as possible. Let cool, then transfer to a larger gel flask or two smaller ones.
Orange-scented maple fruit energy gel
Ingredients
- 1/3 cup raisins
- 3/4 cup boiled water
- 1 Tbsp maple syrup
- 1 tsp. orange zest
- 1/4 tsp. cinnamon
- 1/8 tsp. salt
Instructions
Place raisins and boiled water in a blender container and let soak for 30 minutes. Add remaining ingredients and blend until as smooth as possible. Let cool, then transfer to one large gel flask or two smaller ones.
Piña colada energy gel
Ingredients
- 1/3 cup chopped dried pineapple
- 1 Tbsp. dried coconut
- 1 tsp. sugar
- 3/4 cup boiled water
- 1/2 tsp. lime zest
- 1/8 tsp. salt
Instructions
Place pineapple, coconut, sugar, and boiling water in a blender container and let soak 30 minutes. Add lime zest and salt; blend until as smooth as possible. Let cool, then transfer to a larger gel flask or two smaller ones.
Lemony berry homemade energy gel
Ingredients
- 1/3 cup fresh or frozen blueberries
- 1/2 cup water
- 2 tsp. honey or agave syrup
- 1 tsp. lemon zest
- 1/8 tsp. salt
Instructions
Place blueberries, water, honey, lemon zest, and salt in a blender container, and blend until smooth. Transfer to a larger gel flask or two smaller ones.
Chocolate banana bread energy gel
Ingredients
- 1/3 cup dried banana, the soft type of dried banana and not the crunchy banana chips
- 2 tsp. cocoa powder
- 2 tsp. brown sugar
- 3/4 cup boiled water
- 1/2 tsp. vanilla
- 1/8 tsp. salt
Instructions
Place banana, cocoa powder, brown sugar, and boiling water in a blender and let soak for 30 minutes. Add vanilla and salt; blend until as smooth as possible. Let cool, then transfer to a larger gel flask or two smaller ones.
Tips and tricks for DIY energy gels
How to carry homemade energy gels
Your first question about making your own energy gels is likely “How should I carry this?” After all, putting your squishy food into a foil package isn’t really an option (unless you want a massive mess on your hands). There are a few types of containers on the market that you can use for these homemade energy shots.
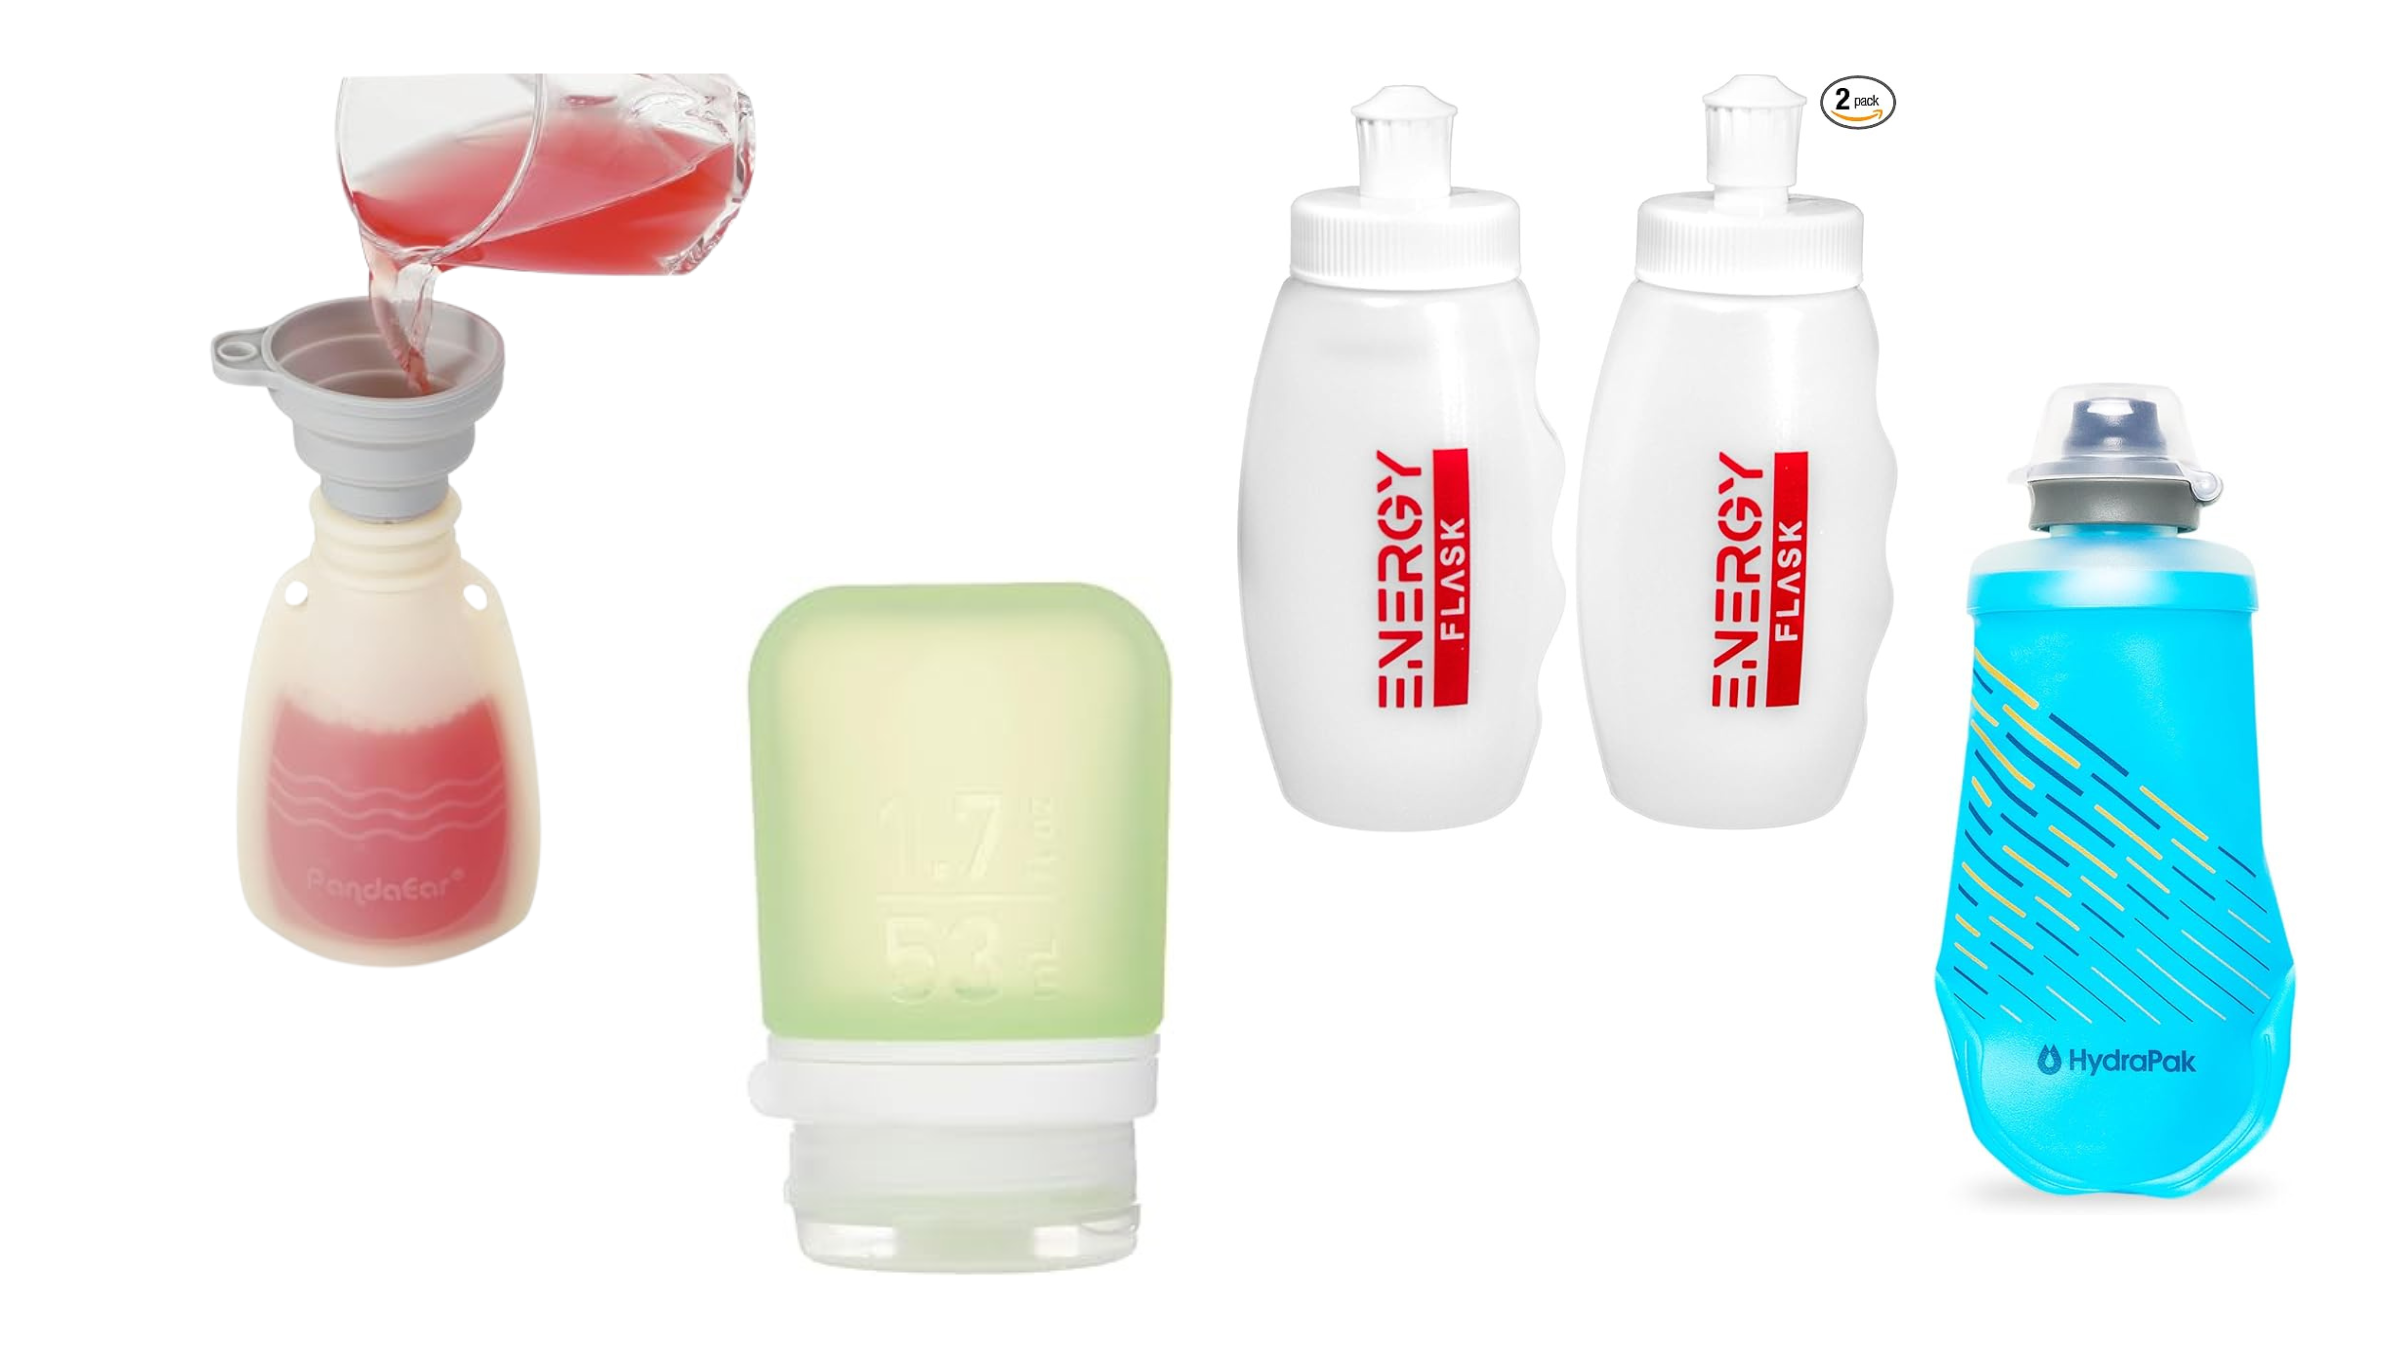
A good option is a soft, flexible gel flask that has plenty of holding capacity. You can also use smaller harder shell gel flasks such as this one from EnergyFlask. Or look for squeezable silicone travel bottles, which are small bottles designed to carry liquids in travel toiletry bags but are food-safe. Squeezable plastic food pouches can also do the trick. These are baby food bags that usually contain fruit purée, but it is certainly possible to wash and refill them.
ADVERTISEMENT
Homemade energy gel ingredients and portions
The beauty of these homemade gels is that they have built-in water to aid with absorption and limit the digestive pitfalls that can come with sucking back too many highly-concentrated packaged gels. For extra hydration, top off your gel container with additional water if you have room.
ADVERTISEMENT
For each of the recipes above, you can scale up the ingredients if you want to make enough to fill multiple containers for epic workouts.
You can consume half the gel recipe at two separate times during a workout, or suck back the whole thing if you need a big energy boost. They are most useful for continuous exercise lasting longer than one hour.
For the most part, dried fruit is the primary source of carbs in these gels (I recommend Mariani fruits – their excellent dried fruit options include banana and pineapple, perfect for DIY gel projects). Letting dried fruit soak in boiled water for at least 30 minutes softens them enough that they can more easily blend into a smooth paste. But you may still end up with some small fruit bits in your gel flask. That’s just fine!
The combination of glucose and fructose from these dried fruits increases carb absorption rates during exercise leading to improved energy delivery to working muscles. But there are a few athletes who won’t tolerate the sugar make-up of dried fruit during exercise – likely it’s the fructose that causes stomach woes. It’s best to test out any of these gels during training sessions instead of during an important event to gauge tolerance.
ADVERTISEMENT
RELATED: Should You Ditch Sports Nutrition Products for Real Food?