Published December 15, 2014 04:36PM
Glue Tubular Tires In 5 Steps
Follow this step-by-step tutorial to prepare tubulars with confidence.
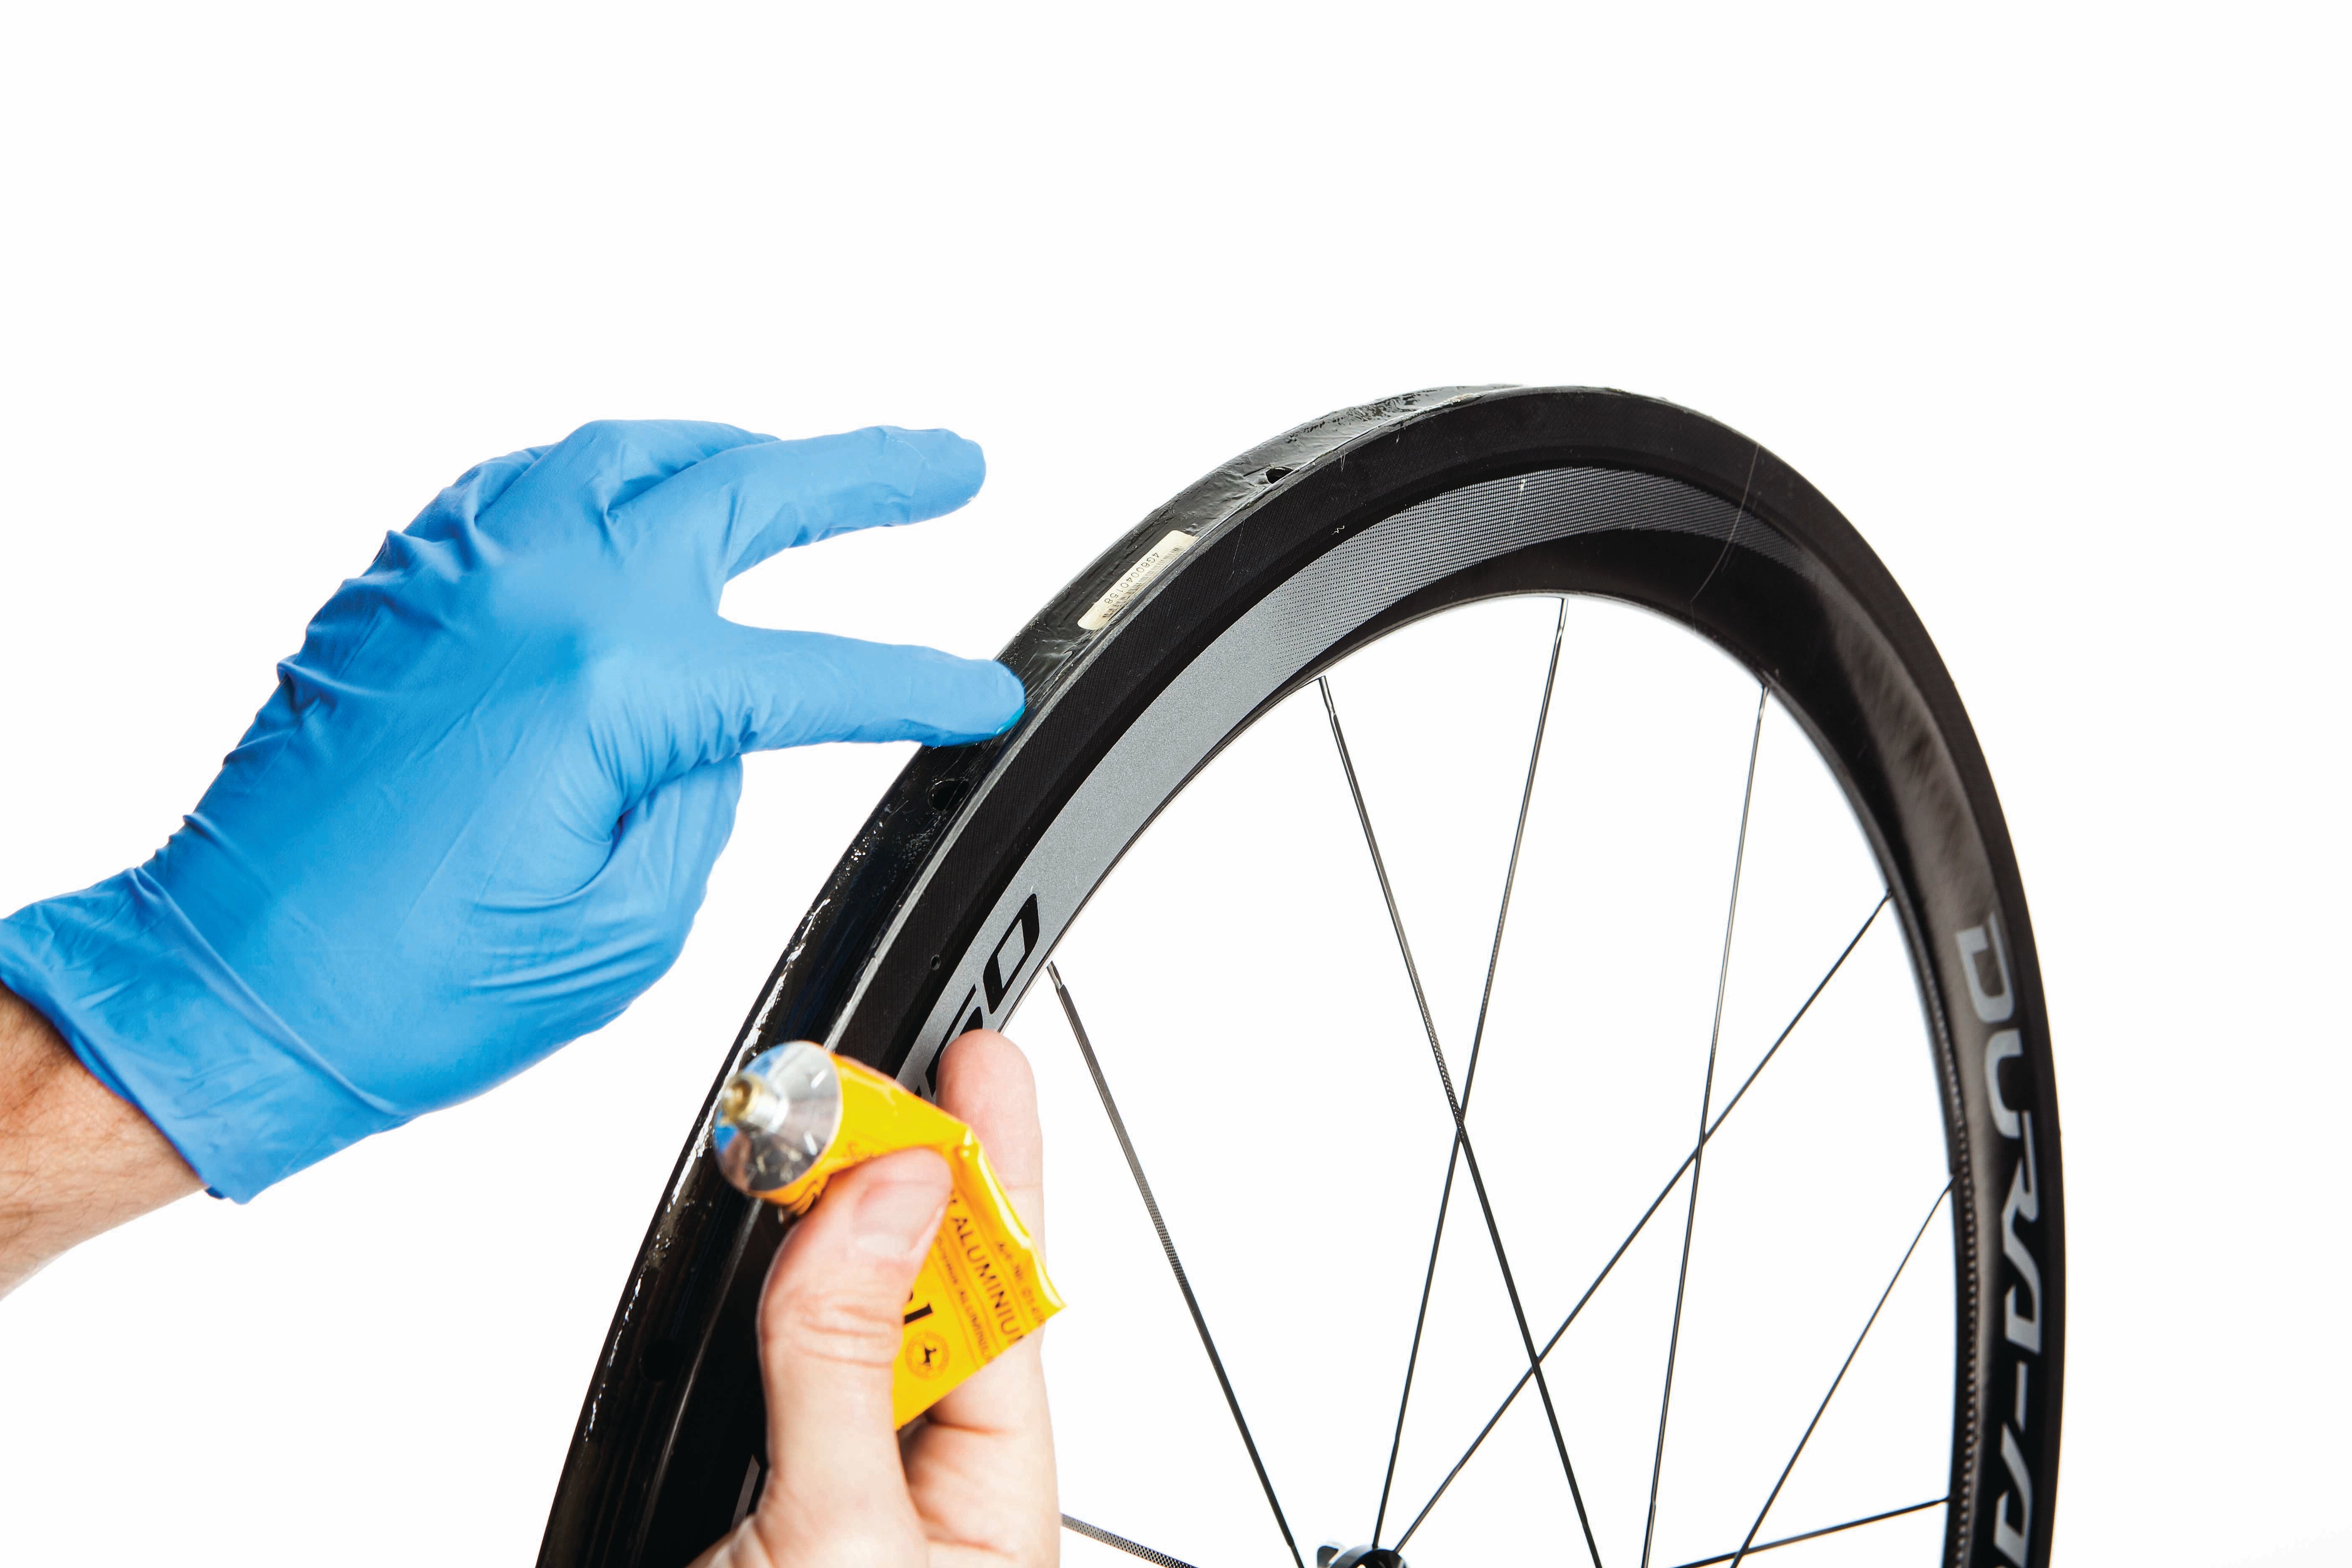
Step 2. Photo: John David Becker
Follow this step-by-step tutorial to prepare tubulars with confidence.
Tubular tires offer unbeatable ride quality and can save weight compared to clinchers. But the process of gluing tires can be intimidating, which leads a lot of triathletes toward clinchers. If you want to take on the task of gluing your own tires, follow these steps and remember to take your time and not cut corners.
Step 1:
Start by inflating your tires to at least 100 psi and mount them on your rims for an hour or two to stretch them out.
Step 2:
Pull the tires off the rims and start applying glue to the rim of the wheel. If you have a truing stand, use it to hold the rim while you apply glue (wearing a pair of latex gloves while doing so is a wise idea). Apply three thin coats, leaving an hour in between each coat. Try to apply the glue evenly over the entire surface of the rim that will contact the tire, and be sure to do this in a well-ventilated area to avoid inhaling any fumes.
Step 3:
Repeat the above process for applying glue to the base tape of the tire. The goal is to build multiple layers on both the rim and tire to create a strong bond between each surface.
Step 4:
Once you have at least two coats on both the rim and tire and have allowed each surface to dry, you can apply a final coat of glue to the rim as you prepare to mount the tire. Apply a little thicker coat compared to the previous coats and let it dry for about five minutes. With the tire inflated to around 50 psi, insert the valve stem first and center the tire on the rim. Then stretch the tire over the rim making sure to keep the tire centered as much as possible. It may take a little hand strength to get the last bit of tire onto the rim.
Step 5:
Once you have the tire mounted, take a moment to make sure it’s on straight. You should be able to muscle it into position if the tire is a little out of alignment since the last layer of glue you applied is still a little wet. Roll the tire on the ground for a few rotations once you have it lined up. Also look for gaps between the tire and rim where you may not have applied enough glue. If you see any obvious gaps, you’ll need to pull the tire off and apply more glue. Allow at least a day for the glue to cure before you take your wheels out for a spin.
RELATED: Picking The Right Tire For Your Wheels
ADVERTISEMENT
The tools you need:
– Bike pump, latex gloves, truing stand (optional)
– Quality tubeless tires like the Vittoria Corsa CX III Tubular ($110, Vittoria.com) or Continental Competition Tubular ($125, Conti-online.com)
– Glue, like the Continental Tubular Carbon Rim Glue ($5, Conti-online.com, for carbon only)